Milk-V Duo S | 使用报告
一、初识
盼啊盼,终于盼来了这块Milk-V Duo S。先看一下Duo S的包装。(图1)
图1

可以看到,外圈有一层塑料外壳,并且材质很好,摸起来很顺滑。而用普通Milk-V Duo比较,就没有这种待遇了。
再来看看板子的结构,(图2.1为Duo S,图2.2为Duo)
图2.1

图2.2

可以看到,Duo S最显眼的地方就是新增的:
- 4排GPIO引脚(52针),并且上面那2排附有色彩标签;
- 1个WiFi 6天线;
- 1个USB 2.0接口;
- 1个RJ45网口
- 1个更大的摄像头接口
对比下来,Duo S的功能真的升级了不少,并且性能也升级了不少,就不详细提了。
官网教程很多,有专门提供的博客,后期折腾就根据官网教程走。
二、初始
初识过后,就应该初始化了(标题还挺押韵)。根据官网的教程,首先,我准备了一张32GB的Kingston的MicroSD卡和一个绿联的USB 3.0读卡器。(如图3)
图3

接着,我需要准备一个烧录工具。由于现在我使用的是Linux,所以我本来选择的是balenaEtcher。
我在官网下载.zip压缩包,下载速度很慢,只有大概10KB/s,提示要下4小时,慢的没边,于是“走捷径”,使用树莓派烧录器进行尝试烧录(我用的是Ubuntu,使用sudo apt install rpi-imager即可安装)。
如果你想体验新架构,那么烧录以下镜像链接里的milkv-duos-musl-riscv64-sd_v2.0.1.img.zip镜像即可。(官网文档链接如图4)
图4

但如果你想现在生态更磅礴一点的arm架构遨游,那么你可以选择milkv-duos-glibc-arm64-sd_v2.0.1.img.zip。
好了,现在,打开树莓派镜像烧录器,然后“Raspberry Pi Device”选择“No filtering”;接着操作系统选择“Use custom”,再选择你刚从Github下载好的镜像;再把SD卡选择好,注意磁盘选择是否正确;最后编辑设置等,最后烧录。注意,为了保证稳定,设置最好全部取消勾选,或者选“不”取消应用设置!
烧录完成过后,卸下读卡器和SD卡并装载进Duo S,注意将反面按钮选择至正确的架构!(按钮如图5左上角金色螺钉孔右边小开关,左边是ARM,右边是RISC-V,最好仔细观察开关下PCB上文字!)
图5,不小心拍竖过来了,最右边是正上方!

这里我用的是ARM架构,所以会将它移到左边。
装载完成,使用5V电源线将其连接至适配器/电脑,蓝灯应该闪烁。
三、网络
然后我们配置网络,引用一段官网的文本:
为了使用 USB 网络,我们在系统上默认启用了 CDC-NCM 和 DHCP。
提示
V1.1.2 之前的固件使用的 USB 网络是 RNDIS,如果您使用的是旧的版本,请更新到 V1.1.2 或更新的系统镜像。
CDC-NCM 在 Linux,macOS,以及最新的 Windows 系统上都免驱的,您可以直接使用 ssh root@192.168.42.1 登陆到 Duo 的终端。
我们直接打开终端输入:ssh root@192.168.42.1即可连接上Duo S,前提是你要把它接上电脑。
进入ssh第一次连接会有一大长串提示,只需先输入yes,然后如果有密码,那么输入密码就可以。
这里,我发现它默认居然有密码!随便像香橙派、树莓派以及Ubuntu那样猜想,默认密码应该是milkv,幸运的是——我猜对了!(后来仔细阅读官网才发现原来官网提供了密码……)
进入系统,就能看见以下内容:
[root@milkv-duo]~#
成功进入 ash 了。很多功能都被精简掉了。
此外,除了使用Type-C线进行网络连接,官网还提供了一种USB-A(也称Type-A)连接的方式(USB-A应该就是我们平常使用的USB 2.0,USB 3.0等接口),只需ssh连接后使用以下指令:
ln -sf /mnt/system/usb-host.sh /mnt/system/usb.sh
sync
即可。
四、联网
只要有一个Linux,就给我提供了很好的“折腾”的环境。首先,我想要试试我的开源项目sysstat(一个简单的系统占用查看工具),我的输入/输出:
[root@milkv-duo]~# wget https://gitcode.com/BiaoZyx/sysstat/releases/download/v2.0.0/sysstat
--1970-01-01 00:17:04--  https://gitcode.com/BiaoZyx/sysstat/releases/download/v2.0.0/sysstat
Resolving gitcode.com... failed: Try again.
wget: unable to resolve host address 'gitcode.com'
奇怪的是,并没有网络连接,我仔细一瞧:“1970-01-01 00:17:04”——这个时候我还没有出生呢!现在,时间戳出现问题,导致无法联网(一种普遍的检测方式,通过时间戳拦截访问),一种方法是进行时间同步。
但很快我意识到事情的严重性,看下面输出:
[root@milkv-duo]~# ntpdate ntp1.aliyun.com
Exiting, name server cannot be used: Try again (-3) 1 Jan 00:32:57 ntpdate[401]: name server cannot be used: Try again (-3)
居然无法进行时间同步?看来只能先换一种策略了。先进行WiFi网络的连接:
(引用官方操作方法)
“
方法一
编辑如下文件(/etc/wpa_supplicant.conf),替换 ssid 和 psk 为要连接的 WIFI 账号和密码:
ctrl_interface=/var/run/wpa_supplicant
ap_scan=1
update_config=1

network={
  ssid="wifi_test"
  psk="12345678"
  key_mgmt=WPA-PSK
}
再执行如下命令:
wpa_supplicant -B -i wlan0 -c /etc/wpa_supplicant.conf
即可连接 WIFI,连接之后可以通过 ifconfig 或者 ip a 命令查看分配的 IP 地址。
如果需要开机自动连接 WIFI,可以把以下命令放到 /mnt/system/auto.sh 文件中。
interface="wlan0"
max_attempts=100
attempt=0
log_file="/var/log/auto.sh.log"
# Continuously attempt to detect if the interface exists, up to $max_attempts times
echo "start auto.sh" > "$log_file"
while [ $attempt -lt $max_attempts ]; do
    # Check if the wlan0 interface exists
    ip link show "$interface" > /dev/null 2>&1
    if [ $? -eq 0 ]; then
        echo "$(date +'%Y-%m-%d %H:%M:%S') $interface interface exists, starting wpa_supplicant..." >> "$log_file"
        wpa_supplicant -B -i "$interface" -c /etc/wpa_supplicant.conf >> "$log_file"
        break  # Exit the loop if the interface is found
    else
        echo "$(date +'%Y-%m-%d %H:%M:%S') $interface interface not found, waiting..." >> "$log_file"
        sleep 1  # Wait for 1 second before checking again
        attempt=$((attempt + 1))  # Increment the attempt counter
    fi
done
# If the maximum number of attempts is reached and the interface still not found, output an error message
if [ $attempt -eq $max_attempts ]; then
    echo "$(date +'%Y-%m-%d %H:%M:%S') Interface $interface not found after $max_attempts attempts" >> "$log_file"
fi
”
我按照官网来,官方镜像仅提供了一个vi作为编辑器(这已经不错了)
输入:
vi /etc/wpa_supplicant.conf
进行代码的编辑。
其他则全部照搬。如,联网:
[root@milkv-duo]~# wpa_supplicant -B -i wlan0 -c /etc/wpa_supplicant.conf
Successfully initialized wpa_supplicant
…………
终于做完了一切,再试试安装sysstat:
[root@milkv-duo]~# wget https://gitcode.com/BiaoZyx/sysstat/releases/download/v2.0.0/sysstat
--2025-06-28 10:42:39--  https://gitcode.com/BiaoZyx/sysstat/releases/download/v2.0.0/sysstat
Resolving gitcode.com... 116.205.2.91
Connecting to gitcode.com|116.205.2.91|:443... connected.
HTTP request sent, awaiting response... 302 Found
Location: https://file-cdn.gitcode.com/5634378/releases/untagger_2084b40dee07421d9884cd8eef097887/sysstat?auth_key=1751107360-2552b640646d442abd88d5efb4d5d706-0-b8da8cd30f117f2c9da626d971ff98e408d5cdb1c0f669b91bbe21420ecb6958 [following]
--2025-06-28 10:42:40--  https://file-cdn.gitcode.com/5634378/releases/untagger_2084b40dee07421d9884cd8eef097887/sysstat?auth_key=1751107360-2552b640646d442abd88d5efb4d5d706-0-b8da8cd30f117f2c9da626d971ff98e408d5cdb1c0f669b91bbe21420ecb6958
Resolving file-cdn.gitcode.com... 221.229.160.35, 221.229.160.34, 221.229.160.33, ...
Connecting to file-cdn.gitcode.com|221.229.160.35|:443... connected.
HTTP request sent, awaiting response... 200 OK
Length: 2150 (2.1K) [application/octet-stream]
Saving to: 'sysstat'

sysstat                       100%[=================================================>]   2.10K  --.-KB/s    in 0s

2025-06-28 10:42:40 (42.6 MB/s) - 'sysstat' saved [2150/2150]

[root@milkv-duo]~# ls /usr/local/bin
autologin
[root@milkv-duo]~# mv sysstat /usr/local/bin
[root@milkv-duo]~# sh /usr/local/bin/sysstat

===== SYSTEM OVERVIEW =====
OS:     |NAME=Buildroot
Kernel: |5.10.4-tag-
Arch:   |aarch64
uptime: invalid option -- 'p'
Try 'uptime --help' for more information.
Uptime: |

===== RESOURCE USAGE =====
Memory: |27Mi/316Mi (8.5%)
Disk:   |236M/739M (35%)
grep: unrecognized option: P
BusyBox v1.37.0 (2025-05-30 15:02:52 CST) multi-call binary.

Usage: grep [-HhnlLoqvsrRiwFE] [-m N] [-A|B|C N] { PATTERN | -e PATTERN... | -f FILE... } [FILE]...

Search for PATTERN in FILEs (or stdin)

	-H	Add 'filename:' prefix
	-h	Do not add 'filename:' prefix
	-n	Add 'line_no:' prefix
	-l	Show only names of files that match
	-L	Show only names of files that don't match
	-c	Show only count of matching lines
	-o	Show only the matching part of line
	-q	Quiet. Return 0 if PATTERN is found, 1 otherwise
	-v	Select non-matching lines
	-s	Suppress open and read errors
	-r	Recurse
	-R	Recurse and dereference symlinks
	-i	Ignore case
	-w	Match whole words only
	-x	Match whole lines only
	-F	PATTERN is a literal (not regexp)
	-E	PATTERN is an extended regexp
	-m N	Match up to N times per file
	-A N	Print N lines of trailing context
	-B N	Print N lines of leading context
	-C N	Same as '-A N -B N'
	-e PTRN	Pattern to match
	-f FILE	Read pattern from file
IP:     |N/A N/A

===== HARDWARE INFO =====
CPU:    |Unknown
Temp:   |48.6°C
Users:  |

===== PROCESSES =====
PID    USER      %CPU %MEM CMD
这里,翻车了,因为这个脚本使用的是systemed的环境,但这块板子用的是Busy-Box。但不可否认——联上网了!
五、软件包管理器
除此之外,这块板子还需要一个 包管理器 !自己动手用官方脚本编译一个opkg吧。
opkg简介
opkg 是一个轻量级的包管理工具,专为嵌入式设备设计,功能比 ipkg 更加全面。与 ipkg 主要将软件安装到特定目录(如 /opt)不同,opkg 支持对根文件系统的完全管理,并且能够自动解决软件包的依赖关系,安装过程若遇到问题则会中止。
简单来说,opkg 是 ipkg 的增强版,不仅提供了根文件系统的全功能管理能力,还能安装内核模块和驱动程序。相比之下,ipkg 仅限于将软件安装到独立的目录中。因此,opkg 在功能上是 ipkg 的扩展和提升。
那么,下面就进行安装opkg!
opkg的安装
使用:
wget https://bin.entware.net/aarch64-k3.10/installer/generic.sh -O - | sh
这个命令进行安装,但是它默认装在/opt/bin/这个目录,opkg实际绝对路径是/opt/bin/opkg,所以要添加环境变量。你可以用你喜欢的方式!
方法一:
创建~/.profile
使用vi ~/.profile来创建.profile文件,然后新增:
export PATH=$PATH:/opt/bin
来使/opt/bin加入环境变量,从而使用这个目录下的命令(软件)。
如果想要立即生效,只需输入以下命令即可:
source ~/.profile
测试opkg
还有,由于Busybox限制,很多软件无法正常使用,但仍有很多软件。下面来测试以下opkg软件包管理器。下通过:opkg install python3-pip来安装pip3,同时会安装上一堆原本systemed的库。用这种方式,可以运行上面提到过的sysstat。
具体输出太长不展示了,总之,有很多名为“libxxx”的软件包,就是原本给systemed用的,以此能支持更多!
安装Python库——colorama
接着让我们测试下Python3的环境。这里可以用到我的MCT项目。
这里,我们需要用pip3来安装所需库colorama,正好用于测试网络。
我这里ping pypi.org是会丢包的,所以我建议你们也和我一样,为pip3进行换源。命令如下:
方法一:临时使用清华源安装colorama
pip3 install colorama -i https://pypi.tuna.tsinghua.edu.cn/simple
方法二:永久使用清华源(推荐)
mkdir -p ~/.pip
cat > ~/.pip/pip.conf << EOF
[global]
index-url = https://pypi.tuna.tsinghua.edu.cn/simple
trusted-host = pypi.tuna.tsinghua.edu.cn
EOF
那么我这里选用第二种方法。
但我总遇到错误,后来发现是网络问题。
以下是换过 清华源 的完整输出:
[root@milkv-duo]~# pip install colorama
Looking in indexes: https://pypi.tuna.tsinghua.edu.cn/simple
Collecting colorama
  Downloading https://pypi.tuna.tsinghua.edu.cn/packages/d1/d6/3965ed04c63042e047cb6a3e6ed1a63a35087b6a609aa3a15ed8ac56c221/colorama-0.4.6-py2.py3-none-any.whl (25 kB)
Installing collected packages: colorama
Successfully installed colorama-0.4.6
WARNING: Running pip as the 'root' user can result in broken permissions and conflicting behaviour with the system package manager. It is recommended to use a virtual environment instead: https://pip.pypa.io/warnings/venv
方法三:使用scp
这里Milk-V官方已经提供了ssh服务,默认我测试过,是有scp的。你可以在Duo S命令行进行如下操作:
scp <你的主机用户名>@<你的主机IP>:/path/to/colorama-<version>.whl . #注意,末尾还有一个“.”表示当前目录
pip3 install --user colorama-<version>.whl
方法四:使用netcat传输(不推荐)
还有一种一种高级方法,适用于网络无法到达pypi.org的人们!
首先,使用实体机前往colorama官网:
https://pypi.org/project/colorama/#files
这个网站,点击超链接:
colorama-0.4.6-py2.py3-none-any.whl
然后下载这个.whl文件放进主目录(也成家目录,即“~”),
或者直接用命令行:
cd ~
wget https://files.pythonhosted.org/packages/d1/d6/3965ed04c63042e047cb6a3e6ed1a63a35087b6a609aa3a15ed8ac56c221/colorama-0.4.6-py2.py3-none-any.whl
然后用命令行:
cd ~
nc -l 8000 < colorama-0.4.6-py2.py3-none-any.whl
注意,如果没有nc,尝试ncat,再没有就使用包管理器(apt,dnf等)安装名叫ncat的软件。
接着,用Duo S输入:
cd ~
nc <你的主机IP> 8000 > colorama-0.4.6-py2.py3-none-any.whl
pip install –user ./colorama-0.4.6-py2.py3-none-any.whl
主机IP可以使用ifconfig查看!
这样应该就可以下好了。
如果你有兴趣,可以试试我的软件:
wget https://gitcode.com/BiaoZyx/MCT/releases/download/v1.6/MCT-v1.6.py
python3 MCT-v1.6.py
然后还可以设置一个启动脚本。
首先,cd进入/usr/local/bin,这个目录是存放用户自定义软件/脚本的。使用:cd /usr/local/bin进入,然后用vi按下< I >进入插入模式,输入:
/bin/python3 /root/MCT-v1.6.py
其实这就相当于一个命令行脚本。此外,按下< ESC >并输入“:wq”退出vi编辑器后,还需要输入以下指令来给脚本执行权限:
chmod +x mct
这样,你可以输入“mct”来启动此软件,也可以用这种方法设置你的软件启动脚本。
六、美化
用久了ash/bash默认外观未免就会感到些乏味。有一款zsh,安装Oh-My-Zsh这个扩展之后异常美丽,但很耗费内存,如果想知道如何使用,可以看我的博客:https://www.cnblogs.com/BiaoZyx/p/18947544
唯一不同的地方就是,你需要把apt部分换为opkg,无需更新,只需要输入opkg install zsh来安装zsh。
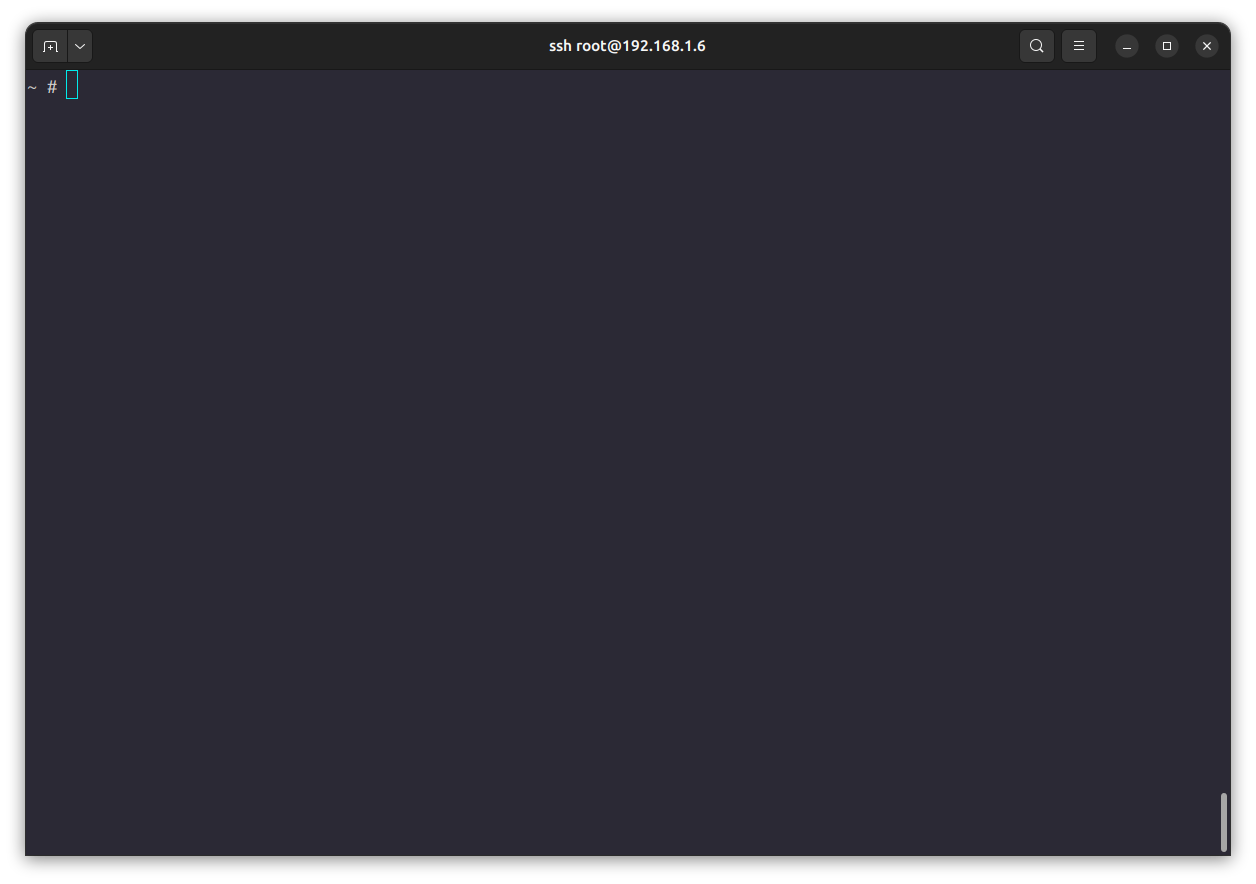
由于ash功能太少,我这里的ash还有点问题(如图6),所以推荐你们使用bash,使用opkg install bash来安装,再使用opkg install shadow安装一个可以切换默认shell的工具,最后使用chsh /opt/bin/bash设置默认shell为bash。注意,chsh使用时会提示输入密码,默认不显示。
图6,令人无语的ash……
那么回归正题,我们来美化一下bash,下面是.bashrc文件输入vi ~/.bashrc来编辑,按< I >进入编辑模式,按< Ctrl + Shift + V >粘贴,再按< ESC >退出插入模式,最后输入:wq保存并退出:
# 一些自定义变量

# 如果使用opkg,添加以下内容
export PATH=$PATH:/opt/bin

# 一些自定义别名
alias lah="ls -lah"
alias ll="ls -lh"

# 添加到 ~/.profile 或 ~/.bashrc
# ASCII简约版Powerlevel风格

# 智能提示符(自动区分$/#)
get_prompt_symbol() {
    if [ $(id -u) -eq 0 ]; then
        echo "#"  # root用户显示#
    else
        echo "$"  # 普通用户显示$
    fi
}

set_ascii_prompt() {
    # 颜色定义(高对比度深色背景方案)
    USER_COLOR='\033[1;34m'      # 亮蓝(用户名)
    HOST_COLOR='\033[1;33m'      # 亮黄(主机名)
    PATH_COLOR='\033[1;36m'      # 青色(路径)
    GIT_COLOR='\033[1;32m'       # 亮绿(Git信息)
    SUCCESS_COLOR='\033[1;32m'   # 亮绿(成功标记)
    ERROR_COLOR='\033[1;31m'     # 亮红(错误标记)
    PROMPT_COLOR='\033[1;37m'    # 亮白(提示符)
    RESET='\033[0m'

    # 获取Git分支(ASCII版)
    get_git_branch() {
        git branch 2>/dev/null | awk '/^\*/{print " ("$2")"}'
    }

    # 构建提示符
    PS1="${USER_COLOR}\u${RESET}"                          # 用户名
    PS1="${PS1}@${HOST_COLOR}\h${RESET}"                   # 主机名
    PS1="${PS1}:${PATH_COLOR}\w${RESET}"                   # 路径
    PS1="${PS1}${GIT_COLOR}$(get_git_branch)${RESET}"      # Git分支

    # 添加命令状态指示
    if [ $? -eq 0 ]; then
        PS1="${PS1} ${SUCCESS_COLOR}✓${RESET}"
    else
        PS1="${PS1} ${ERROR_COLOR}✗${RESET}"
    fi

    PS1="┌▌$PS1\n └▌${PURE_WHITE}$(get_prompt_symbol)${RESET} "
}

PROMPT_COMMAND=set_ascii_prompt
这样,你的bash应该如图7:
图7
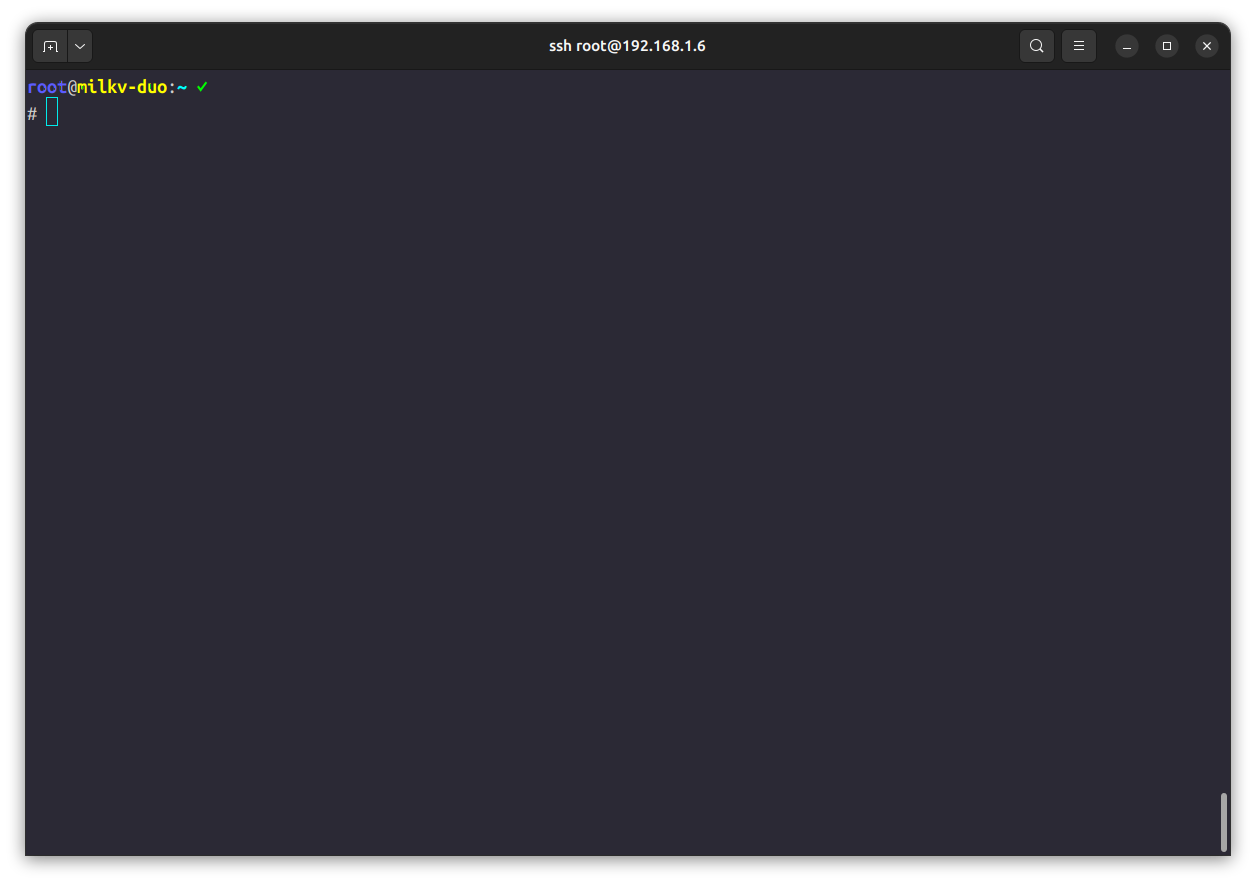
这个.bashrc的配色还等你琢磨,可以自己改!
后面的Linux之路还有更多内容等待你探索,我们“江湖再会”!

 浙公网安备 33010602011771号