Jetson Xavier NX 试玩 (二)
Jetson Xavier NX 试玩 (二)
Hello AI World Inference
人工智能推理模型
0 前言
想玩一玩 jetson 的人工智能功能,官方的 instructional guide 地址:https://github.com/dusty-nv/jetson-inference .
就是有个函数库,怎么用呢,有使用docker的方法,有从源码编译的方法。我选择了从源码编译的方法。编译需要准备一下环境,首先在下载镜像阶段,我只下了OS,这次需要用到一些SDK COMPONENTS,所以需要先用 SDK Manager 将SDK COMPONENTS下到jetson里去。
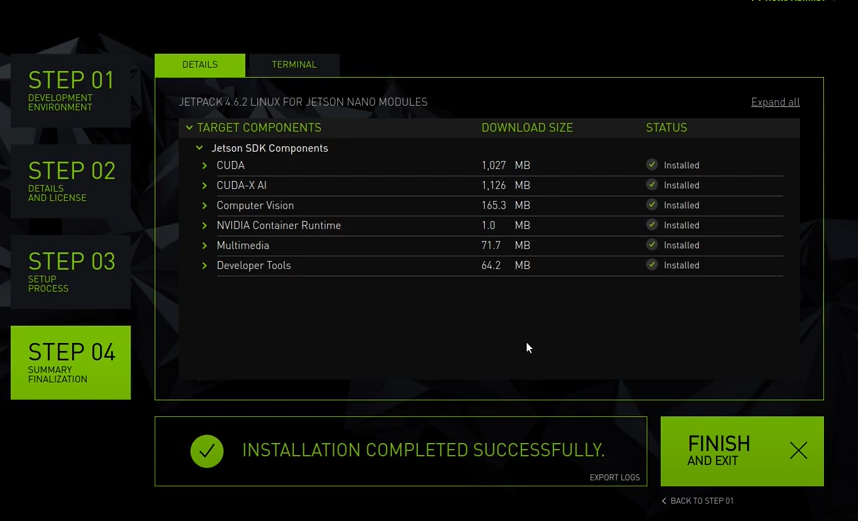
1 下载 SDK COMPONENTS
这个没啥难度,和下载镜像时一样,就不再多说了。
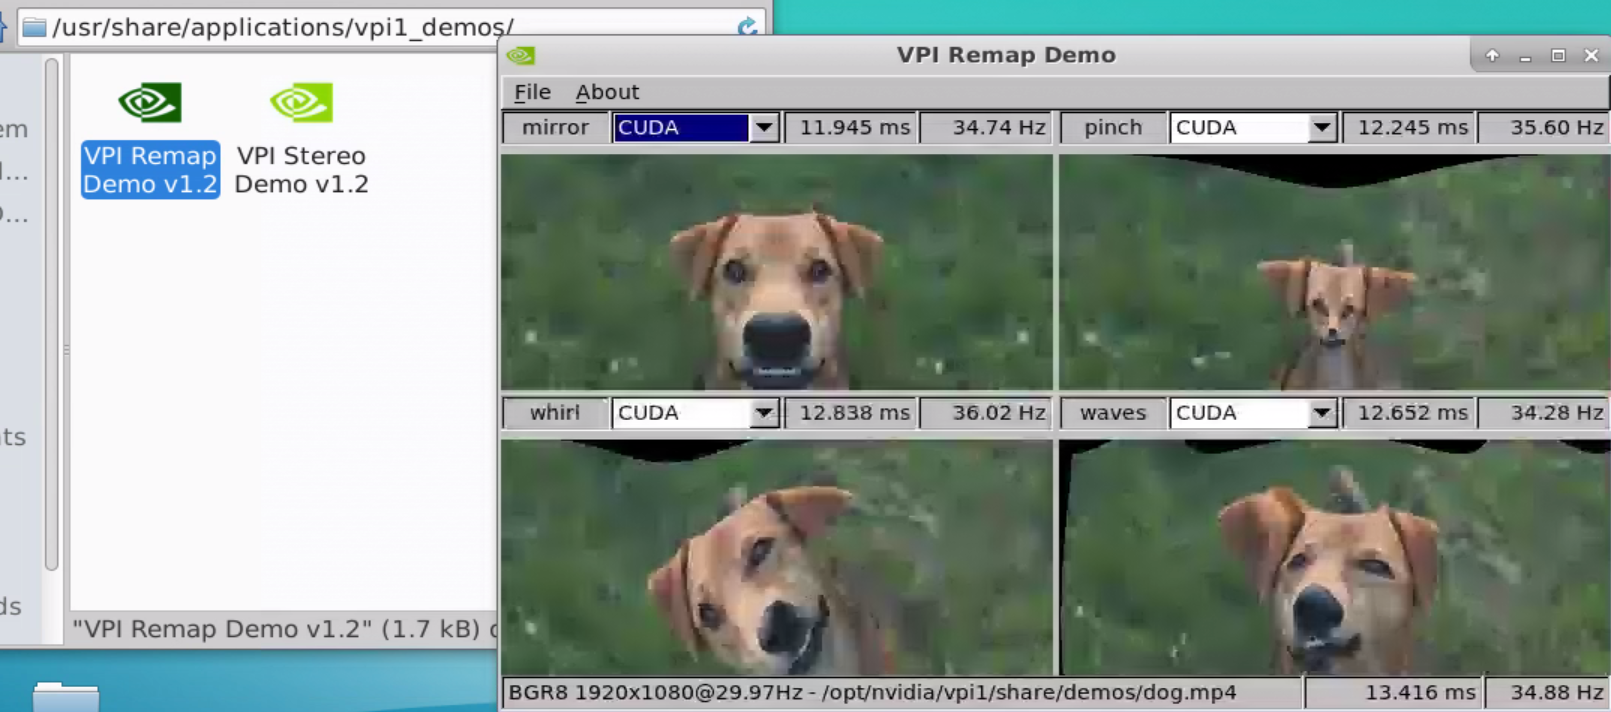
下完后有个VPI Demos v1.2
打开可以跑 demo,虽然我也看不懂,不过似乎有点意思
2 编译 jetson library
1)更新软件源
sudo apt-get update
2)安装需要用的软件
sudo apt-get install git cmake libpython3-dev python3-numpy
3)克隆仓库
git clone --recursive https://github.com/dusty-nv/jetson-inference.git
recursive 表示将该仓库下的子仓库一起克隆下来
这个过程中因为网络问题可能会出现一些问题,可以给 git 设置一下全局代理啥的,网络问题,懂得都懂。
4)构建cmake
cd jetson-inference/
mkdir build
cd build/
cmake ../
然后就是等待,会有个图形化的图框交互出现让你选择你想下的模型,可以都取消,需要啥再下啥。当然,也可以选择要用的组件,比如 SSD-Mobilenet-v2 ,这个会使用 detectNet 检测动态物体,下载模型时因为网络问题可能会下载失败,因此我还是推荐不要在这个阶段下载模型,之后要用到某个模型,可以在本地下载下来再传给jetson。地址:https://github.com/dusty-nv/jetson-inference/releases 。
然后,会问你要不要安装pytorth,可以不用安装。
5)编译
make -j$(nproc)
nproc就是可用的cpu核数, NX有6个cpu,但是有2个cpu默认是关闭状态,因此这里是4个
6)安装
sudo make install
7)共享动态链接库
安装完成某个工程后生成许多动态库,为了让这些动态链接库为系统所共享,还需运行动态链接库的管理命令
sudo ldconfig
8)验证

jetson_utils库可以import,应该是成功把库安装下来了
3 玩玩
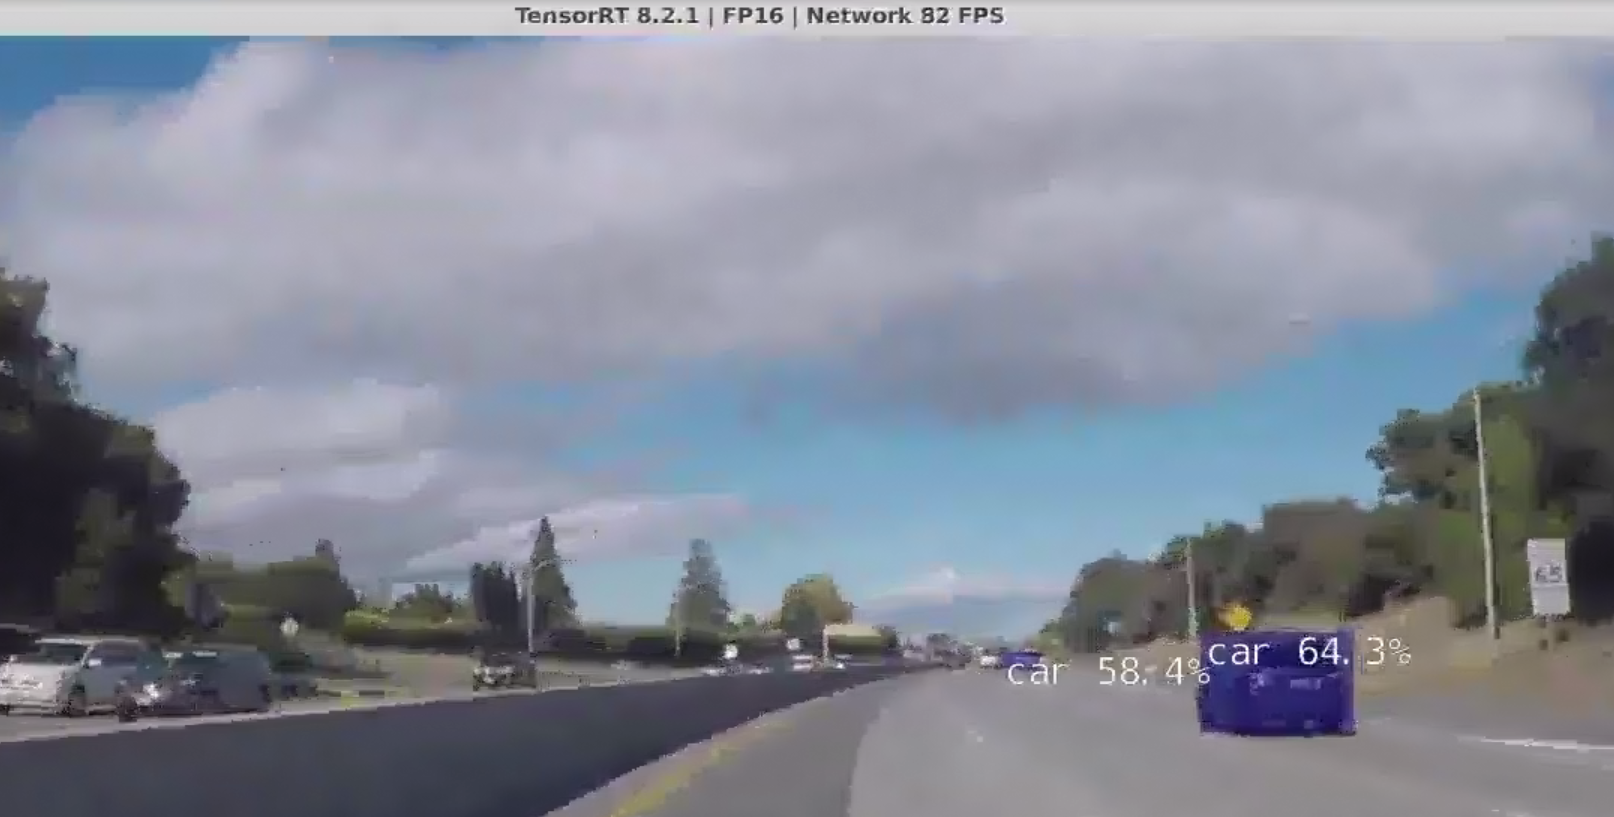
detectNet
玩这个要先下 SSD-Mobilenet-v2.tar.gz ,在这 https://github.com/dusty-nv/jetson-inference/releases/tag/model-mirror-190618
detectnet challenge_video.mp4
imageNet
玩这个要先下 GoogleNet.tar.gz ,在这 https://github.com/dusty-nv/jetson-inference/releases/tag/model-mirror-190618
cd ~/Desktop/jetson-inference/build/aarch64/bin
./imagenet-console来调用imageNet程序对输入图片检测,并将结果输出到指定位置
./imagenet-console ~/baiyug_ws/230312aPicture2.png ~/baiyug_ws/230312aPicture2_ouput.png
230312aPicture2_ouput.png如下

...
......
4 在程序中调用库接口
新建一个python程序,名为app.py
import jetson_inference
import jetson_utils
net = jetson_inference.detectNet("ssd-mobilenet-v2", threshold = 0.5)
camera = jetson_utils.videoSource("/home/jetson/baiyug_ws/challenge_video.mp4")
display = jetson_utils.videoOutput("display://0")
while display.IsStreaming():
img = camera.Capture()
detections = net.Detect(img)
display.Render(img)
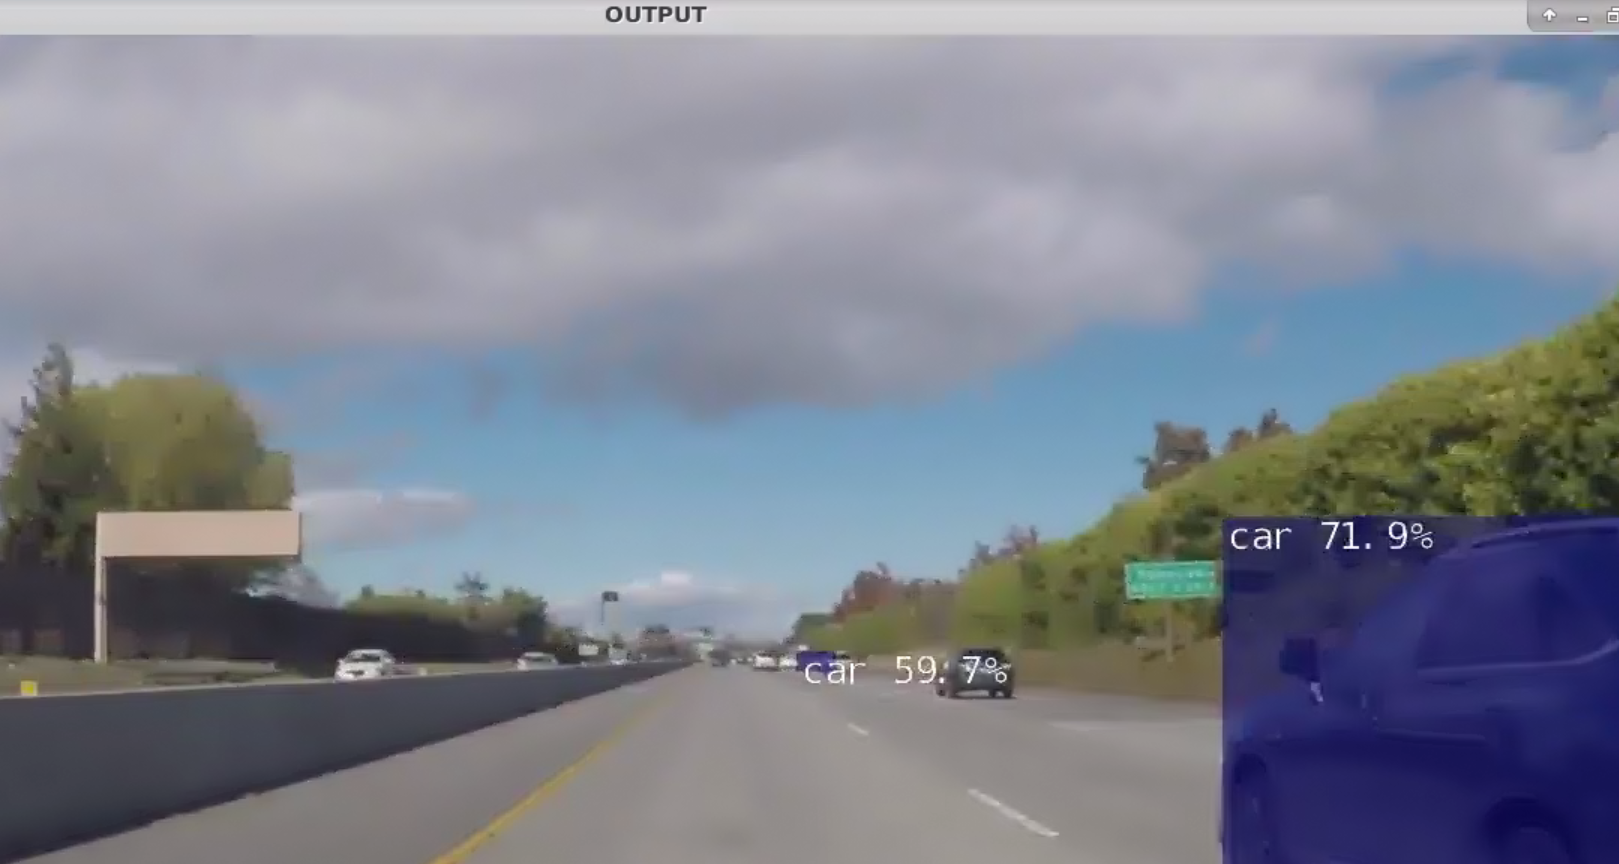
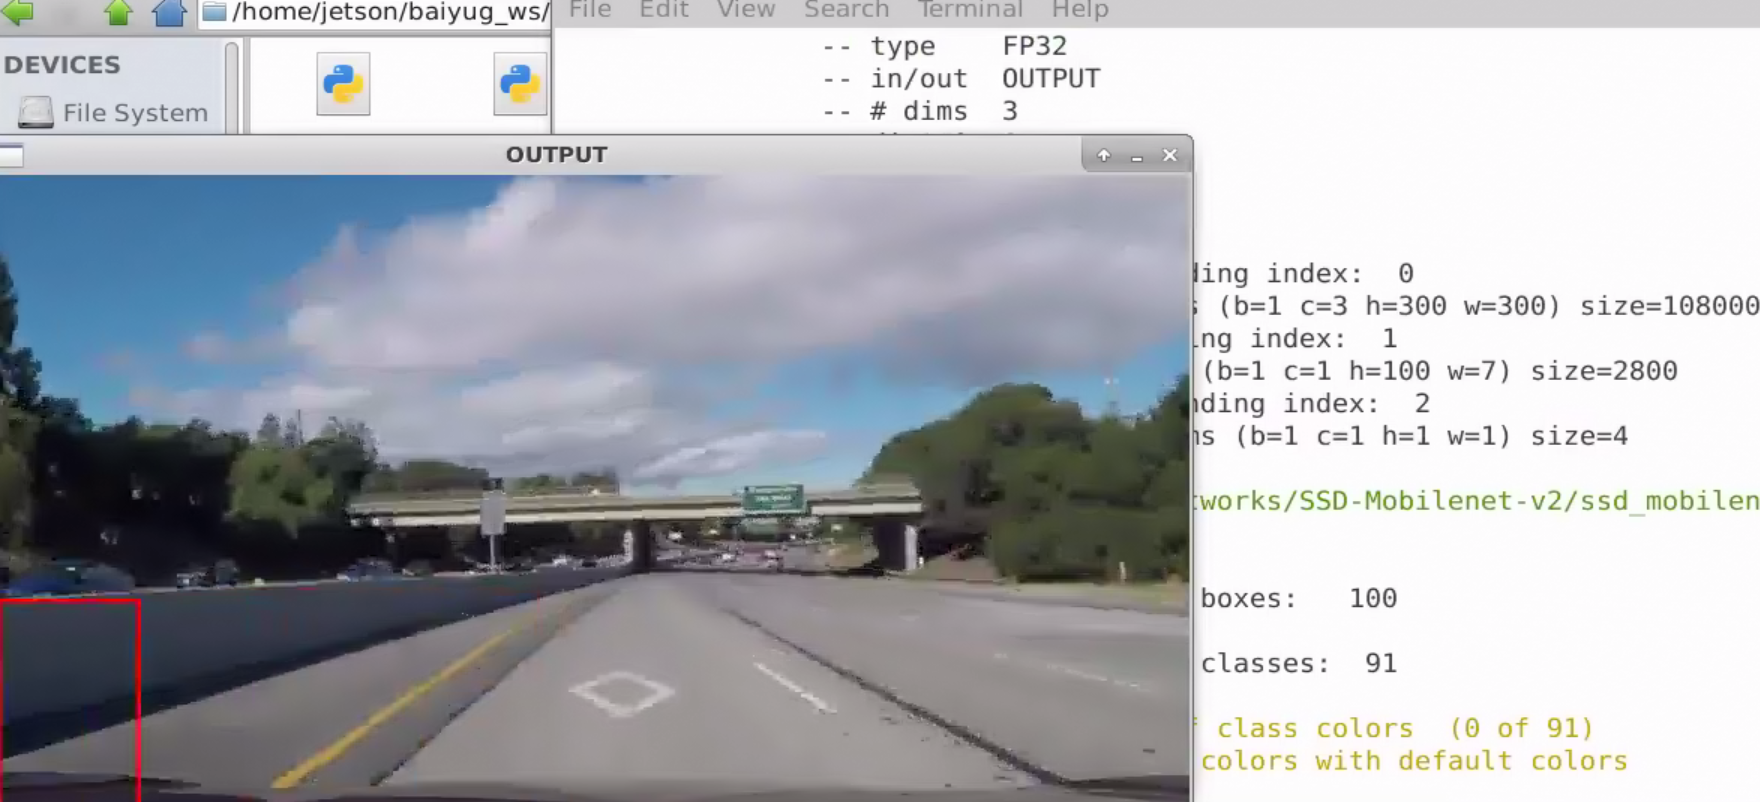
display.SetStatus("OUTPUT")
其实这就调用了detectNet这个程序
python3 app.py
效果和使用 detectNet 这个命令是一样的
5 在程序中调用库接口同时使用opencv
用resize窗口为例,有使用到imutils库
sudo apt install python3-pip
pip3 install imutils
需要点明,pip这个工具和git一样是不走系统全局代理的,要让他走代理要使用类似以下的命令
pip3 --proxy=192.168.0.17:7890 install imutils
192.168.0.17:7890就是代理服务器端口地址
然后新建python程序,名为app_use_cv2.py
import cv2
import jetson_inference
import jetson_utils
import imutils

#read the video
capture = cv2.VideoCapture("/home/jetson/baiyug_ws/challenge_video.mp4")
#load the model in need
net = jetson_inference.detectNet("ssd-mobilenet-v2")

while True:
    #read the frame
    res, frame = capture.read()
    if not res:
        break
    #resize the window
    frame = imutils.resize(frame, width = 800)
    #convert the  format from numpy to cuda
    img = jetson_utils.cudaFromNumpy(frame)
    #pass the cuda fomat image to the model
    detections = net.Detect(img)

    #printing all the boundary boxes of the detections
    for obj in detections:
        cv2.rectangle(frame, (int(obj.Left), int(obj.Bottom), int(obj.Right), int(obj.Top)), (0, 0, 255), 2)

    #display the img
    cv2.imshow("OUTPUT", frame)
    key = cv2.waitKey(1)
    if key == ord("q"):
        break

cv2.destroyAllWindows
python3 app_use_cv2
效果
6 Build OPENCV with CUDA
NX在安装SDK COMPONENTS的过程是有opencv预装的,


但是,存在一个问题,这个opencv库是不会使用cuda加速的,可以使用jtop工具查看jetson上的数据,
使用jtop要先下载一个库,jetson-stats,
sudo -H pip3 --proxy=192.168.0.17:7890 install --no-cache-dir -U jetson-stats
之所以加了一些奇怪的参数,似乎是因为jetson-stats的一个bug,详见https://github.com/rbonghi/jetson_stats/issues/86, 另外,我还使用了代理。
然后,就可以使用jtop了,
jtop
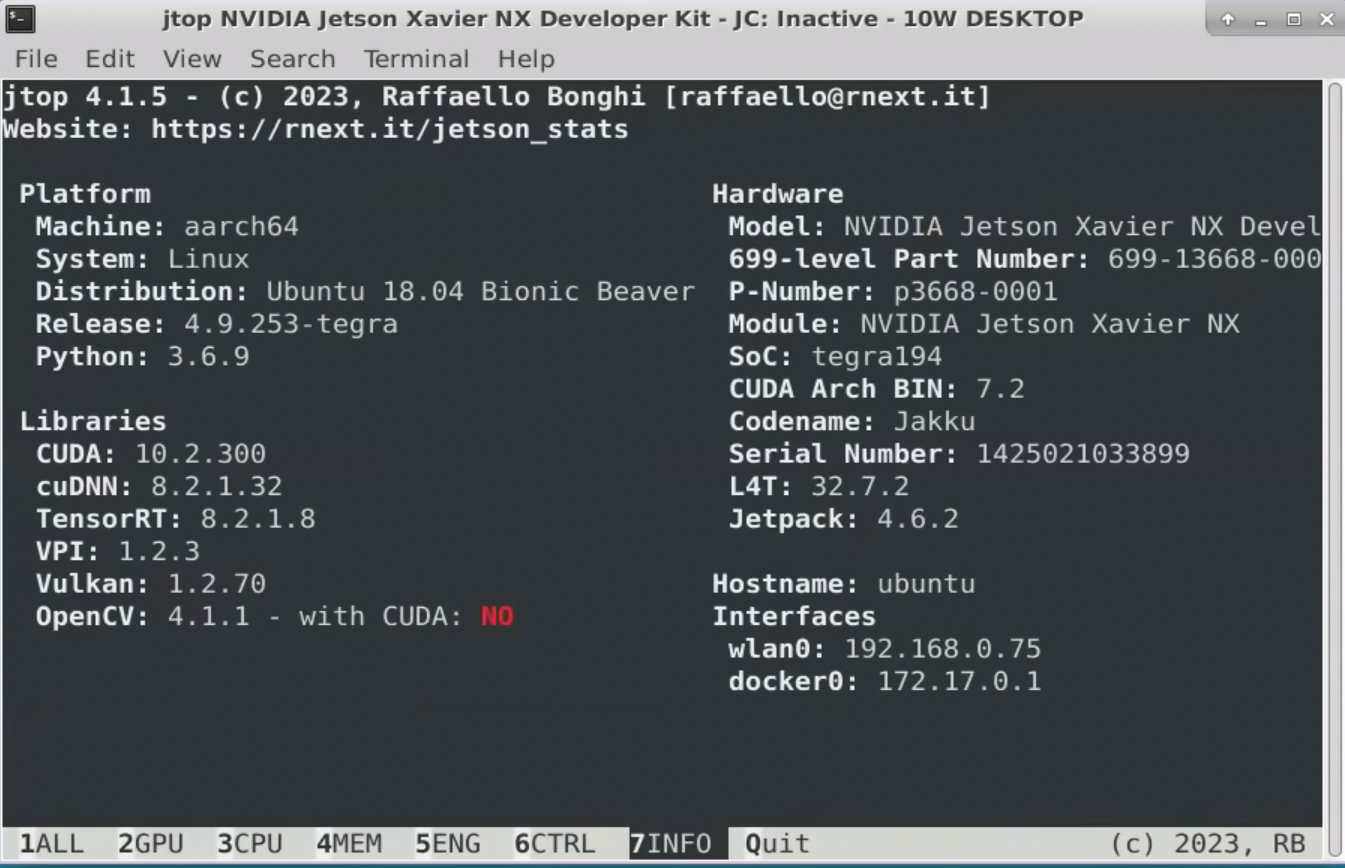
可以看到,预装的opencv no with cuda,那么如何让他yes with cuda呢
其实很简单,见 https://github.com/JetsonHacksNano/buildOpenCV
JetsonHacksNano 有个开源脚本 buildOpenCV.sh 就是用来编译opencv的,默认是 jetson nano 的参数,在 jetson NX 上使用只需要改一个地方
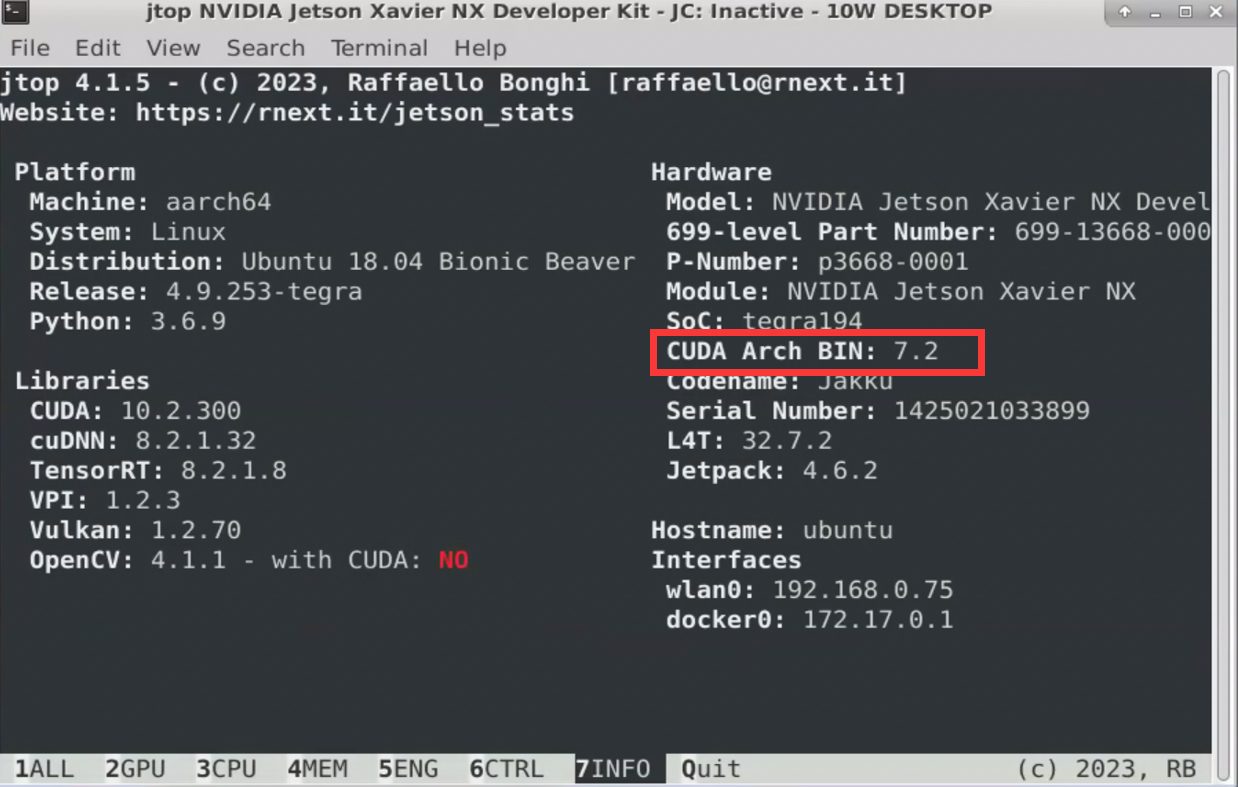
ARCH_BIN=5.3 改为 ARCH_BIN=7.2
为什么呢?
这个其实是cuda的架构参数
然后直接运行这个脚本即可
./buildOpenCV.sh |& tee build.log
这个命令分两个部分,一个是执行buildOpenCV.sh脚本, 一个是将输出到终端的日志保存在build.log文件里。
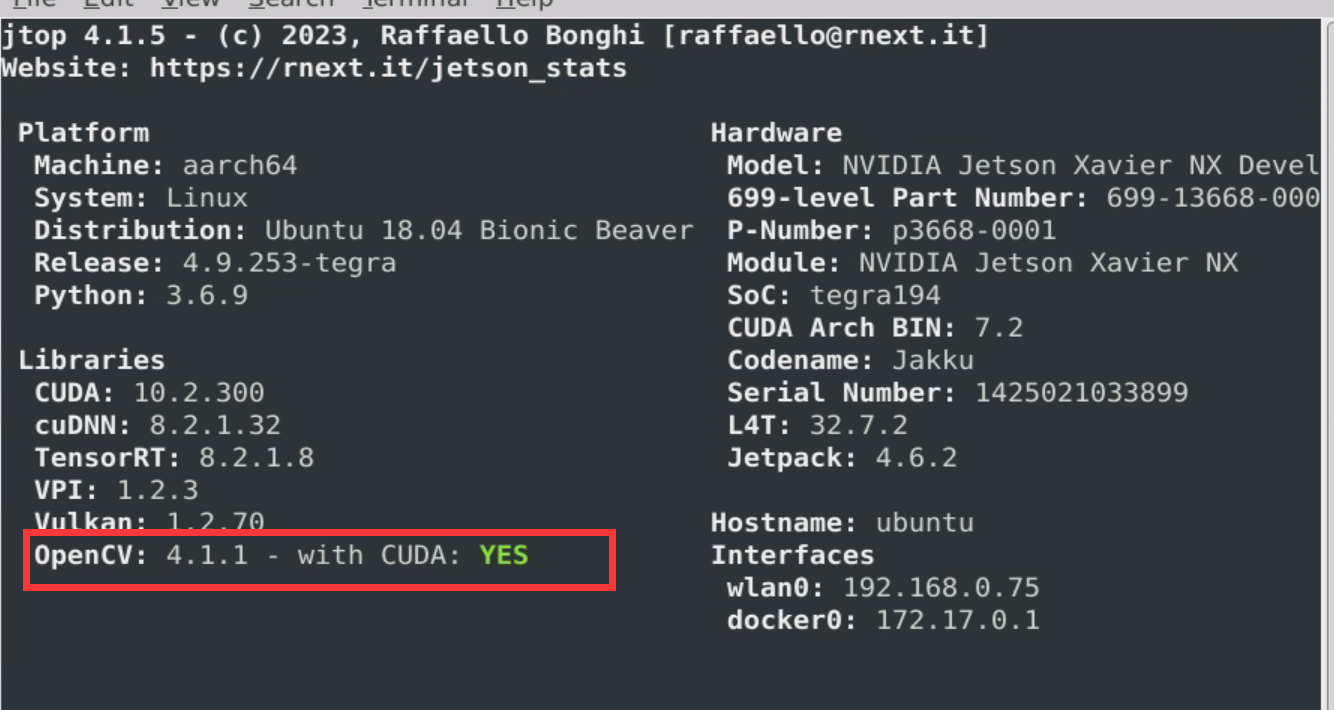
如果一切正常,一个小时差不多就可以编译完,然后就可以查看到 opencv yes with cuda 了。
当然,在国内网络条件下,如果没有合适的手段,一般会遇到问题,而且大多数是git访问问题。
这种问题首先要保证你本地的局域网上下行的速度,其次就是代理服务器的设置或者是VPN的设置问题了。

 浙公网安备 33010602011771号