
尝试的一天O.O(BBS论坛搭建)
##############################lnmp+BBS论坛系统(单机)##################################
#环境:linux内核3以上
|--------linuxCentos7.6-----Mysql8.0 ---php7.4.11----nginx.1.19.2-----|
######
#####
####
###
##
#关闭防护墙安全机制
sysytemctl stop firewalld && iptaoles -F && setenforce 0
#######################nginx部署############################
yum -y install pcre-devel zlib-devel openssl-devel gcc make gcc-c++
useradd -M -s /sbin/nologin nginx
tar xfv nginx-1.19.2.tar.gz -C /usr/src/
cd /usr/src/nginx-1.19.2.tar.gz
./configure --prefix=/usr/local/nginx --user=nginx --group=nginx --with-http_stub_status_module --with-http_ssl_module --with-http_flv_module --with-http_gzip_static_module && make && make install
ln -s /usr/local/nginx/sbin/nginx /usr/local/bin/
启停:
nginx
/usr/local/nginx/sbin/nginx -s stop
#########################mysql部署##############################
# tar xf mysql-8.0.20-linux-glibc2.12-x86_64.tar.xz
# rpm -qa|grep mariadb
# rpm -e mariadb-libs --nodeps
# mv mysql-8.0.20-linux-glibc2.12-x86_64 /usr/local/mysql
# useradd -r -s /sbin/nologin mysql
# yum install libaio -y
# cd /usr/local/mysql/
# vim my.cnf
[mysqld]
# 监听端口
port=3306
# 安装目录
basedir=/usr/local/mysql
# 数据目录
datadir=/usr/local/mysql/data
# 最大连接数
max_connections = 100
# 默认数据库引擎
default-storage-engine = InnoDB
# 字符集
character-set-server=utf8
# 错误日志
log-error = /usr/local/mysql/log/error.log
# 开启慢日志
slow_query_log = 1
# 慢查询日志时间阈值 默认是10S
long-query-time = 30
# 慢查询日志存放路径
slow_query_log_file = /usr/local/mysql/log/show.log
# 记录那些由于查找了多余1000次而引发的慢查询
min_examined_row_limit = 1000
# 记录由Slave所产生的慢查询
log-slow-slave-statements
# 如果运行的SQL语句没有使用索引,则将这条SQL语句记录到慢查询日志文件中
log-queries-not-using-indexes
########################创建配置文件中的目录################################
# mkdir data
# mkdir log
# touch log/error.log
# chown -R mysql. *
# ./bin/mysqld --initialize --user=mysql --basedir=/usr/local/mysql --datadir=/usr/local/mysql/data
#记住密码
#修改密码参考其他文档
# cp ./support-files/mysql.server /etc/rc.d/init.d/mysqld
# chmod +x /etc/rc.d/init.d/mysqld
# chkconfig --add mysqld
# service mysqld start
# ss -naltp
# echo "PATH=$PATH:/usr/local/mysql/bin" >> /etc/profile
# source /etc/profile
# mysql_secure_installation、
#输入初始密码-跟新密码-Y-Y-Y-Y
# mysql -uroot -p'密码'
#启停
#/usr/local/mysql/support-files/mysql.server start/stop
##################################php######3#######8###############
安装依赖
# yum -y install libxml2 libxml2-devel openssl openssl-devel bzip2 bzip2-devel libcurl libcurl-devel libjpeg libjpeg-devel libpng libpng-devel freetype freetype-devel gmp gmp-devel libmcrypt libmcrypt-devel readline readline-devel libxslt libxslt-devel libsqlite3x-devel oniguruma-devel sqlite-devel
#下面的依赖均是编译的(rpm包不是没有就是版本不够)
#先把wget装了
# yum -y install wget
# wget https://ftp.pcre.org/pub/pcre/pcre2-10.35.tar.bz2
# tar xjvf pcre2-10.35.tar.bz2
# cd pcre2-10.35
# ./configure --prefix=/usr/local/pcre2 \
--enable-pcre2-16 \
--enable-pcre2-32 \
--enable-jit \
--enable-jit-sealloc
# make -j8 && make -j8 install
#不要直接做export环境变量,等下编完了一起做
# wget https://github.com/libgd/libgd/releases/download/gd-2.3.0/libgd-2.3.0.tar.gz
# tar xvfz libgd-2.3.0.tar.gz
# cd libgd-2.3.0
# ./configure --prefix=/usr/local/libgd/2_3_0
# make -j8 && make -j8 install
# yum remove libzip libzip-devel
# wget https://hqidi.com/big/libzip-1.2.0.tar.gz
# tar -zxvf libzip-1.2.0.tar.gz
# cd libzip-1.2.0
# ./configure
# make -j8 && make -j8 install
# export PKG_CONFIG_PATH=/usr/local/pcre2/lib/pkgconfig/:/usr/local/libgd/2_3_0/lib/pkgconfig:/usr/local/lib64/pkgconfig/:/usr/local/lib/pkgconfig/
还有俩这个依赖,因为这类rpm链接可能会失效,所以可以去http://rpm.pbone.net/上现查现下(有时候不装这俩也行)
oniguruma5php-6.9.5+rev1-2.el7.remi.x86_64.rpm
oniguruma5php-devel-6.9.5+rev1-2.el7.remi.x86_64.rpm
############################解压###############################
# tar -jxf php-7.4.11.tar.bz2
# cd php-7.4.11
# ls
appveyor configure.ac pear tests
azure CONTRIBUTING.md php.ini-development travis
azure-pipelines.yml docs php.ini-production TSRM
build ext README.md UPGRADING
buildconf EXTENSIONS README.REDIST.BINS UPGRADING.INTERNALS
buildconf.bat LICENSE run-tests.php win32
CODING_STANDARDS.md main sapi Zend
configure NEWS scripts
配置
# ./configure --prefix=/usr/local/php7.4.11 --with-config-file-path=/usr/local/php7.4.11/etc --enable-fpm --enable-gd --with-external-gd --with-fpm-user=nginx --with-fpm-group=nginx --enable-inline-optimization --disable-debug --disable-rpath --enable-shared --enable-soap --with-libxml --with-xmlrpc --with-openssl --with-external-pcre --with-sqlite3 --with-zlib --enable-bcmath --with-iconv --with-bz2 --enable-calendar --with-curl --with-cdb --enable-dom --enable-exif --enable-fileinfo --enable-filter --enable-ftp --with-openssl-dir --with-jpeg --with-zlib-dir --with-freetype --enable-gd-jis-conv --with-gettext --with-gmp --with-mhash --enable-json --enable-mbstring --enable-mbregex --enable-pdo --with-mysqli=mysqlnd --with-pdo-mysql=mysqlnd --with-pdo-sqlite --with-readline --enable-session --enable-shmop --enable-simplexml --enable-sockets --enable-sysvmsg --enable-sysvsem --enable-sysvshm --with-xsl --with-zip --enable-mysqlnd-compression-support --with-pear --enable-opcache
编译及安装
# make && make install
###########################################环境变量########################3
环境变量
# echo "PATH=$PATH:/usr/local/php7.4.11" >> /etc/profile
# source /etc/profile
拷贝配置文件
php.ini 默认php配置文件
php-fpm.conf php-fpm相关的配置 (默认存在模板)
www.conf php-fpm主配置文件(默认存在模板)
进入安装包路径下
[root@node1 php-7.4.11]# pwd
/root/php-7.4.11
[root@node1 php-7.4.11]# cp php.ini-production /usr/local/php7.4.11/etc/php.ini
#######################
[root@node1 php-7.4.11]# cd /usr/local/php7.4.11/
[root@node1 php7.4.11]# cp etc/php-fpm.conf.default etc/php-fpm.conf
[root@node1 php7.4.11]# cp etc/php-fpm.d/www.conf.default etc/php-fpm.d/www.conf
#######################
启动脚本
进入安装包路径下
[root@node1 php-7.4.11]# cp sapi/fpm/init.d.php-fpm /etc/init.d/php-fpm
[root@node1 php-7.4.11]# chmod +x /etc/init.d/php-fpm
启停php
# /etc/init.d/php.fpm start / stop
# ss -naltp|grep 9000
# chkconfig --level 2345 php-fpm on
# chkconfig --list|grep php-fpm
#php-fpm 0:off 1:off 2:on 3:on 4:on 5:on 6:off
#####################关联nginx于php###########################
# vim /etc/nginx/nginx.conf
可以看到nginx.conf文件中,对于如何配置php转发,是有范例的
........
56
57 # proxy the PHP scripts to Apache listening on 127.0.0.1:80
58 #
59 #location ~ \.php$ {
60 # proxy_pass http://127.0.0.1;
61 #}
62
63 # pass the PHP scripts to FastCGI server listening on 127.0.0.1:9000
64 #
65 #location ~ \.php$ {
66 # root html;
67 # fastcgi_pass 127.0.0.1:9000;
68 # fastcgi_index index.php;
69 # fastcgi_param SCRIPT_FILENAME /scripts$fastcgi_script_name;
70 # include fastcgi_params;
71 #}
72
73 # deny access to .htaccess files, if Apache's document root
74 # concurs with nginx's one
75 #
76 #location ~ /\.ht {
77 # deny all;
78 #}
依据这个范例,去 “虚拟主机” 配置文件里修改,不直接修改主配置文件
新建子配置目录
# cd /usr/local/nginx
# mkdir conf/extra
新建项目目录
# mkdir /usr/local/nginx/html/web
新建虚拟主机对应的子配置文件
# vim conf/extra/test.conf
server{
listen 80;
server_name www.test.com;
root /usr/local/nginx/html/web;
location / {
index index.html index.htm index.php;
}
location ~ \.php$ {
fastcgi_pass 127.0.0.1:9000;
fastcgi_index index.php;
fastcgi_param SCRIPT_FILENAME $document_root$fastcgi_script_name;
include fastcgi_params;
}
error_page 500 502 503 504 /50.html;
location = /50.html {
root html;
}
}
修改nginx.conf主配置文件,使其读取子配置目录
# vim nginx.conf
......
33 include extra/*.conf; #server区块之前,http区块之内加这一句即可
......
重载nginx
# service nginx reload
Reloading nginx configuration (via systemctl): [ OK ]
编写一个php测试页测试
# cd /usr/local/nginx/html/test/
# vim test.php
<?php
phpinfo();
?>
###########################部署完成##############################
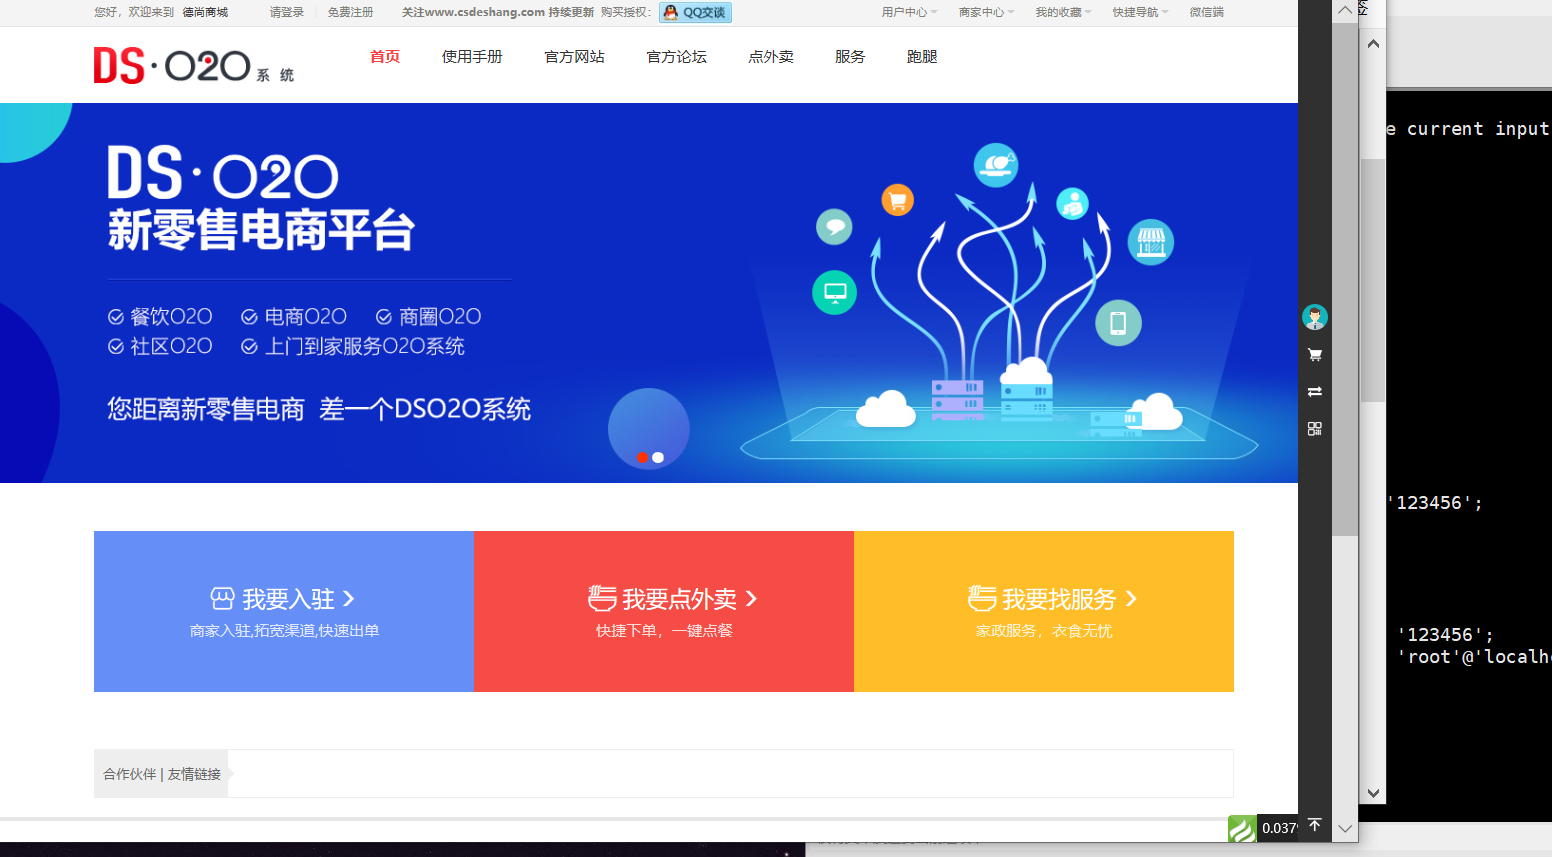
搭建一个外买电商平台
http://www.csdeshang.com/home/download/index.html
解压到web后
新建dsdshop.conf虚拟主机配置文件,
# cd /usr/local/nginx/
# vim conf/extra/dsshop.conf
server{
listen 80;
server_name www.test.com;
root /usr/local/nginx/html/dsshop/public/;
location / {
index index.html index.htm index.php;
}
location ~ \.php$ {
fastcgi_pass 127.0.0.1:9000;
fastcgi_index index.php;
fastcgi_param SCRIPT_FILENAME $document_root$fastcgi_script_name;
include fastcgi_params;
}
error_page 500 502 503 504 /50.html;
location = /50.html {
root html;
}
}
# systemctl reload nginx
# chmod -R a+w public
# chmod -R a+w runtime
# chmod a+w config/database.php
##############################################
进入mysql
mysql> create database web;
mysql> create user 'web'@'localhost' identified by 'LIkun19981017.';
mysql> grant all on web.* to 'web'@'localhost';
mysql> flush privileges;
浏览器测试
admin
LIKUN199810
完!
常见报错问题:
###################################################
如果安装步骤完成后跳转主页面时,出现以上报错,打不开界面,90%可能是lnmp版本不匹配

这个报错小编多方寻找
在mysql 的error报错日志里:提升说是:无法打开或创建系统表空间。如果尝试向系统表空间添加新数据文件,但在这里失败了,那么现在应该在my.cnf中编辑innodb_data_file_path,并删除InnoDB在这个失败尝试中创建的新ibdata文件(网上贴子也特别多,基本上分两种解决方法)
一种:删除论坛BBS数据库里的表,重新建立表结构,并插入数据(但是bbs数据库里表太多了,可能不太现实重做数据结构)
一种:可能是mysql版本和bbs论坛源码版本不匹配,最好的选择官网要求的版本来做(这里小编神经尝试了一下,mysql5版本就可以支持)
最后,以上问题小编选择了重新装低版本(以前博客有文档)
以下是卸载论坛方法:
################################卸载论坛#######################################################
系统已经安装过了,如果要重新安装,那么请删除public/install目录下的install.lock文件

 浙公网安备 33010602011771号