

MySQL (sql语句-优化-连接)
首先SQL语句分类:
1、数据定义语言(DDL)
创建、修改或删除数据库中各种对象,包括表、视图、索引等。
命令:CREATE TABLE , CREATE VIEW, CREATE INDEX、ALTER TABLE ,
DROP TABLE , DROP VIEW, DROP INDEX
2、查询语言(DQL)
按照指定的组合、条件表达式或排序检索已存在的数据库中数据,
不改变数据库中数据。
命令:SELECT…FROM…WHERE…
3、数据操纵语言(DML)
对已经存在的数据库进行元组的插入、删除、修改等操作
命令:INSERT、UPDATE、DELETE
4、数据控制语言(DCL)
用来授予或收回访问数据库的某种特权、
控制数据操纵事务的发生时间及效果、对数据库进行监视
命令:GRANT、REVOKE、COMMIT、ROLLBACK
显示连接的用户
mysql> select user();
查看数据库中所有连接用户:
mysql> select user,host from mysql.user;
创建连接用户'likun'
mysql>create user 'likun'@'localhost' identified by'123123'; ##likun是用户名,localhost是只连接本机(外机输IP)123123是用户数据库密码
给新用户全部访问数据库权限
mysql>grant all on *.* to 'likun'@'localhost';
查看用户的访问权限
mysql> show grants for 'likun'@'localhost'\G
新建用户和授权一步完成
mysql> grant all on *.* to li@'localhost' identified by '123456';
创建并授权给root一样的权限:
mysql> grant all on *.* to kun@'localhost' identified by '123123' with grant option;
回收用户的权限(在root用户登陆的mysql里操作)
mysql> revoke insert on *.* from kun@localhost;
删除用户
mysql> drop user 'kun'@'localhost';
显示数据库基本信息
mysql> status
查看当前库
mysql> show databases;
进入指定库
mysql> use client
显示当前使用的库
mysql> select database();
查看库中全部表
mysql> show tables;
显示库中表的数据结构
mysql> describe user_info;
mysql> describe client.user_info;
删除数据表/库
mysql> drop table client.user_women;
mysql> drop database client;
刷新
mysql> flush privileges;
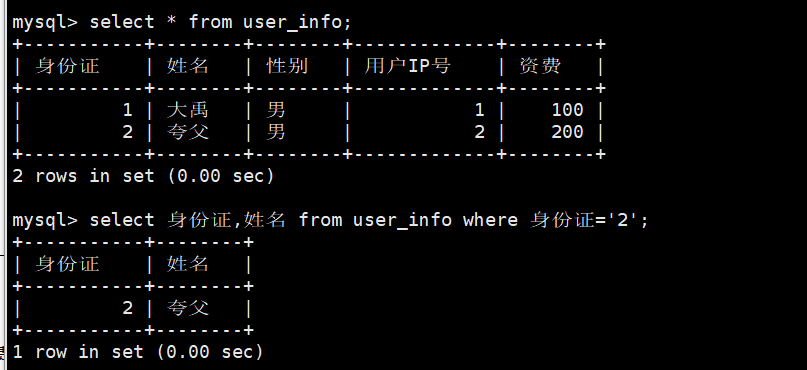
从数据库中查询需要的数据(如图)
mysql> select 字段,字段 from 数据表名 where 字段='数据行';
修改数据表中数据
UPDATE 表名 SET 字段名1=新值1[,字段名2=新值2] WHERE 条件表达式;
查看授权的用户权限(如图)
mysql> show grants for 'root'@'192.168.30.223'

撤销用户权限
REVOKE 权限列表 ON 数据库名.表名 FROM 用户名@域名或IP
mysql> revoke all on *.* from 'root'@'192.168.30.223';

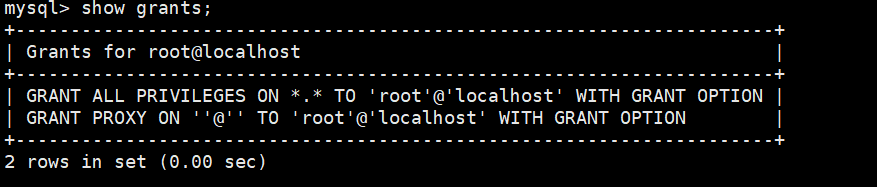
显示数据安全权限
mysql> show grants;
显示数据库错误与警告信息
mysql> show errors;
mysql> show warnings;
显示用户与时间
mysql> select current_user(),current_timestamp;
mysql> use client;
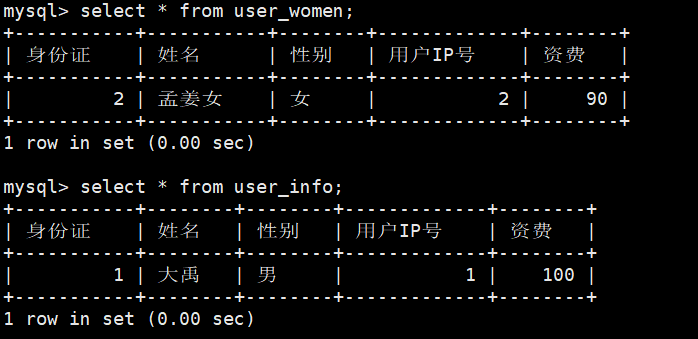
交叉查询方法
mysql> select * from user_info cross join user_women;

mysql> select * from user_info,user_women;

但是这样的查询,把两个表连接到了一起,其实只是乘加,没有什么实际的可取,需要体现可用之处,用内连接
——————————————————————————————————————————————————
character-set-server=utf8
collation-server = utf8_general_ci
[client]
default-character-set = utf8
安装 :mariadb mariadb-server
开启:[root@localhost ~]# systemctl start mariadb
转移中文输入:[root@localhost ~]# mysql
vim /etc/my.snf
------------------------------------------------------------
default-storage-engine = INNODB
character-set-server = utf8
collation-server = utf8_general_ci
default-character-set = utf8
------------------------------------------------------------
进入mysql
启用库 >use client;
创建表 >create table user_info(身份证 int(20),姓名 char(20),性别 char(2),用户IP号 int(110),资费 int(10));
输入数据 >insert into user_info values('000000001','孙空武','男','011','100');
查询表数据 >select * from user_info;
退出 > exit
模拟备份还原------------------------------------------------------------------------------------------------
先建立一个目录
[root@localhost ~]# mkdir /backup
备份
[root@localhost ~]# mysqldump -uroot client user_info > /backup/client.user_info-$(date +%Y%m%d).sql
模拟出差错
[root@localhost ~]# mysql -uroot -e 'drop table client.user_info;'
[root@localhost ~]# mysql -uroot -e 'use client; show tables;'
备份还原
[root@localhost ~]# mysql -uroot client < /backup/client.user_info-20191012.sql
查询是否还原
[root@localhost ~]# mysql -uroot -e 'select * from client.user_info;
----------------------------------------------------------------------------------------------------
----------------------------------------------------------------------------------------------------
定期备份数据(脚本)
[root@localhost ~]# which mysqldump
[root@localhost ~]# vim /opt/bak_client.sh===============================
#!/bin/bash
# 备份
/usr/bin/mysqldump -uroot client user_info > /backup/client.user_info-$(date +%Y%m%d).sql
=============================================================
[root@localhost ~]# chmod +x /opt/bak_client.sh
[root@localhost ~]# crontab -u root -e
[root@localhost ~]# crontab -l
0 0 * * * /opt/bak_client.sh
重启一下: systemctl restart crond
window连接数据库软件安装
Navicat
先授权Windows客户机地址拥有访问权限:
这里的192.168.200.2是windows主机IP :只需要修改IP即可
mysql> grant all on *.* to 'root'@'192.168.200.2' IDENTIFIED BY '123456';
mysql> flush privileges;
在window里安装Navicat
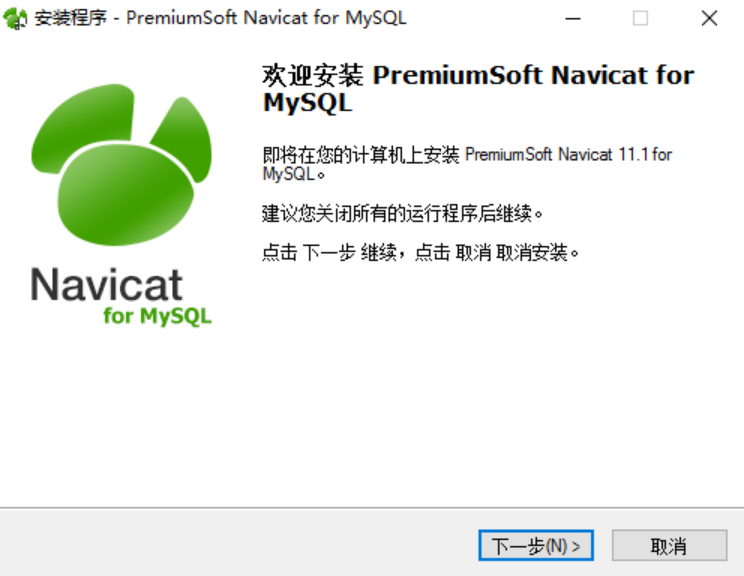
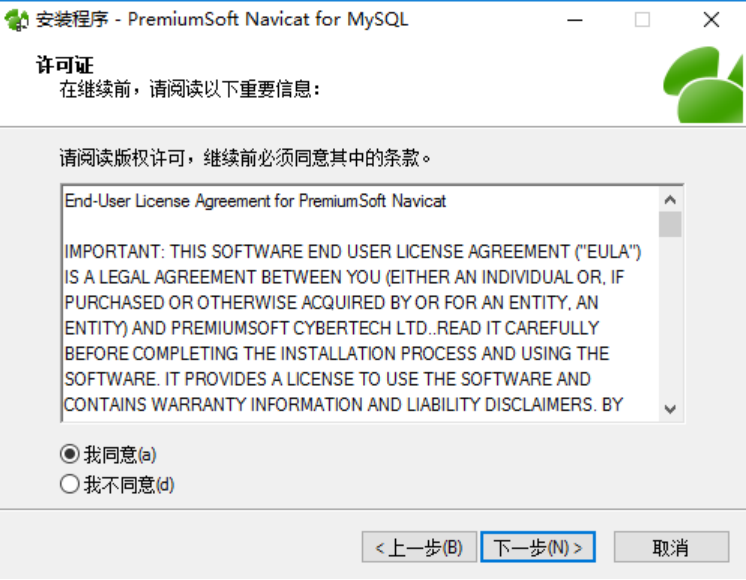

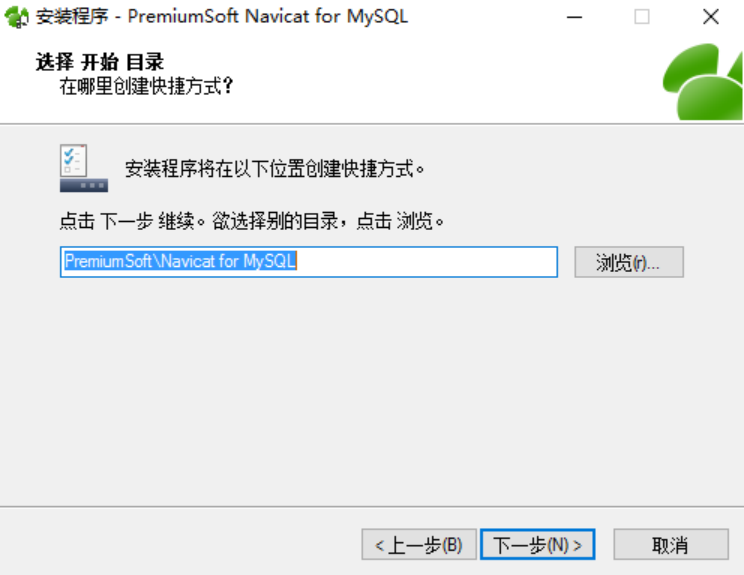
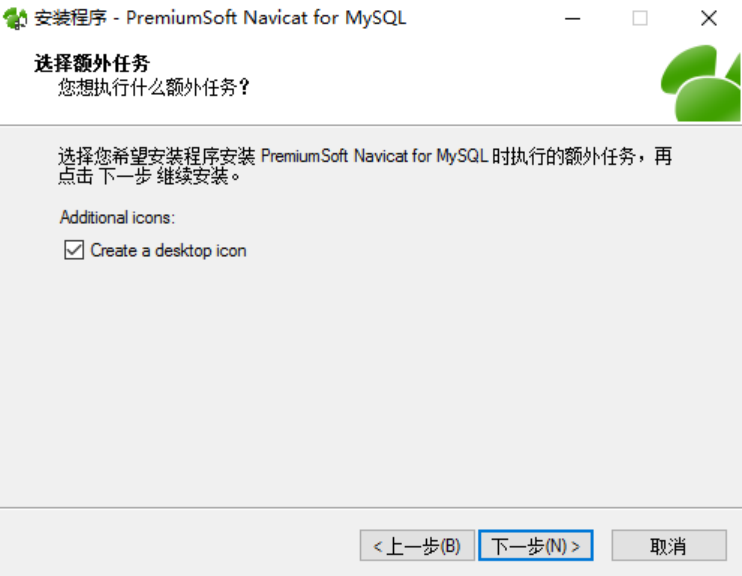
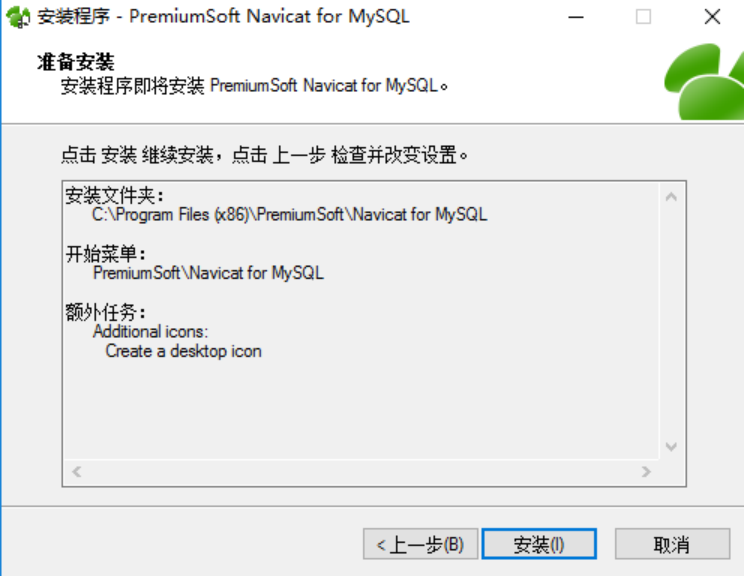
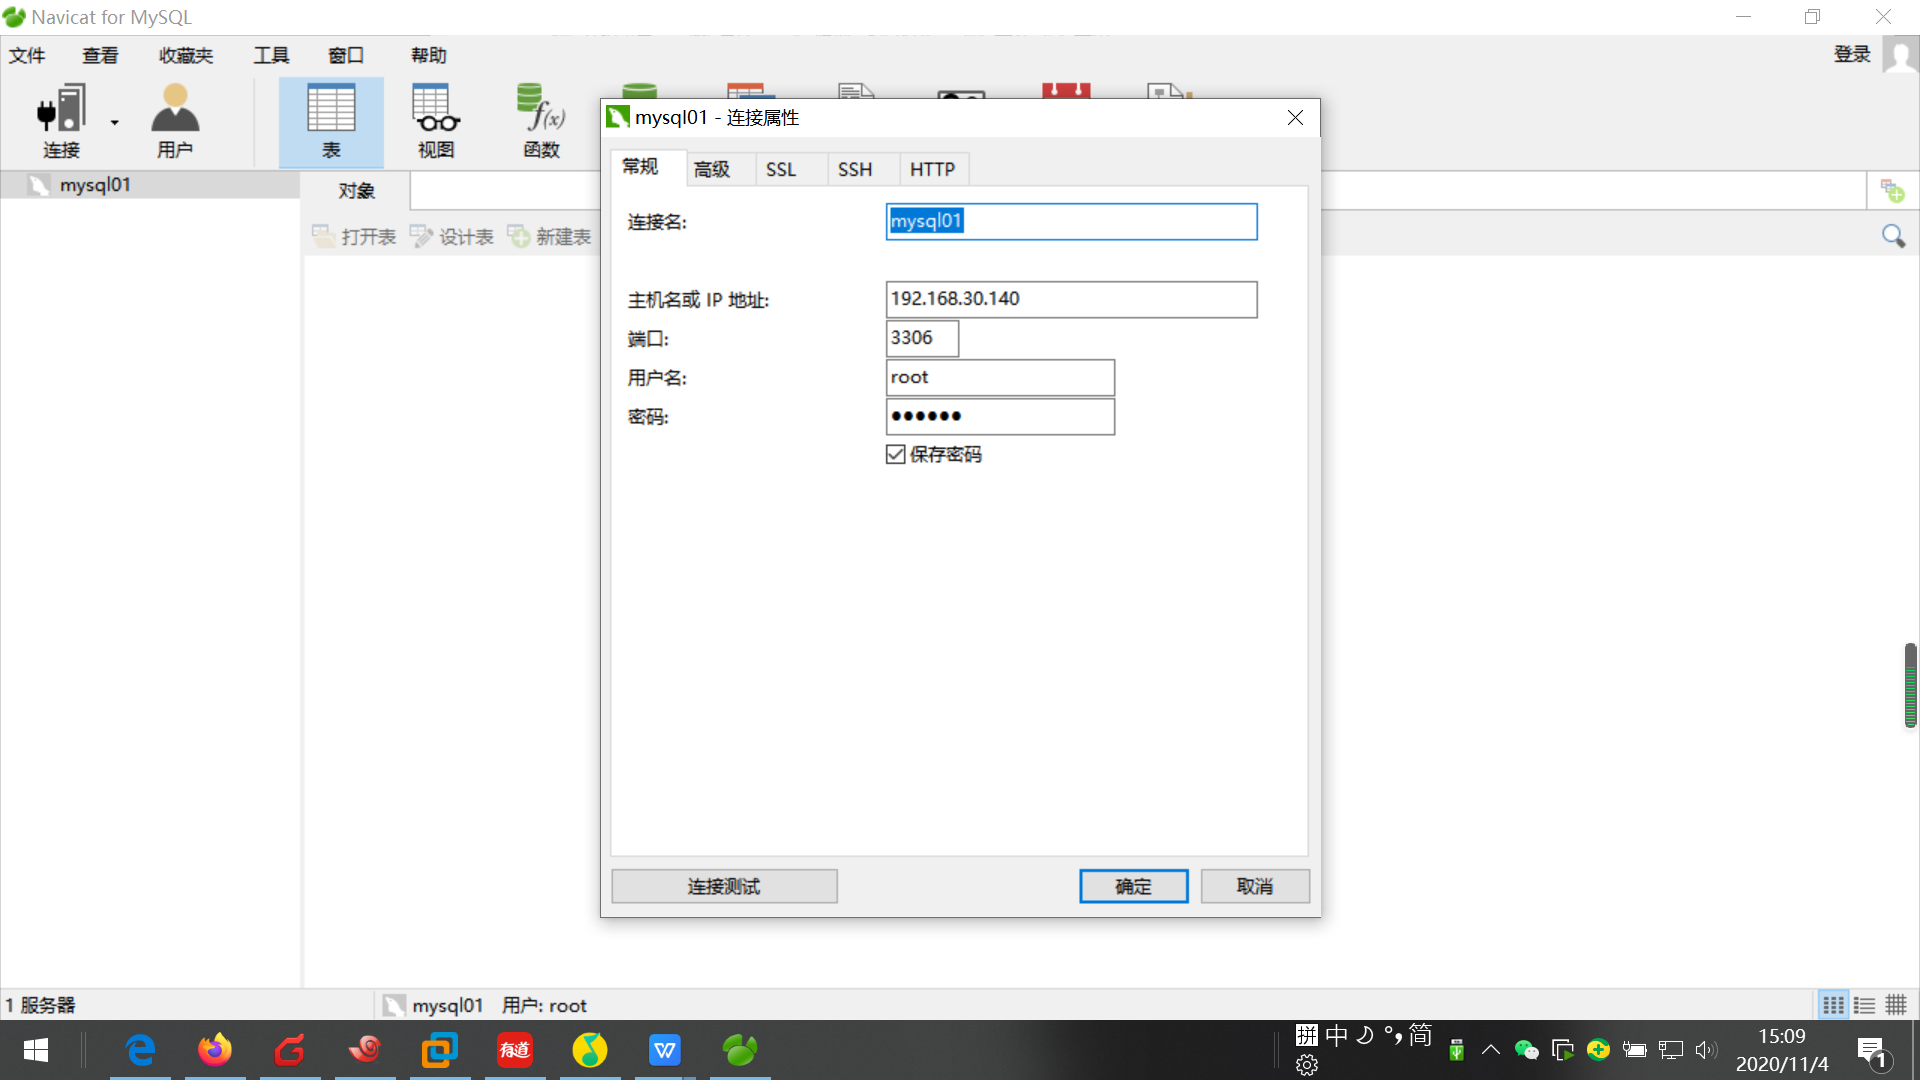
完成安装后,打开程序
完成连接数据库
这里主机IP是数据库服务器IP

 浙公网安备 33010602011771号