
实验4:开源控制器实践——OpenDaylight
一、实验目的
1、能够独立完成OpenDaylight控制器的安装配置;
2、能够使用Postman工具调用OpenDaylight API接口下发流表。
二、实验环境
Ubuntu 20.04 Desktop amd64
三、实验要求
(一)基本要求
1、利用Mininet平台搭建下图所示网络拓扑,并连接OpenDaylight控制器
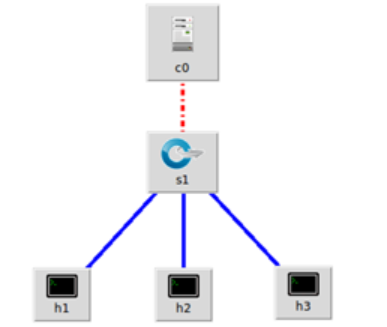
使用命令创建topo
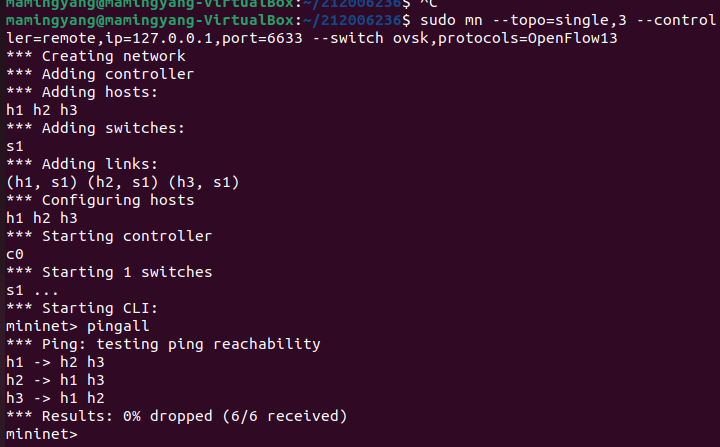
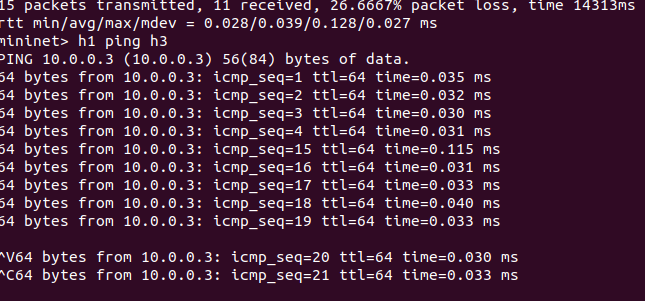
通过Postman工具调用OpenDaylight提供的API下发流表,实现拓扑内主机h1和h3网络中断10s。

进阶实验:
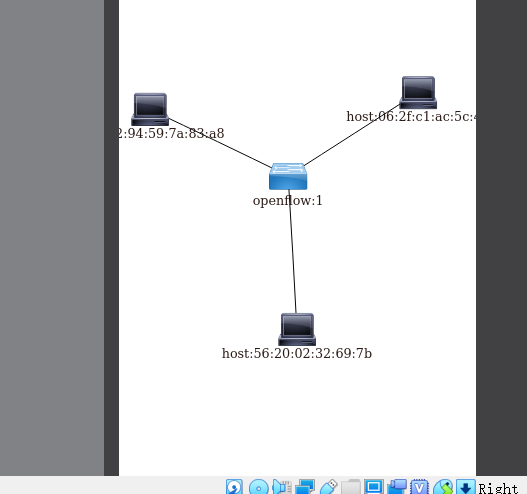
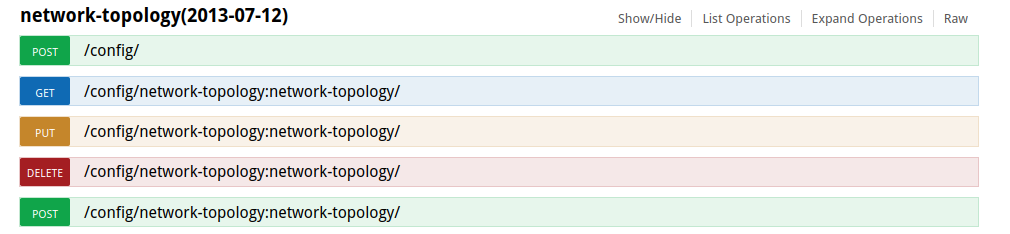
获取拓扑的交换机
url:http://127.0.0.1:8181/apidoc/explorer/index.html#!/network-topology(2013-07-12)/GET_network_topology_g
获取特定交换机端口的状态
url:http://127.0.0.1:8181/apidoc/explorer/index.html#!/opendaylight-port-statistics(2013-12-14)/get_node_connector_statistics_post_0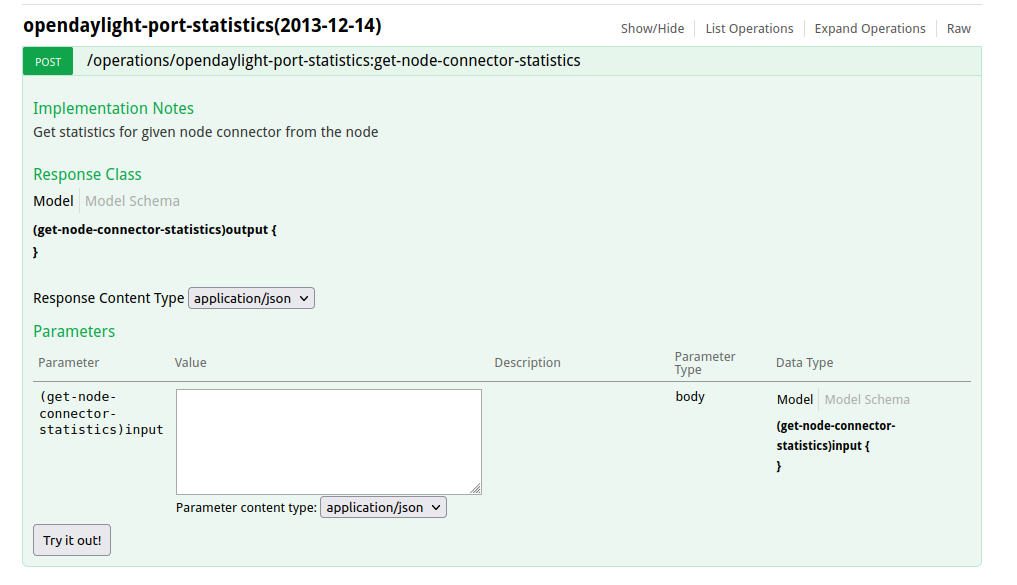
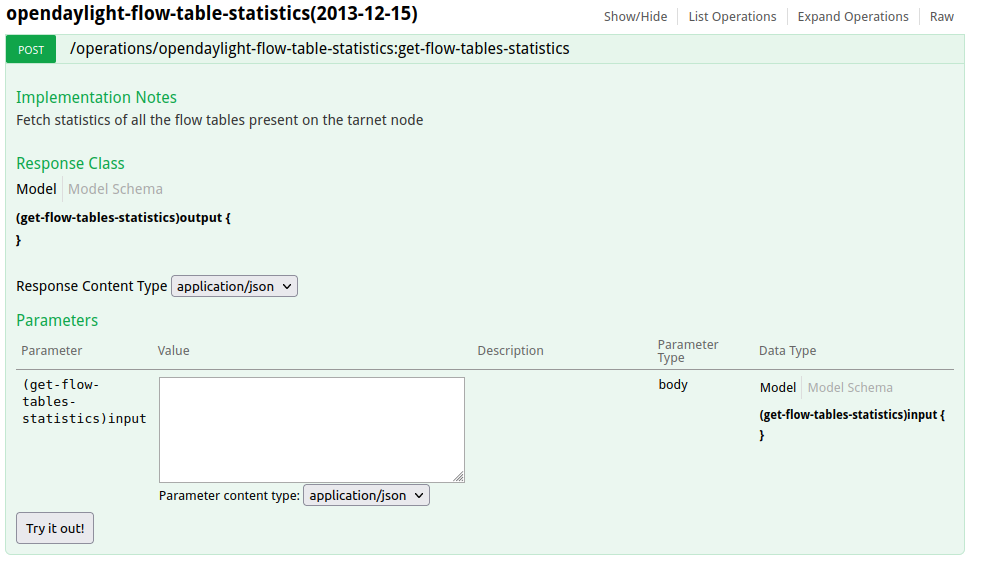
新增修改和删除流表

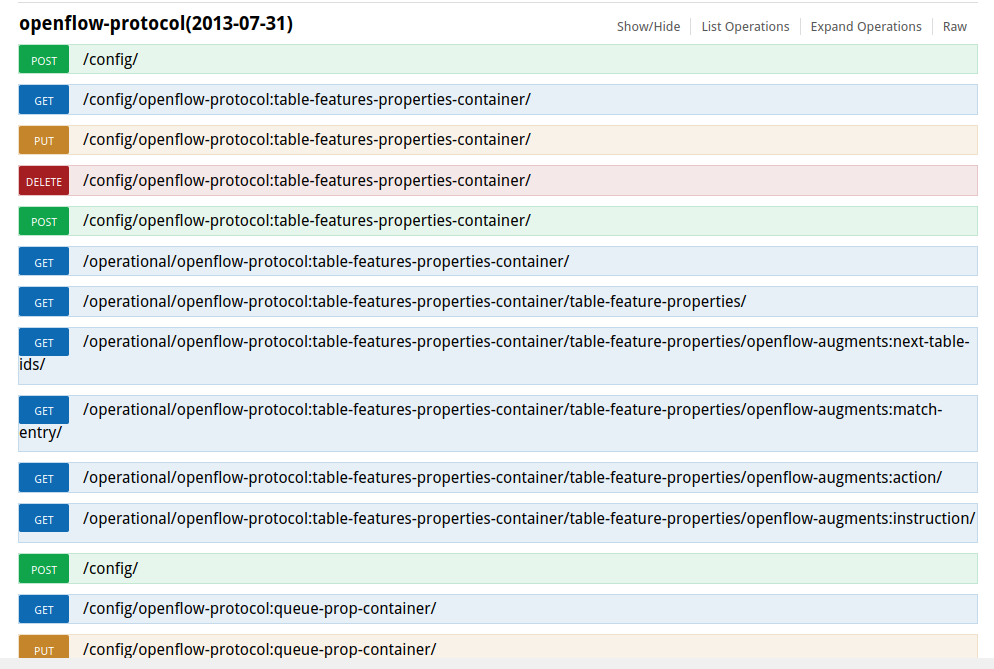
交换机的协议
url:http://127.0.0.1:8181/apidoc/explorer/index.html#!/openflow-protocol(2013-07-31)
个人总结:这次实验主要考察的是对Postman的使用,对于第一次使用Postman的我有点不熟练,在实验时的步骤有些错乱,但上手之后就会变得非常容易。
在pingall时要先pingall后在点击send才会出现10s的断流。

 浙公网安备 33010602011771号