数据采集与融合技术_实验五
-
作业①:
1)京东商品爬取
– 要求:熟练掌握 Selenium 查找HTML元素、爬取Ajax网页数据、等待HTML元素等内容。
– 使用Selenium框架爬取京东商城某类商品信息及图片。
– 候选网站:http://www.jd.com/
– 关键词:学生自由选择
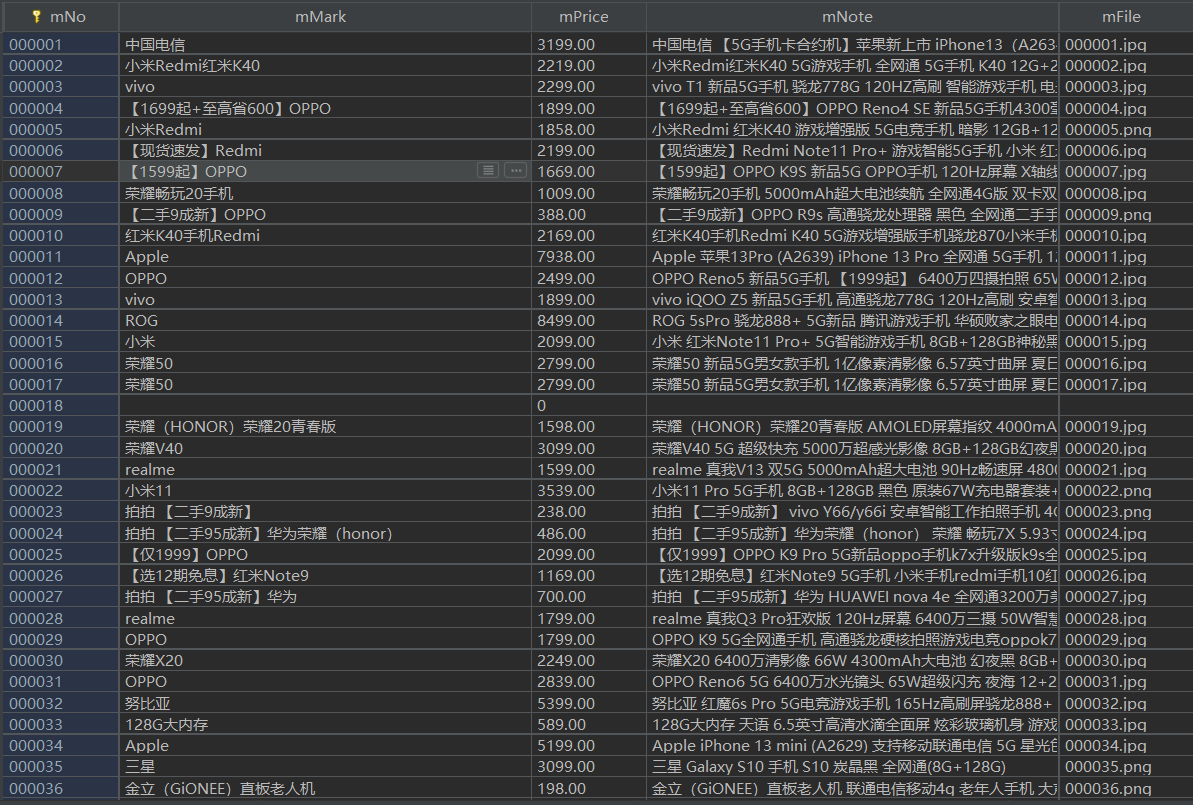
– 输出信息:MYSQL的输出信息如下:
| mNo | mMark | mPrice | mNote | mFile |
|---|---|---|---|---|
| 000001 | 三星Galaxy | 9199.00 | 三星Galaxy Note20 Ultra 5G... | 000001.jpg |
| 000002...... |
完成过程:
1.核心爬虫部分代码
    def processSpider(self):
        try:
            time.sleep(1)
            print(self.driver.current_url)
            lis =self.driver.find_elements_by_xpath("//div[@id='J_goodsList']//li[@class='gl-item']")
            for li in lis:
            # We find that the image is either in src or in data-lazy-img attribute
                try:
                    src1 = li.find_element_by_xpath(".//div[@class='p-img']//a//img").get_attribute("src")
                except:
                    src1 = ""

                try:
                    src2 = li.find_element_by_xpath(".//div[@class='p-img']//a//img").get_attribute("data-lazy-img")
                except:
                    src2 = ""
                try:
                    price = li.find_element_by_xpath(".//div[@class='p-price']//i").text
                except:
                    price = "0"

                try:
                    note = li.find_element_by_xpath(".//div[@class='p-name p-name-type-2']//em").text
                    mark = note.split(" ")[0]
                    mark = mark.replace("爱心东东\n", "")
                    mark = mark.replace(",", "")
                    note = note.replace("爱心东东\n", "")
                    note = note.replace(",", "")

                except:
                    note = ""
                    mark = ""
                self.No = self.No + 1
                no = str(self.No)
                while len(no) < 6:
                    no = "0" + no
                print(no, mark, price)
                if src1:
                    src1 = urllib.request.urljoin(self.driver.current_url, src1)
                    p = src1.rfind(".")
                    mFile = no + src1[p:]
                elif src2:
                    src2 = urllib.request.urljoin(self.driver.current_url, src2)
                    p = src2.rfind(".")
                    mFile = no + src2[p:]
                if src1 or src2:
                    T = threading.Thread(target=self.download, args=(src1, src2, mFile))
                    T.setDaemon(False)
                    T.start()
                    self.threads.append(T)
                else:
                    mFile = ""
                self.insertDB(no, mark, price, note, mFile)
            try:
                self.driver.find_element_by_xpath("//span[@class='p-num']//a[@class='pn-next disabled']")
            except:
                nextPage = self.driver.find_element_by_xpath("//span[@class='p-num']//a[@class='pn-next']")
                time.sleep(10)
                nextPage.click()
                self.processSpider()
        except Exception as err:
            print(err)
2.爬取相关图片至指定路径
    def download(self, src1, src2, mFile):
        data = None
        if src1:
            try:
                req = urllib.request.Request(src1, headers=MySpider.headers)
                resp = urllib.request.urlopen(req, timeout=10)
                data = resp.read()
            except:
                pass
        if not data and src2:
            try:
                req = urllib.request.Request(src2, headers=MySpider.headers)
                resp = urllib.request.urlopen(req, timeout=10)
                data = resp.read()
            except:
                pass
        if data:
            print("download begin", mFile)
            fobj = open(MySpider.imagePath + "\\" + mFile, "wb")
            fobj.write(data)
            fobj.close()
            print("download finish", mFile)
3.数据库操作部分代码
def startUp(self, url, key):
# # Initializing Chrome browser
chrome_options = Options()
chrome_options.add_argument('--headless')
chrome_options.add_argument('--disable-gpu')
self.driver = webdriver.Chrome(chrome_options=chrome_options)
# Initializing variables
self.threads = []
self.No = 0
self.imgNo = 0
# Initializing database
try:
self.conn = pymysql.connect(host='localhost', port=3306, user='root', password='123456', db='mydb',
charset='utf8')
self.cursor = self.conn.cursor()
try:
# 如果有表就删除
self.cursor.execute("drop table phones")
except:
pass
try:
# 建立新的表
sql = "create table phones (mNo varchar(32) primary key, mMark varchar(256),mPrice varchar(32),mNote varchar(1024),mFile varchar(256))"
self.cursor.execute(sql)
except:
pass
except Exception as err:
print(err)
# Initializing images folder
try:
if not os.path.exists(MySpider.imagePath):
os.mkdir(MySpider.imagePath)
images = os.listdir(MySpider.imagePath)
for img in images:
s = os.path.join(MySpider.imagePath, img)
os.remove(s)
except Exception as err:
print(err)
self.driver.get(url)
keyInput = self.driver.find_element_by_id("key")
keyInput.send_keys(key)
keyInput.send_keys(Keys.ENTER)
def closeUp(self):
try:
self.con.commit()
self.con.close()
self.driver.close()
except Exception as err:
print(err);
def insertDB(self, mNo, mMark, mPrice, mNote, mFile):
try:
sql = "insert into phones (mNo,mMark,mPrice,mNote,mFile) values (?,?,?,?,?)"
self.cursor.execute(sql, (mNo, mMark, mPrice, mNote, mFile))
except Exception as err:
print(err)
def showDB(self):
try:
conn = pymysql.connect(host='localhost', port=3306, user='root', password='123456', db='mydb',
charset='utf8')
cursor = conn.cursor()
print("%-8s%-16s%-8s%-16s%s"%("No", "Mark", "Price", "Image", "Note"))
cursor.execute("select mNo,mMark,mPrice,mFile,mNote from phones order by mNo")
rows = cursor.fetchall()
for row in rows:
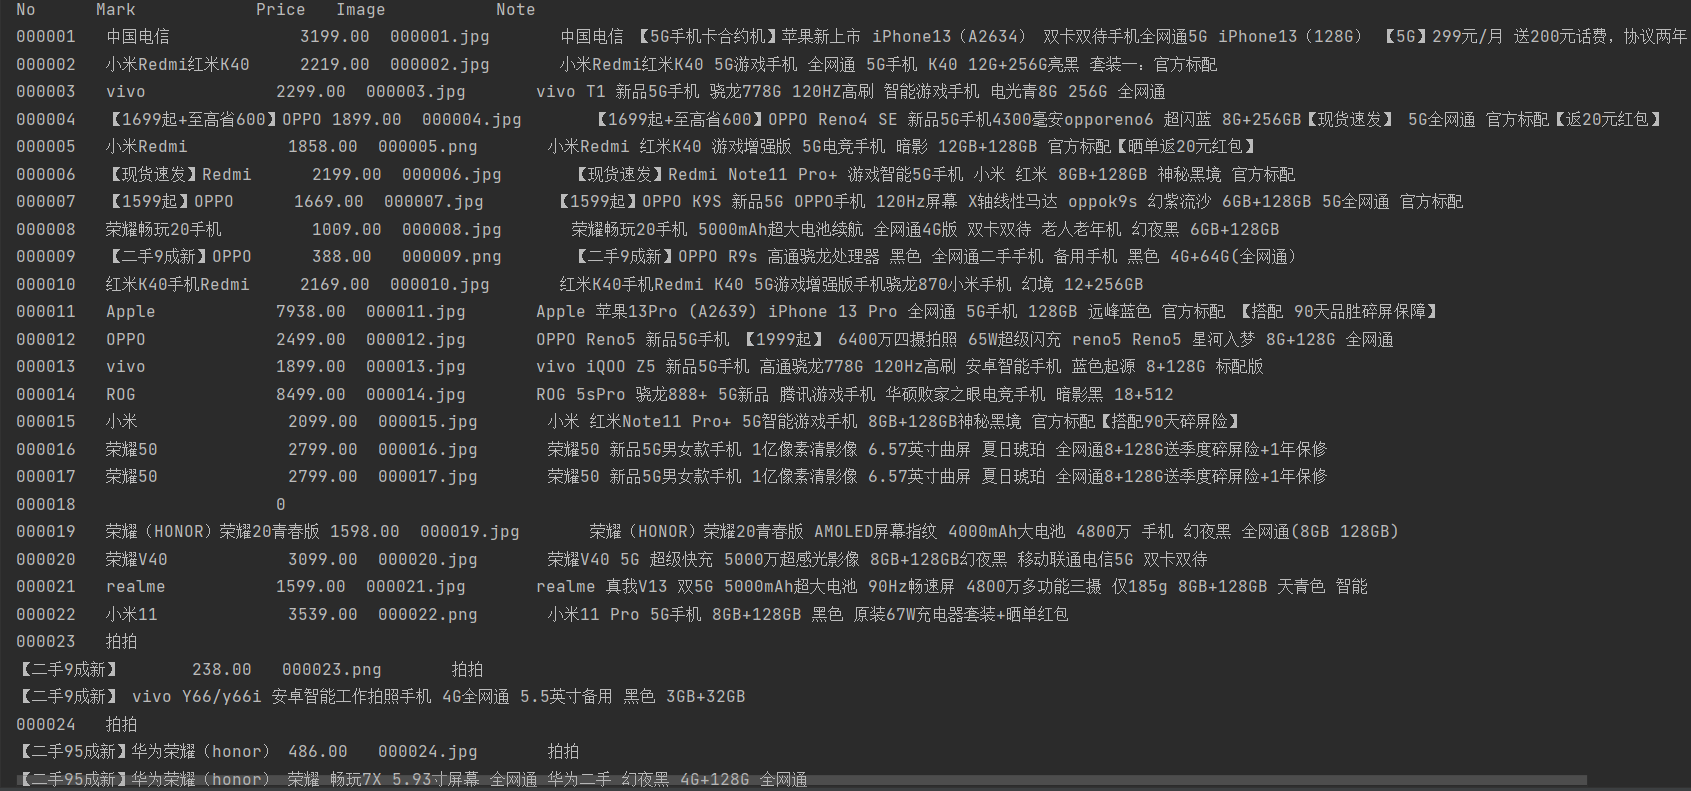
print("%-8s %-16s %-8s %-16s %s" % (row[0], row[1], row[2], row[3],row[4]))
conn.close()
except Exception as err:
print(err)
4.运行结果:
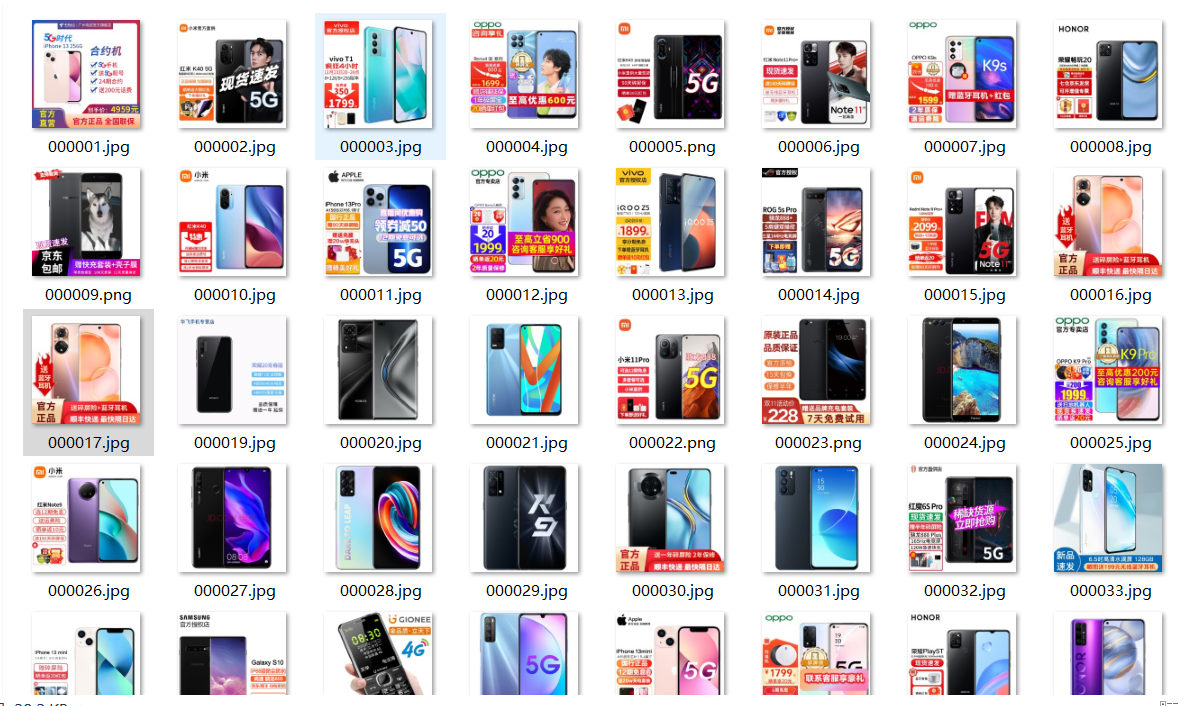
5.爬取到的相关图片:
6.数据库存储结果
7.代码链接:https://gitee.com/huang-dunn/crawl_project/tree/master/实验五作业1
2)心得体会:通过复现代码,对selenium查找HTML元素,爬取网页更加的了解。
-
作业②
1)
– 要求:熟练掌握 Selenium 查找HTML元素、实现用户模拟登录、爬取Ajax网页数据、等待HTML元素等内容。
– 使用Selenium框架+MySQL模拟登录慕课网,并获取学生自己账户中已学课程的信息保存到MySQL中(课程号、课程名称、授课单位、教学进度、课程状态,课程图片地址),同时存储图片到本地项– – 目根目录下的imgs文件夹中,图片的名称用课程名来存储。
– 候选网站:中国mooc网:https://www.icourse163.org
– 输出信息:MYSQL数据库存储和输出格式
– 表头应是英文命名例如:课程号ID,课程名称:cCourse……,由同学们自行定义设计表头:
| Id | cCourse | cCollege | cSchedule | cCourseStatus | cImgUrl |
|---|---|---|---|---|---|
| 1 | Python网络爬虫与信息提取 | 北京理工大学 | 已学3/18课时 | 2021年5月18日已结束 | http://edu-image.nosdn.127.net/C0AB6FA791150F0DFC0946B9A01C8CB2.jpg |
| 2...... |
完成过程:
1.创建数据库

2.获取网页源码并模拟登录
url = 'https://www.icourse163.org'
driver.get(url)
time.sleep(1)
driver.find_element('xpath',
                    '/html/body/div[4]/div[1]/div/div/div/div/div[7]/div[2]/div/div/div/a').click()  # 打开登录界面
time.sleep(1)
driver.find_element('xpath',
                    '/html/body/div[13]/div[2]/div/div/div/div/div[2]/span').click()  # 切换至其他登录方式
time.sleep(1)
driver.find_element('xpath',  # 切换至手机登录
                    '/html/body/div[13]/div[2]/div/div/div/div/div/div[1]/div/div[1]/div[1]/ul/li[2]').click()
time.sleep(1)

# 切换至iframe定位元素
iframe = driver.find_element('xpath',
                             '/html/body/div[13]/div[2]/div/div/div/div/div/div[1]/div/div[1]/div[2]/div[2]/div/iframe')
driver.switch_to.frame(iframe)

# 输入手机号
driver.find_element('xpath', '/html/body/div[2]/div[2]/div[2]/form/div/div[2]/div[2]/input') \
    .send_keys('13799347449')
time.sleep(5)

# 输入密码
driver.find_element('xpath', '/html/body/div[2]/div[2]/div[2]/form/div/div[4]/div[2]/input[2]') \
    .send_keys('********')
time.sleep(5)

# 点击登录
driver.find_element('xpath', '/html/body/div[2]/div[2]/div[2]/form/div/div[6]/a').click()
time.sleep(1)
3.爬取个人中心的课程:
# 点击个人中心
driver.find_element('xpath',
                    '/html/body/div[4]/div[1]/div/div/div/div/div[7]/div[3]/div/div/a/span').click()
time.sleep(1)

div_list = driver.find_elements('xpath', '//*[@id="j-coursewrap"]/div/div[1]/div')
i = 1
for div in div_list:
    src = div.find_element('xpath', './/div[1]/a/div[1]/img').get_attribute('src')
    name = div.find_element('xpath', './/div[1]/a/div[2]/div[1]/div[1]/div/span[2]').text
    school = div.find_element('xpath', './/div[1]/a/div[2]/div[1]/div[2]/a').text
    schedule = div.find_element('xpath', './/div[1]/a/div[2]/div[2]/div[1]/div[1]/div[1]/a/span').text
    status = div.find_element('xpath', './/div[1]/a/div[2]/div[2]/div[2]').text

    cursor.execute("insert into mooc (id,cCourse,cCollege,cSchedule,cCourseStatus,cImgUrl) "
                   "values (%s,%s,%s,%s,%s,%s)",
                   (i, name, school, schedule, status, src))
    conn.commit()
4.爬取图片至指定路径:
     data = requests.get(src).content
    path = r"C:/Users/黄杜恩/PycharmProjects/pythonProject3/pro5_test2_images/" + str(name) + ".jpg"  # 指定下载路径
    with open(path, 'wb') as f:
        f.write(data)
    f.close()
5.输出结果展示:
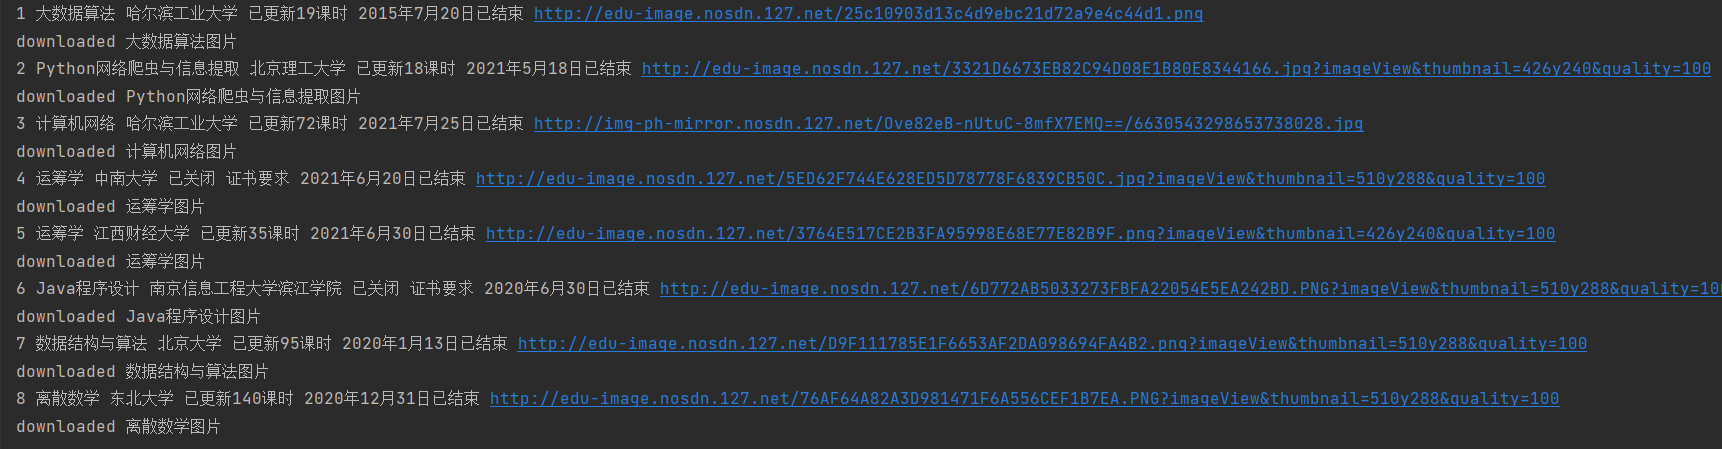
6.爬取图片:

7.数据库存储展示:

8.代码链接:https://gitee.com/huang-dunn/crawl_project/tree/master/实验五作业2
2)心得体会:通过这次实验掌握了用户模拟登录的相关知识,也对数据库操作更加熟练。
-
作业③
1)
– 要求:掌握大数据相关服务,熟悉Xshell的使用
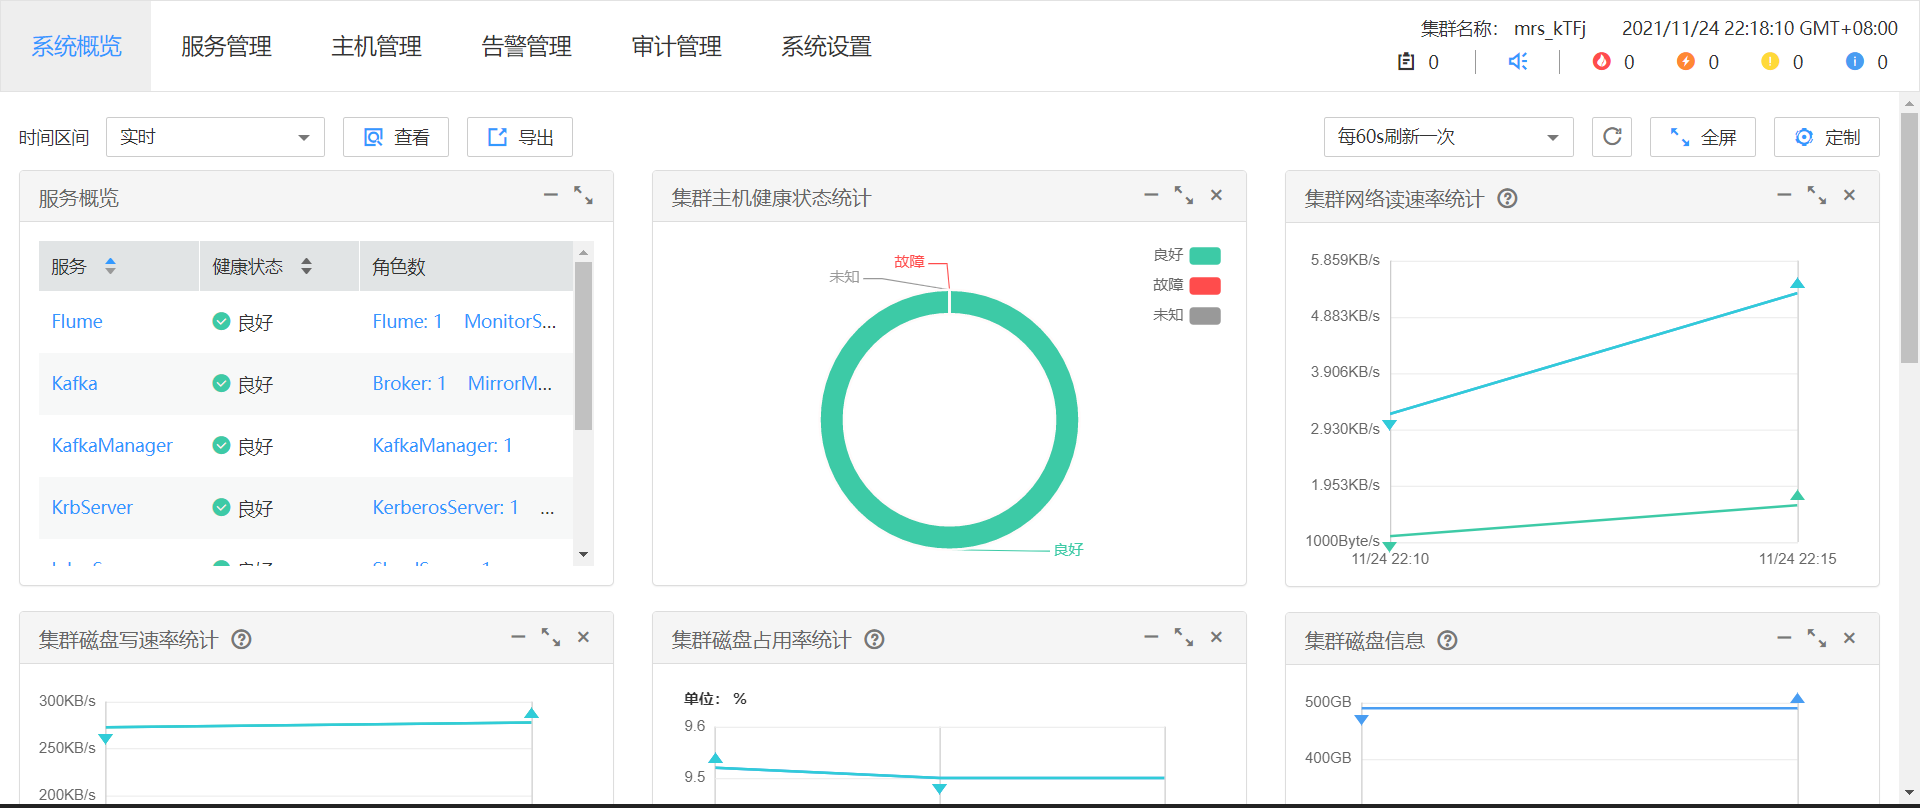
– 任务一:开通MapReduce服务
– 任务二:Python脚本生成测试数据
– 任务三:配置Kafka
– 任务四:安装Flume客户端
– 任务五:配置Flume采集数据
完成过程:
任务一:开通MapReduce服务:
任务二:Python脚本生成测试数据:
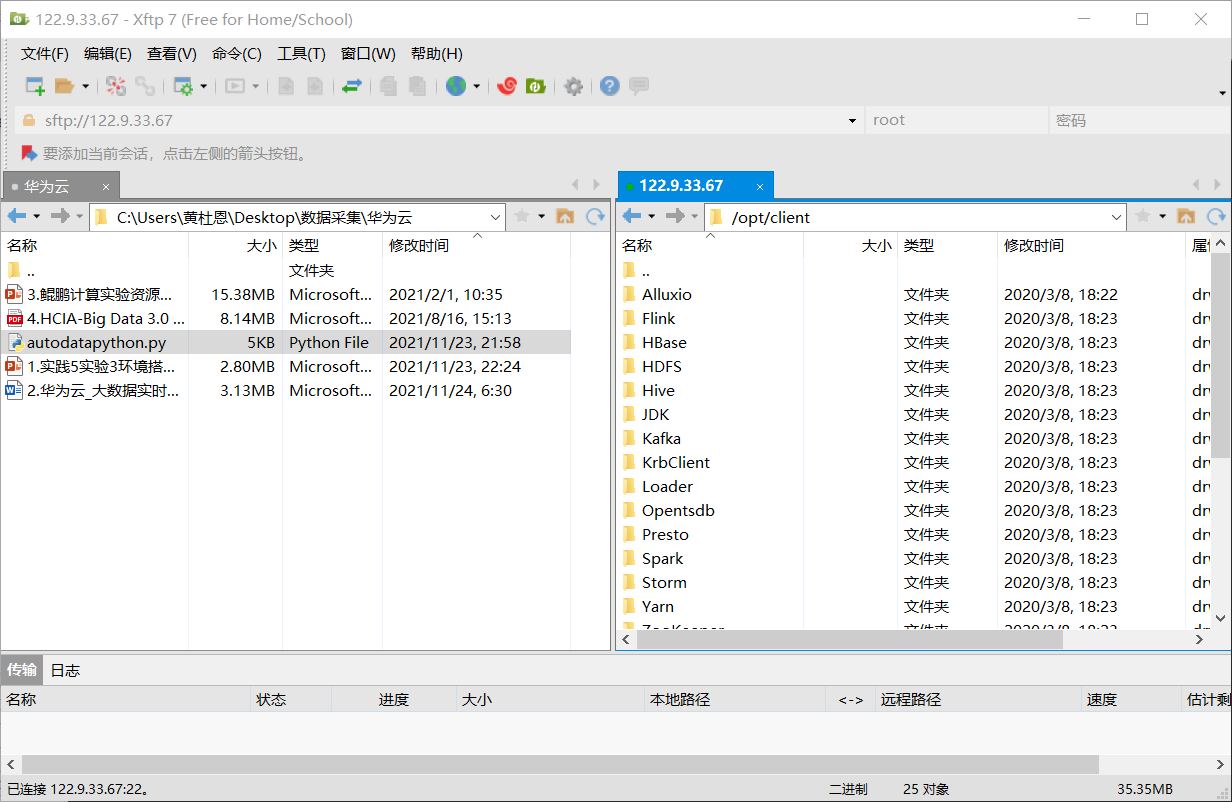
1.传输autodatapython.py文件到opt/client/文件夹内
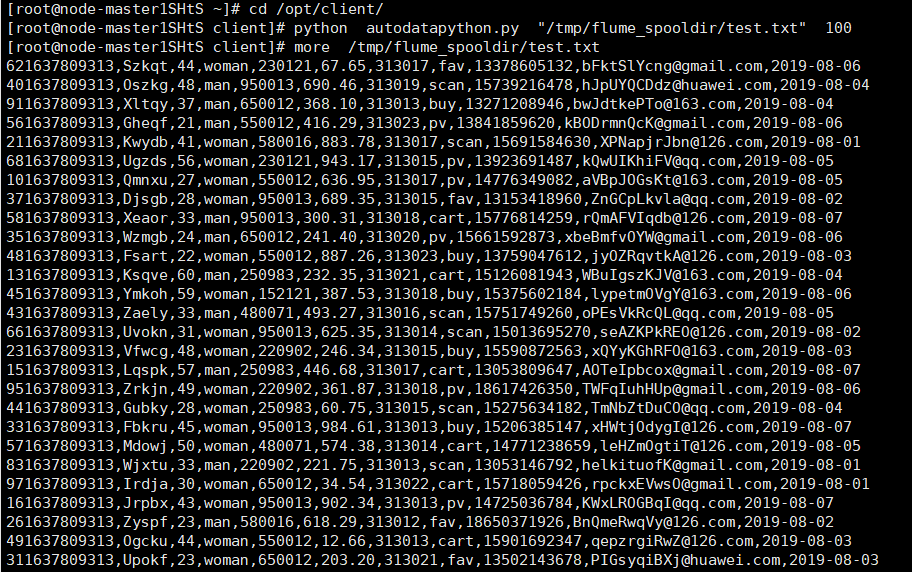
2.执行该程序
任务三:配置Kafka:
1、设置环境变量,执行source命令,使变量生效
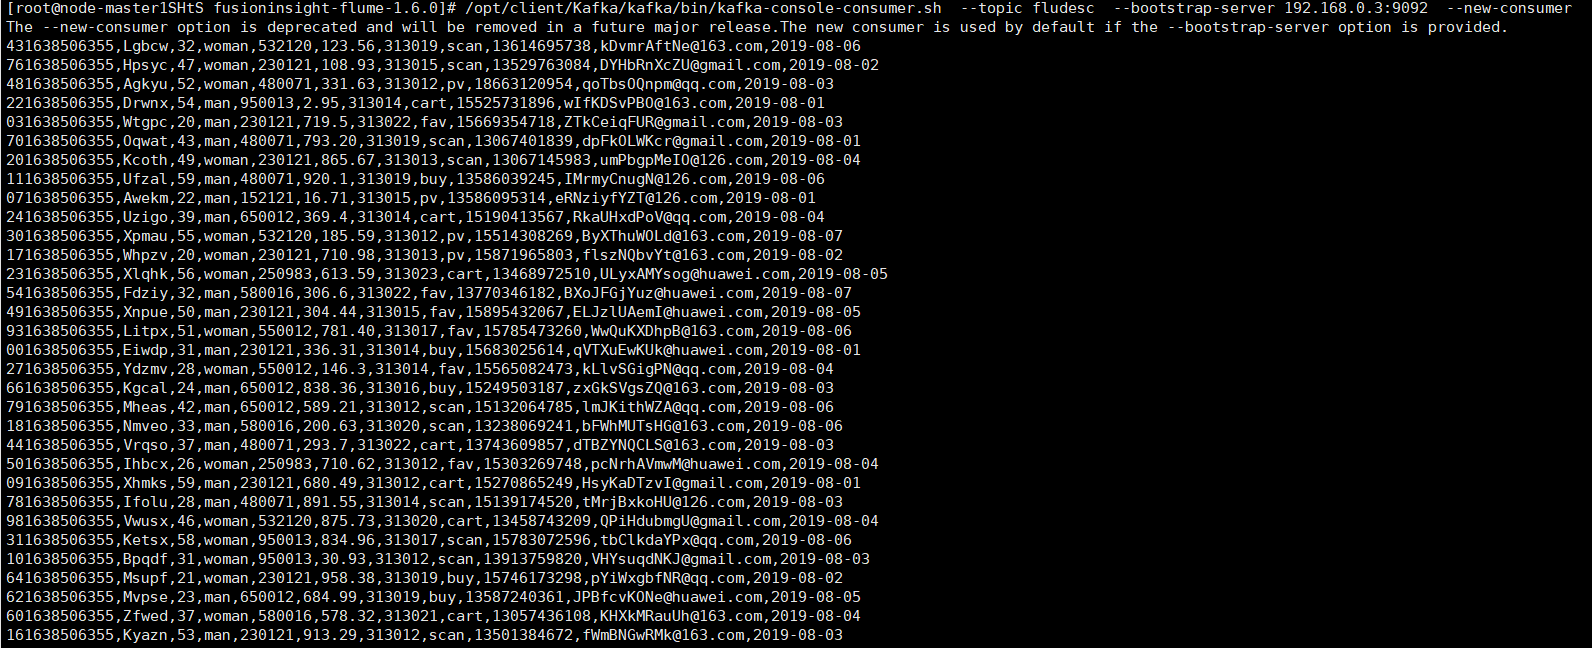
2、在kafka中创建topic
3、查看topic信息

任务四:安装Flume客户端:
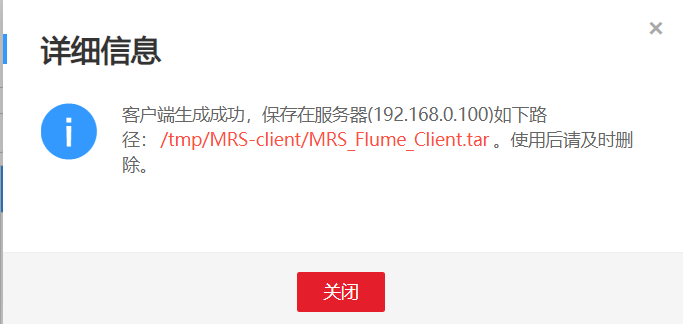
重启Flume服务

任务五:配置Flume采集数据: