

node.js使用Koa搭建基础项目(入门级)
Koa2 需要 v7.60 以上的 node.js 环境
一、创建项目
1.手动创建一个项目目录,然后快速生成一个 package.json 文件
$ npm init -y
安装 koa //当前版本 2.4.1
const Koa = require('koa');
const app = new Koa();
app.use(async ctx => {
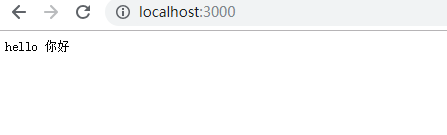
ctx.body = 'hello 你好';
});
app.listen(3000);
在cmd中输入node app.js就可以启动项目了,在浏览器输入http://localhost:3000/ 查看效果
或者你在package.json,更改代码:

输入命令,npm start也是一样的,可以运行项目,这样一个最基础的koa应用就好了!
2.利用脚手架 koa-generato 来生成项目
打开cmd,输入:
$ npm install koa-generator -g
$ koa2 demo -e --ejs 后面是使用ejs模板的
cd到demo文件下,输入命令npm install
运行项目 npm start
二、项目结构
看一下利用脚手架生成的项目结构:

先搞清楚bin里的www为项目入口,通过它引入app.js配置内容。
node_moudel为模块加载生成的文件夹,里面全是模块功能的源码。
public公共文件夹,放一些样式、页面js逻辑、图片。
routers路由,功能为分发请求。
views为视图文件,jade是一个文本格式,其内容还可以是我们最熟悉的html。
app.js和package.json是配置文件
三、配置路由
手动创建项目时,需要配置路由。
const Koa = require('koa');
const app = new Koa();

app.use(async ctx => { //有一个 ctx,这是一个 Koa 提供的 Context 对象,封装了 request 和 response
 ctx.body = 'hello 你好';
});

app.listen(3000);
每一次 HTTP Request 都会创建一个 Context 对象,我们可以通过 Context.request.path 来获取用户请求的路径,然后通过 Context.response.body 给用户发送内容
Koa 默认的返回类型是 text/plain,如果要返回一个 html 文件(或者一个模块文件),就需要修改 Context.response.type
另外,Context.response 可以简写,比如 Context.response.type 简写为 Context.type,Context.response.body 简写为 Context.type
1.如果不用koa-router,这样显的很麻烦,下面来看一下:
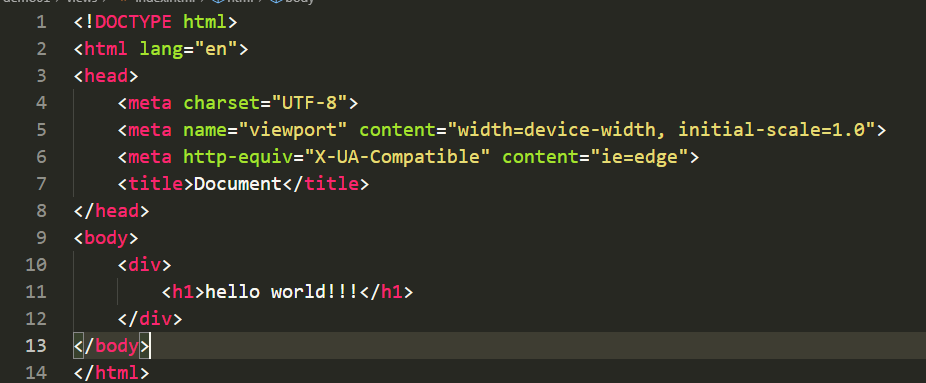
在目录下创建views文件,在views新建index.html文件,在文件中写入
在app.js添加如下代码:
const Koa = require('koa');
const fs = require('fs');
const app = new Koa();

app.use(async (ctx, next) => {
 if (ctx.request.path === '/') {
 ctx.type = 'text/html';
 ctx.body = fs.createReadStream('./views/index.html');
 } else {
 await next();
 }
});

app.listen(3000);
运行项目,node app.js. 在浏览器输入:http://localhost:3000,就可以显示出index.html页面了,如果网址输入错误的话,页面就会显示 no found
2.引入路由中间件koa-router
安装koa-router, $ npm install koa-router
2.1.在根目录下创建一个routes目录,存放路由文件,新建index.js文件
// routes/index

const fs = require('fs');
const router = require('koa-router')() // 引入自调用

router.get('/', async (ctx, next) => {
 ctx.type = 'text/html';
 ctx.body = fs.createReadStream('./views/index.html');
});

module.exports = router
修改app.js文件:
// app.js

const Koa = require('koa');
const app = new Koa();

const index = require('./routes/index')
app.use(index.routes(), index.allowedMethods())

app.listen(3000);
运行项目,node app.js
四、静态资源加载
在实际项目中,需要加载很多静态文件,如css、js文件,但是你没有使用插件,静态资源是无法显示的,举个例子:
在根目录下新建public文件,在public文件下新建css文件,css文件下新建index.css文件

index.css

h1{
    color: red;
}
在index.html文件中引入index.css文件,再运行项目,是没有效果的:
使用koa-static -S加载静态资源 $ npm install koa-static -S
在app.js中新增如下代码:
const static = require('koa-static');
// 将 public 目录设置为静态资源目录
const main = static(__dirname + '/public');
app.use(main);
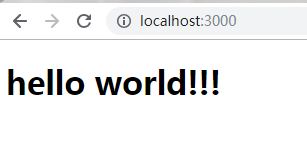
然后在index.html相对引入就可以了,运行就可以看到红色的字体了。
<link rel="stylesheet" href="/css/index.css">
五、模板引擎
上面加载html文件是使用fs模块的,下面使用koa-views中间件来加载html文件
安装koa-views $ npm install koa-views -S
在app.js中将views目录设置为模板目录:
const views = require('koa-views')
app.use(views(__dirname + '/views')); // html文件、ejs文件、pug文件等......
在路由文件中,使用render方法:
const router = require('koa-router')()

router.get('/', async (ctx, next) => {
    await ctx.render('index');
});

module.exports = router
运行项目就可以啦,记录下每天学习内容...

 浙公网安备 33010602011771号