
Ubuntu系统下安装并配置hive-2.1.0
说在前面的话
默认情况下,Hive元数据保存在内嵌的Derby数据库中,只能允许一个会话连接,只适合简单的测试。实际生产环境中不使用,为了支持多用户会话,
则需要一个独立的元数据库,使用MySQL作为元数据库,Hive内部对MySQL提供了很好的支持。
在Ubuntu系统下安装并配置hive详细正确步骤如下!
一、mysql-server和mysql-client的下载
root@SparkSingleNode:/usr/local# sudo apt-get install mysql-server mysql-client (Ubuntu版本)
我这里,root密码,为rootroot。
二、启动MySQL服务

root@SparkSingleNode:/usr/local# sudo /etc/init.d/mysql start (Ubuntu版本)
* Starting MySQL database server mysqld [ OK ]
root@SparkSingleNode:/usr/local#
附加说明,
sudo /etc/init.d/mysql restart 这是重启
sudo /etc/init.d/mysql stop 这是停止
三、进入mysql服务
Ubuntu里 的mysql里有个好处,直接自己对root@下的所有,自己默认设置好了
root@SparkSingleNode:/usr/local# mysql -uroot -p
Enter password: //输入rootroot
Welcome to the MySQL monitor. Commands end with ; or \g.
Your MySQL connection id is 43
Server version: 5.5.53-0ubuntu0.14.04.1 (Ubuntu)
Copyright (c) 2000, 2016, Oracle and/or its affiliates. All rights reserved.
Oracle is a registered trademark of Oracle Corporation and/or its
affiliates. Other names may be trademarks of their respective
owners.
Type 'help;' or '\h' for help. Type '\c' to clear the current input statement.
mysql> CREATE USER 'hive'@'%' IDENTIFIED BY 'hive';
mysql> GRANT ALL PRIVILEGES ON *.* TO 'hive'@'%' WITH GRANT OPTION;
mysql> flush privileges;
Query OK, 0 rows affected (0.00 sec)
mysql> use hive;
Database changed
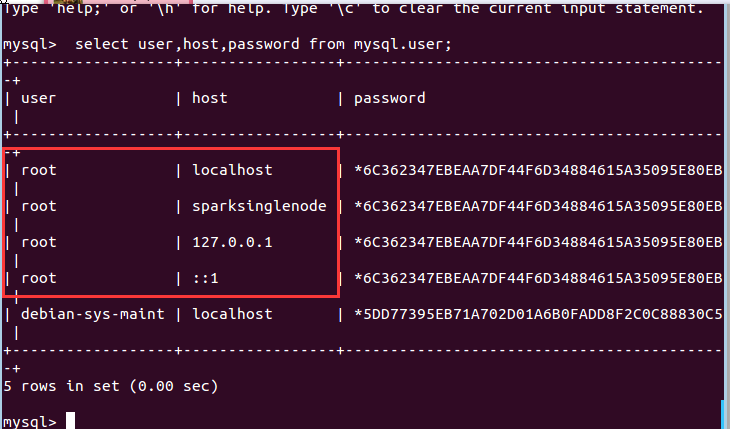
mysql> select user,host,password from mysql.user;
+------------------+-----------------+-------------------------------------------+
| user | host | password |
+------------------+-----------------+-------------------------------------------+
| root | localhost | *6C362347EBEAA7DF44F6D34884615A35095E80EB |
| root | sparksinglenode | *6C362347EBEAA7DF44F6D34884615A35095E80EB |
| root | 127.0.0.1 | *6C362347EBEAA7DF44F6D34884615A35095E80EB |
| root | ::1 | *6C362347EBEAA7DF44F6D34884615A35095E80EB |
| debian-sys-maint | localhost | *5DD77395EB71A702D01A6B0FADD8F2C0C88830C5 |
| hive | % | *4DF1D66463C18D44E3B001A8FB1BBFBEA13E27FC |
+------------------+-----------------+-------------------------------------------+
8 rows in set (0.00 sec)
mysql> exit;
Bye
root@SparkSingleNode:/usr/local#
在ubuntu系统里,默认情况下MySQL只允许本地登录,所以需要修改配置文件将地址绑定注释。
sudo gedit /etc/mysql/my.cnf
找到 # bind-address = 127.0.0.1 注释掉这一行就可以啦
重启mysql服务
sudo service mysqld restart
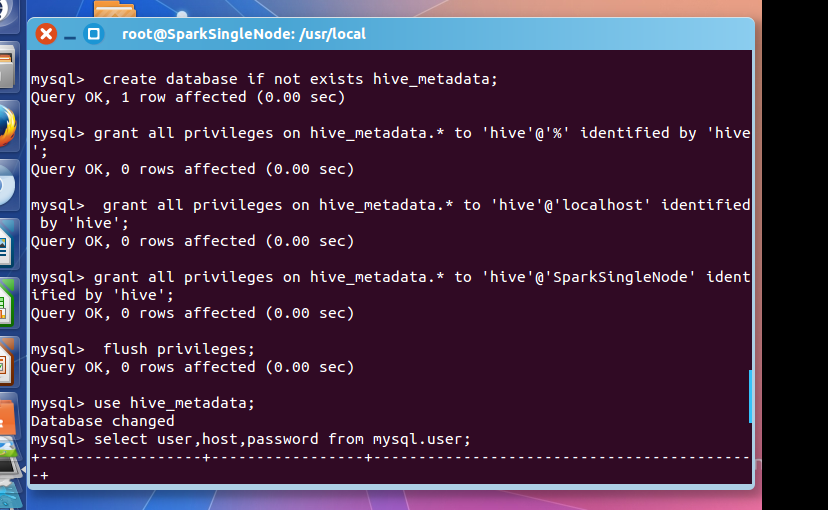
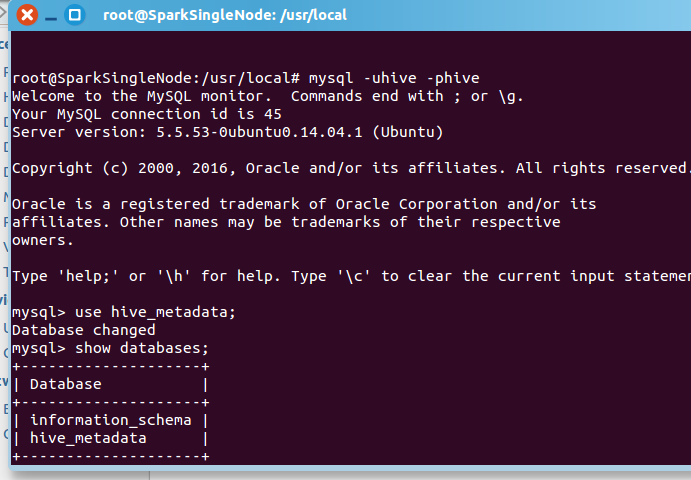
然后,建立Hive专用的元数据库,记得用我们刚创建的"hive"账号登录。
mysql -u hive -p hive
CREATE DATABASE hive_metadata
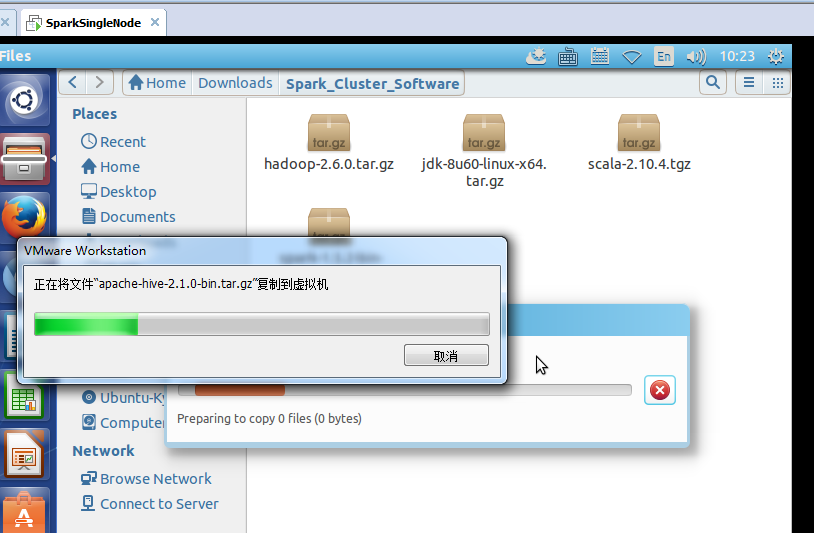
四、安装hive
这里,很简单,不多赘述。
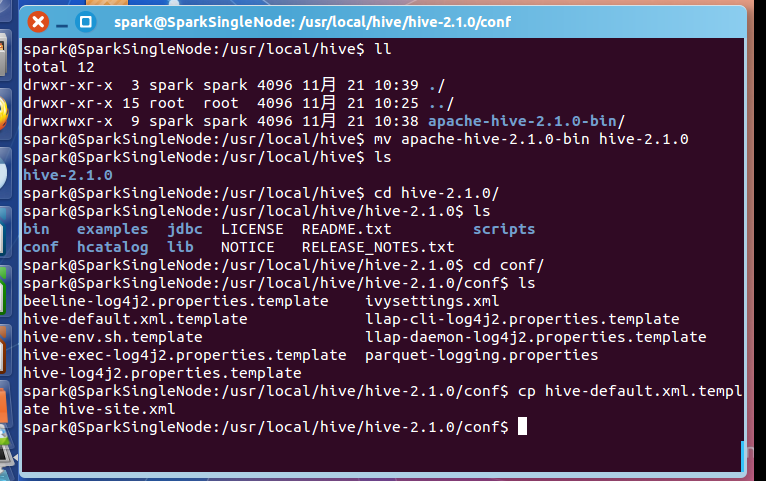
spark@SparkSingleNode:/usr/local/hive$ ll
total 12
drwxr-xr-x 3 spark spark 4096 11月 21 10:39 ./
drwxr-xr-x 15 root root 4096 11月 21 10:25 ../
drwxrwxr-x 9 spark spark 4096 11月 21 10:38 apache-hive-2.1.0-bin/
spark@SparkSingleNode:/usr/local/hive$ mv apache-hive-2.1.0-bin hive-2.1.0
spark@SparkSingleNode:/usr/local/hive$ ls
hive-2.1.0
spark@SparkSingleNode:/usr/local/hive$ cd hive-2.1.0/
spark@SparkSingleNode:/usr/local/hive/hive-2.1.0$ ls
bin examples jdbc LICENSE README.txt scripts
conf hcatalog lib NOTICE RELEASE_NOTES.txt
spark@SparkSingleNode:/usr/local/hive/hive-2.1.0$ cd conf/
spark@SparkSingleNode:/usr/local/hive/hive-2.1.0/conf$ ls
beeline-log4j2.properties.template ivysettings.xml
hive-default.xml.template llap-cli-log4j2.properties.template
hive-env.sh.template llap-daemon-log4j2.properties.template
hive-exec-log4j2.properties.template parquet-logging.properties
hive-log4j2.properties.template
spark@SparkSingleNode:/usr/local/hive/hive-2.1.0/conf$ cp hive-default.xml.template hive-site.xml
spark@SparkSingleNode:/usr/local/hive/hive-2.1.0/conf$
五、配置hive
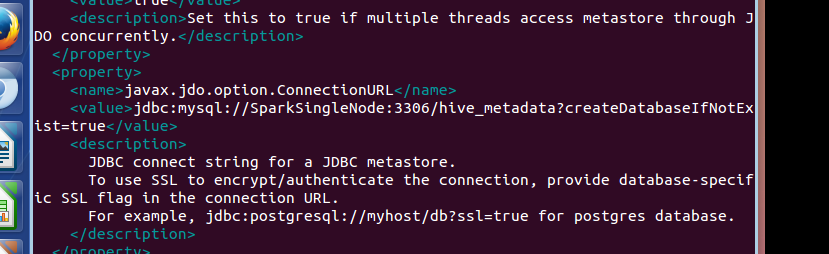
<property>
<name>javax.jdo.option.ConnectionURL</name>
<value>jdbc:mysql://192.168.80.128:3306/hive_metadata?createDatabaseIfNotExist=true</value>
<description>
JDBC connect string for a JDBC metastore.
To use SSL to encrypt/authenticate the connection, provide database-specific SSL flag in the connection URL.
For example, jdbc:postgresql://myhost/db?ssl=true for postgres database.
</description>

<property>
<name>javax.jdo.option.ConnectionDriverName</name>
<value>com.mysql.jdbc.Driver</value>
<description>Driver class name for a JDBC metastore</description>
</property>

<property>
<name>javax.jdo.option.ConnectionUserName</name>
<value>hive</value>
<description>Username to use against metastore database</description>
</property>

<property>
<name>javax.jdo.option.ConnectionPassword</name>
<value>hive</value>
<description>password to use against metastore database</description>
</property>
spark@SparkSingleNode:/usr/local/hive/hive-2.1.0/conf$ cp hive-env.sh.template hive-env.sh
spark@SparkSingleNode:/usr/local/hive/hive-2.1.0/conf$ vim hive-env.sh
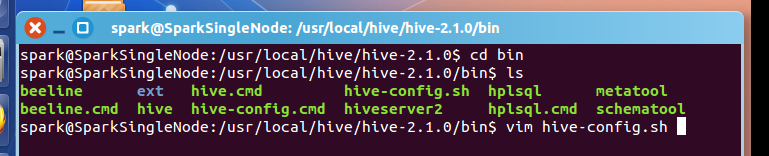
spark@SparkSingleNode:/usr/local/hive/hive-2.1.0/bin$ vim hive-config.sh
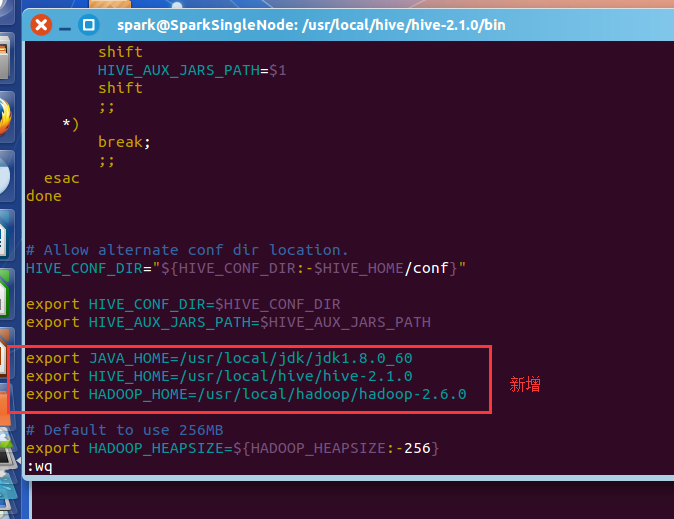
export JAVA_HOME=/usr/local/jdk/jdk1.8.0_60
export HIVE_HOME=/usr/local/hive/hive-2.1.0
export HADOOP_HOME=/usr/local/hadoop/hadoop-2.6.0
vim /etc/profile
#hive
export HIVE_HOME=/usr/local/hive/hive-2.1.0
export PATH=$PATH:$HIVE_HOME/bin
source /etc/profile
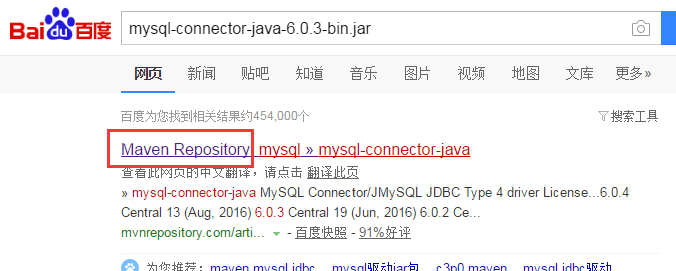
将mysql-connector-java-***.jar,复制到hive安装目录下的lib下。
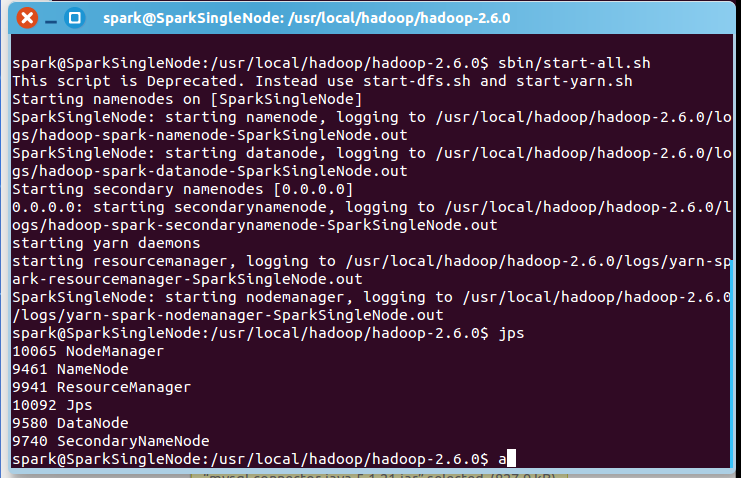
spark@SparkSingleNode:/usr/local/hadoop/hadoop-2.6.0$ sbin/start-all.sh
一般,上面,就可以足够安装正确了!
附赠问题
mysql-connector-java-5.1.21-bin.jar换成较高版本的驱动如mysql-connector-java-6.0.3-bin.jar
试过了,不是这个问题。

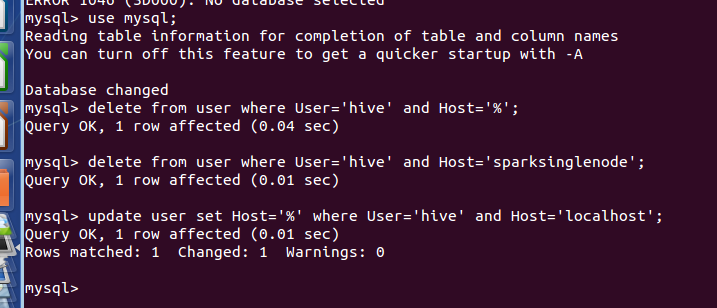
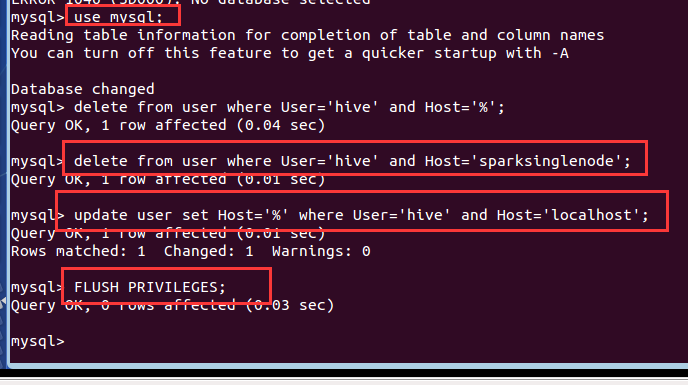
mysql> use mysql;
Reading table information for completion of table and column names
You can turn off this feature to get a quicker startup with -A
Database changed
mysql> delete from user where User='hive' and Host='%';
Query OK, 1 row affected (0.04 sec)
mysql> delete from user where User='hive' and Host='sparksinglenode';
Query OK, 1 row affected (0.01 sec)
mysql> update user set Host='%' where User='hive' and Host='localhost';
Query OK, 1 row affected (0.01 sec)
Rows matched: 1 Changed: 1 Warnings: 0
mysql> FLUSH PRIVILEGES;
Query OK, 0 rows affected (0.03 sec)
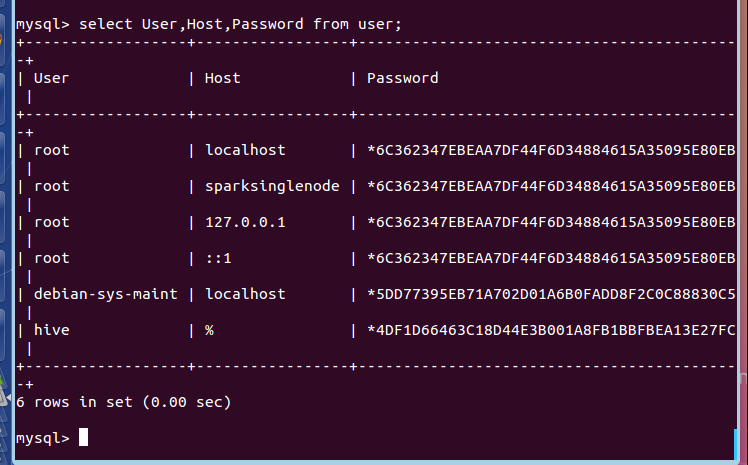
mysql> select User,Host,Password from user;
+------------------+-----------------+-------------------------------------------+
| User | Host | Password |
+------------------+-----------------+-------------------------------------------+
| root | localhost | *6C362347EBEAA7DF44F6D34884615A35095E80EB |
| root | sparksinglenode | *6C362347EBEAA7DF44F6D34884615A35095E80EB |
| root | 127.0.0.1 | *6C362347EBEAA7DF44F6D34884615A35095E80EB |
| root | ::1 | *6C362347EBEAA7DF44F6D34884615A35095E80EB |
| debian-sys-maint | localhost | *5DD77395EB71A702D01A6B0FADD8F2C0C88830C5 |
| hive | % | *4DF1D66463C18D44E3B001A8FB1BBFBEA13E27FC |
+------------------+-----------------+-------------------------------------------+
6 rows in set (0.00 sec)
mysql>

mysql> exit;
Bye
root@SparkSingleNode:/usr/local#‘’
root@SparkSingleNode:/usr/local# mysql -uroot -p
Enter password:
Welcome to the MySQL monitor. Commands end with ; or \g.
Your MySQL connection id is 39
Server version: 5.5.53-0ubuntu0.14.04.1 (Ubuntu)
Copyright (c) 2000, 2016, Oracle and/or its affiliates. All rights reserved.
Oracle is a registered trademark of Oracle Corporation and/or its
affiliates. Other names may be trademarks of their respective
owners.
Type 'help;' or '\h' for help. Type '\c' to clear the current input statement.
mysql> select user,host,password from mysql.user;
+------------------+-----------------+-------------------------------------------+
| user | host | password |
+------------------+-----------------+-------------------------------------------+
| root | localhost | *6C362347EBEAA7DF44F6D34884615A35095E80EB |
| root | sparksinglenode | *6C362347EBEAA7DF44F6D34884615A35095E80EB |
| root | 127.0.0.1 | *6C362347EBEAA7DF44F6D34884615A35095E80EB |
| root | ::1 | *6C362347EBEAA7DF44F6D34884615A35095E80EB |
| debian-sys-maint | localhost | *5DD77395EB71A702D01A6B0FADD8F2C0C88830C5 |
| hive | % | *4DF1D66463C18D44E3B001A8FB1BBFBEA13E27FC |
| hive | localhost | *4DF1D66463C18D44E3B001A8FB1BBFBEA13E27FC |
| hive | sparksinglenode | *4DF1D66463C18D44E3B001A8FB1BBFBEA13E27FC |
+------------------+-----------------+-------------------------------------------+
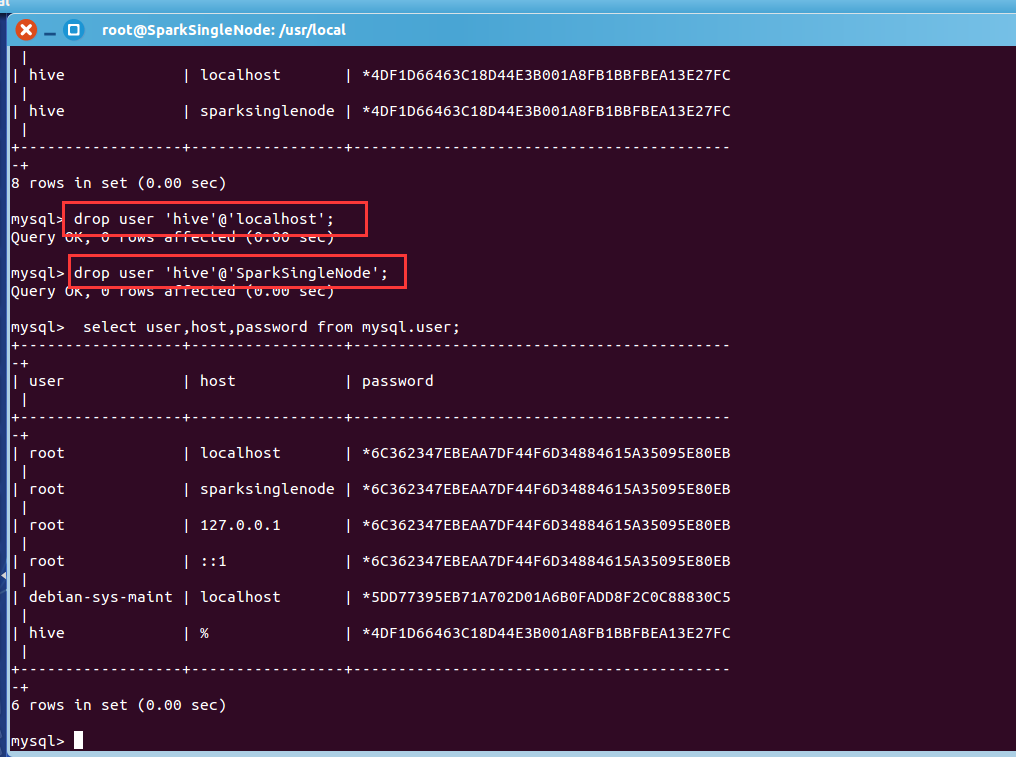
8 rows in set (0.00 sec)
mysql> drop user 'hive'@'localhost';
Query OK, 0 rows affected (0.00 sec)
mysql> drop user 'hive'@'SparkSingleNode';
Query OK, 0 rows affected (0.00 sec)
mysql> select user,host,password from mysql.user;
+------------------+-----------------+-------------------------------------------+
| user | host | password |
+------------------+-----------------+-------------------------------------------+
| root | localhost | *6C362347EBEAA7DF44F6D34884615A35095E80EB |
| root | sparksinglenode | *6C362347EBEAA7DF44F6D34884615A35095E80EB |
| root | 127.0.0.1 | *6C362347EBEAA7DF44F6D34884615A35095E80EB |
| root | ::1 | *6C362347EBEAA7DF44F6D34884615A35095E80EB |
| debian-sys-maint | localhost | *5DD77395EB71A702D01A6B0FADD8F2C0C88830C5 |
| hive | % | *4DF1D66463C18D44E3B001A8FB1BBFBEA13E27FC |
+------------------+-----------------+-------------------------------------------+
6 rows in set (0.00 sec)
mysql>
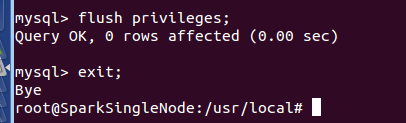
mysql> flush privileges;
Query OK, 0 rows affected (0.00 sec)
mysql> exit;
Bye
root@SparkSingleNode:/usr/local#

作者:大数据和人工智能躺过的坑
出处:http://www.cnblogs.com/zlslch/
本文版权归作者和博客园共有,欢迎转载,但未经作者同意必须保留此段声明,且在文章页面明显位置给出原文链接,否则保留追究法律责任的权利。
如果您认为这篇文章还不错或者有所收获,您可以通过右边的“打赏”功能 打赏我一杯咖啡【物质支持】,也可以点击右下角的【好文要顶】按钮【精神支持】,因为这两种支持都是我继续写作,分享的最大动力!

 浙公网安备 33010602011771号