

maven版cxf集合jetty开发服务端(一)
一、首先新建一个maven项目
二、pom.xml引入依赖
<dependency>
    <groupId>org.apache.cxf</groupId>
    <artifactId>cxf-api</artifactId>
    <version>2.5.0</version>
</dependency>
<dependency>
    <groupId>org.apache.cxf</groupId>
    <artifactId>cxf-rt-frontend-jaxws</artifactId>
    <version>2.5.0</version>
</dependency>
<dependency>
    <groupId>org.apache.cxf</groupId>
    <artifactId>cxf-rt-bindings-soap</artifactId>
    <version>2.5.0</version>
</dependency>
<dependency>
    <groupId>org.apache.cxf</groupId>
    <artifactId>cxf-rt-transports-http</artifactId>
    <version>2.5.0</version>
</dependency>
<dependency>
    <groupId>org.apache.cxf</groupId>
    <artifactId>cxf-rt-ws-security</artifactId>
    <version>2.5.0</version>
</dependency>
<dependency>
    <groupId>org.apache.cxf</groupId>
    <artifactId>cxf-rt-transports-http-jetty</artifactId>
    <version>2.5.0</version>
</dependency>
三、开发接口类
package com.xie.ws;

import javax.jws.WebService;

@WebService
public interface HelloWorld {

    String sayHi(String username);
}
四、开发实现类
import javax.jws.WebService;
import com.xie.ws.HelloWorld;


@WebService(endpointInterface="com.xie.ws.HelloWorld")
public class HelloWorldImpl implements HelloWorld {

    public String sayHi(String username) {
        System.out.println("Hello,"+username);
        return "Hello,"+username;
    }

}
五、创建服务
1、java自带jetty启动
import javax.xml.ws.Endpoint;
import com.xie.ws.impl.HelloWorldImpl;

public class WebServiceTest {

    public static void main(String[] args) {

        HelloWorldImpl hw = new HelloWorldImpl();
        String address = "http://localhost:8080/CxfWSServer";
        Endpoint.publish(address, hw);
        System.out.println("WebService暴露成功。。。");

    }

}
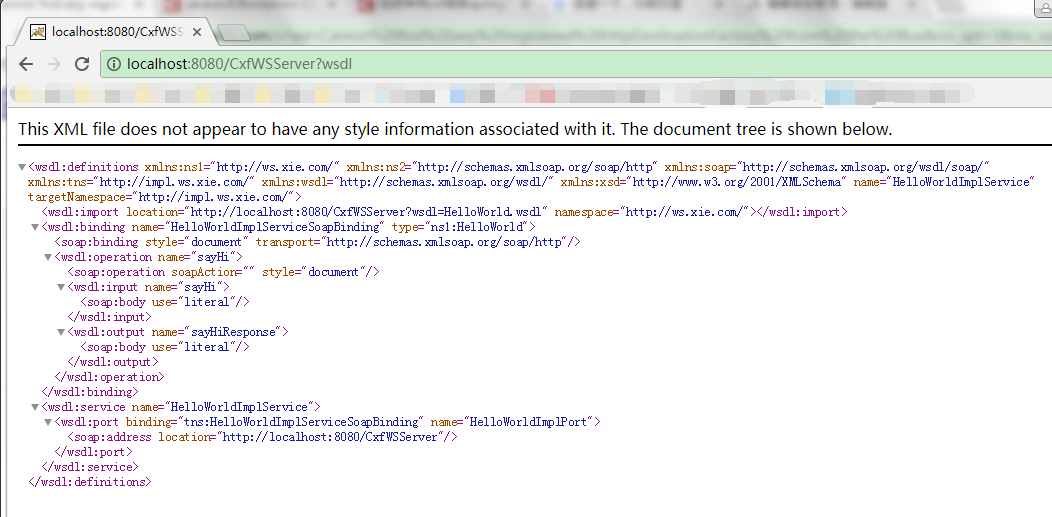
2、浏览器访问:http://localhost:8080/CxfWSServer?wsdl 如图所示:

 浙公网安备 33010602011771号