
Ueditor配置及在项目中的使用
引言
上篇中简单介绍了Ueditor的两种定制方式,想了解的请戳这里:Ueditor的两种定制方式。在项目中,Ueditor该怎么使用更方便呢?很容易让人想到将ueditor放入用户控件页,可以拖到需要的地方。
Ueditor结构

Ueditor使用步骤
一,修改配置文件ueditor.config.js,配置Ueditor路径
1  window.UEDITOR_HOME_URL = "/Ueditor/";//"相对于网站根目录的相对路径"也就是以斜杠开头的形如"/myProject/ueditor/"这样的路径。
2     var URL = window.UEDITOR_HOME_URL || getUEBasePath();//获取Ueditor的路径
3     //测试用 如果不知道路径是什么可以通过alert来测试
4     //alert("URL:" + URL);
5     //alert("window.UEDITOR_HOME_URL:" + window.UEDITOR_HOME_URL);
6     //alert("getUEBasePath():" + getUEBasePath());
上传图片的路径配置。这里将上传的文件放入网站根目录Upload文件夹下,修改配置文件,将修正地址改为URL+“../”
 1 , imagePath: URL + "../"                     //图片修正地址,引用了fixedImagePath,如有特殊需求,可自行配置
 2         //,imageFieldName:"upfile"                   //图片数据的key,若此处修改,需要在后台对应文件修改对应参数
 3         //,compressSide:0                            //等比压缩的基准,确定maxImageSideLength参数的参照对象。0为按照最长边,1为按照宽度,2为按照高度
 4         //,maxImageSideLength:900                    //上传图片最大允许的边长,超过会自动等比缩放,不缩放就设置一个比较大的值,更多设置在image.html中
 5         , savePath: ['Upload']//['UploadFile', 'upload2', 'upload3']      //图片保存在服务器端的目录, 默认为空, 此时在上传图片时会向服务器请求保存图片的目录列表,
 6         // 如果用户不希望发送请求, 则可以在这里设置与服务器端能够对应上的目录名称列表
 7         //比如: savePath: [ 'upload1', 'upload2' ]
 8
 9         //涂鸦图片配置区
10         , scrawlUrl: URL + "net/scrawlUp.ashx"           //涂鸦上传地址
11         , scrawlPath: URL + "../"                            //图片修正地址,同imagePath
12
13         //附件上传配置区
14         , fileUrl: URL + "net/fileUp.ashx"               //附件上传提交地址
15         , filePath: URL + "../"                   //附件修正地址,同imagePath
16         //,fileFieldName:"upfile"                    //附件提交的表单名,若此处修改,需要在后台对应文件修改对应参数
17
18         //远程抓取配置区
19         //,catchRemoteImageEnable:true               //是否开启远程图片抓取,默认开启
20         , catcherUrl: URL + "net/getRemoteImage.ashx"   //处理远程图片抓取的地址
21         , catcherPath: URL + "../"                  //图片修正地址,同imagePath
22         //,catchFieldName:"upfile"                   //提交到后台远程图片uri合集,若此处修改,需要在后台对应文件修改对应参数
23         //,separater:'ue_separate_ue'               //提交至后台的远程图片地址字符串分隔符
24         //,localDomain:[]                            //本地顶级域名,当开启远程图片抓取时,除此之外的所有其它域名下的图片都将被抓取到本地,默认不抓取127.0.0.1和localhost
25
26         //图片在线管理配置区
27         , imageManagerUrl: URL + "net/imageManager.ashx"       //图片在线管理的处理地址
28         , imageManagerPath: URL + "../"                                    //图片修正地址,同imagePath
29
30         //屏幕截图配置区
31         , snapscreenHost: location.hostname                                 //屏幕截图的server端文件所在的网站地址或者ip,请不要加http://
32         , snapscreenServerUrl: URL + "net/imageUp.ashx" //屏幕截图的server端保存程序,UEditor的范例代码为“URL +"server/upload/net/snapImgUp.ashx"”
33         , snapscreenPath: URL + "../"
34         , snapscreenServerPort: location.port                                   //屏幕截图的server端端口
35         //,snapscreenImgAlign: ''                                //截图的图片默认的排版方式
36
37         //word转存配置区
38         , wordImageUrl: URL + "net/imageUp.ashx"             //word转存提交地址
39         , wordImagePath: URL + "../"                       //
40         //,wordImageFieldName:"upfile"                     //word转存表单名若此处修改,需要在后台对应文件修改对应参数
同时修改Uploader.cs类文件,添加“~/”
1  pathbase = pathbase + DateTime.Now.ToString("yyyy-MM-dd") + "/";
2  uploadpath = cxt.Server.MapPath("~/"+pathbase);//获取文件上传路径
Config.cs类
1 /// <summary>
2 /// Config 的摘要说明
3 /// </summary>
4 public class Config
5 {
6     public static string[] ImageSavePath = new string[] { "Upload" };
7 }
二,新建Ueditor.ascx用户控件页。
1.引入需要的js文件
1 <%@ Control Language="C#" AutoEventWireup="true" CodeBehind="Ueditor.ascx.cs" Inherits="Wolfy.UeditorDemo.UC.Ueditor" %>
2 <script type="text/javascript" src="../Ueditor/ueditor.config.js"></script>
3 <script type="text/javascript" src="../Ueditor/ueditor.all.js"></script>
4 <script type="text/javascript" src="../Ueditor/lang/zh-cn/zh-cn.js"></script>
2.添加editor容器,并实例化uditor
 1 <link href="/Ueditor/themes/default/css/ueditor.css" rel="stylesheet" />
 2 <div id='myEditor' runat="server"></div>
 3 <script type="text/javascript" charset="utf-8">
 4     window.onload = function () {
 5         UE.ui.Editor({
 6             //这部分配置 在ueditor.config.js配置文件中,放在这里是希望可以在Ueditor.ascx.cs中可以动态设置。可以将动态配置的功能在这里设置
 7             wordCount: '<%=WordCount?"true":"false"%>'
 8             , maximumWords: '<%=MaximumWords%>'
 9             , wordCountMsg: '<%=WordCountMsg%>'
10             , wordOverFlowMsg: '<%=WordOverFlowMsg%>'
11             , initialContent: '<%=SetContents %>'
12         }).render("<%=myEditor.ClientID%>");
13     }
14 </script>
3,Ueditor.ascx.cs代码,设置常用属性,这样就可以在引入用户控件的页面,动态的设置属性了。
  1  public partial class Ueditor : System.Web.UI.UserControl
  2     {
  3         public Ueditor()
  4         {
  5             style = new System.Text.StringBuilder();
  6         }
  7         private string setContents;
  8         /// <summary>
  9         /// 给文本赋值 需html解码
 10         /// </summary>
 11         public string SetContents
 12         {
 13             get
 14             { return setContents; }
 15             set
 16             {
 17                 setContents = Server.HtmlDecode(value);
 18             }
 19         }
 20         private string editorName;
 21         /// <summary>
 22         /// 返回文本编辑内容
 23         /// </summary>
 24         public string EditorName
 25         {
 26             get
 27             {
 28                 return editorName;
 29             }
 30             set
 31             {
 32                 editorName = value;
 33                 if (value == "")
 34                 {
 35                     //默认值
 36                     editorName = "editorValue";
 37                 }
 38             }
 39         }
 40         private bool isHide;
 41         ///<summary>
 42         ///控件是否隐藏
 43         ///</summary>
 44         public bool IsHide
 45         {
 46             get { return isHide; }
 47             set
 48             {
 49                 isHide = value;
 50
 51                 if (isHide)
 52                 {
 53                     style.Append("display:none;");
 54                 }
 55                 else
 56                 {
 57                     style.Append("display:block;");
 58                 }
 59             }
 60         }
 61         /// <summary>
 62         /// 设置高度
 63         /// </summary>
 64         public string Height { get; set; }
 65         /// <summary>
 66         /// 设置宽度
 67         /// </summary>
 68         public string Width { get; set; }
 69         ///<summary>
 70         ///设置相对路径
 71         ///</summary>
 72         public string EditorPath { get; set; }
 73         private bool wordCount = false;
 74         /// <summary>
 75         /// 是否开启字数统计
 76         /// </summary>
 77         public bool WordCount
 78         {
 79             get { return wordCount; }
 80             set { wordCount = value; }
 81         }
 82
 83         private int maximumWords = 100000;
 84         /// <summary>
 85         /// 允许的最大字符数
 86         /// </summary>
 87         public int MaximumWords
 88         {
 89             get { return maximumWords; }
 90             set { maximumWords = value; }
 91         }
 92         /// <summary>
 93         /// 字数统计提示
 94         /// </summary>
 95         public string WordCountMsg
 96         {
 97             get
 98             {
 99                 return "当前已输入 {#count} 个字符,您还可以输入{#leave} 个字符";
100             }
101         }
102
103         /// <summary>
104         /// 超出字数限制提示
105         /// </summary>
106         public string WordOverFlowMsg
107         {
108             get
109             {
110                 return "<span style=\"color:red;\">你输入的字符个数已经超出最大允许值,服务器可能会拒绝保存!</span>";
111             }
112         }
113         private System.Text.StringBuilder style = null;
114         protected void Page_Load(object sender, EventArgs e)
115         {
116             // EditorPath = Request.ApplicationPath;
117             if (string.IsNullOrEmpty(Height))
118             {
119                 Height = "100px";
120             }
121             if (string.IsNullOrEmpty(Width))
122             {
123                 Width = "100px";
124             }
125             style.Append("Width:" + Width + ";Height:" + Height + ";");
126             AddStyle(style);
127             //为富文本编辑器 添加name属性 根据name得到 富文本内容 必须
128             myEditor.Attributes.Add("name", this.EditorName);
129
130         }
131         /// <summary>
132         ///  为用户控件 添加样式
133         /// </summary>
134         /// <param name="strStyle"></param>
135         private void AddStyle(System.Text.StringBuilder strStyle)
136         {
137             if (string.IsNullOrEmpty(myEditor.Attributes["style"]))
138             {
139                 myEditor.Attributes.Add("style", style.ToString());
140             }
141             else
142             {
143                 myEditor.Attributes["style"] += style;
144             }
145         }
146     }
测试
将用户控件拖入Test.aspx页面。
 1 <%@ Page Language="C#" AutoEventWireup="true" CodeBehind="Test.aspx.cs" Inherits="Wolfy.UeditorDemo.Test" %>
 2
 3 <%@ Register Src="UC/Ueditor.ascx" TagName="Ueditor" TagPrefix="wolfy" %>
 4
 5 <!DOCTYPE html>
 6
 7 <html xmlns="http://www.w3.org/1999/xhtml">
 8 <head runat="server">
 9     <meta http-equiv="Content-Type" content="text/html; charset=utf-8" />
10     <title></title>
11 </head>
12 <body>
13     <form id="form1" runat="server">
14         <div>
15             <wolfy:Ueditor ID="MyUeditor" runat="server" Width="600px" IsHide="false" Height="300px" EditorName="myEditor" />
16         </div>
17     </form>
18 </body>
19 </html>
结果: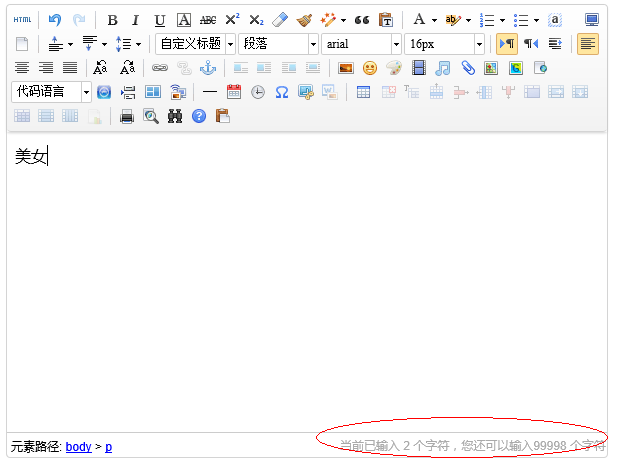
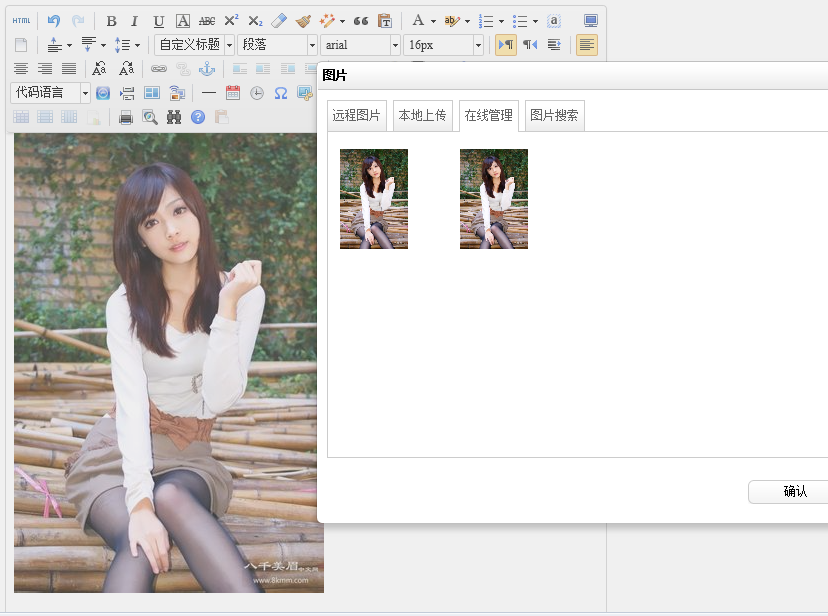
上传图片
需要将Uploader.cs和Config.cs的属性中生成操作改为“内容”,还应注意路径问题。


选择图片单击确定,就可以将图片加入编辑器
测试获取编辑器内容,文字及图片等信息。这里必须在web.config配置文件中取消校验,因为获取到的内容可能含有标签,如果添加,则会出现如下黄页错误
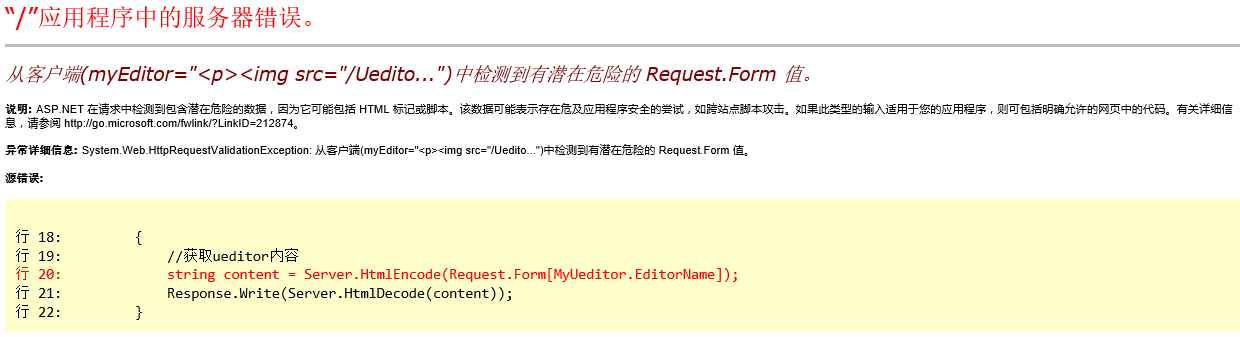
在ueditor/net/web.config中将下面的信息,复制到网站的web.config中即可。
1     <httpRuntime requestValidationMode="2.0" maxRequestLength="102400 "/>
2         <pages validateRequest="false" controlRenderingCompatibilityVersion="3.5" clientIDMode="AutoID"></pages>
3         <globalization fileEncoding="utf-8" requestEncoding="utf-8" responseEncoding="utf-8" culture="zh-CN"/>
测试:
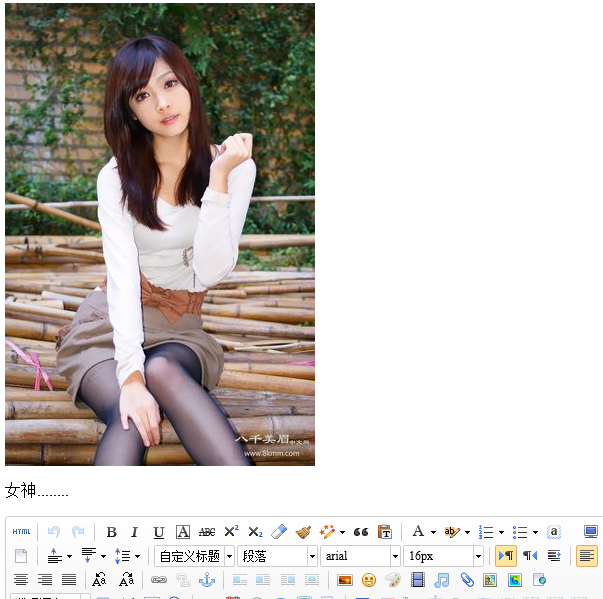
1    protected void btnSave_Click(object sender, EventArgs e)
2         {
3             //获取ueditor内容
4             string content = Server.HtmlEncode(Request.Form[MyUeditor.EditorName]);
5             Response.Write(Server.HtmlDecode(content));
6         }
结果
ueditor的赋初值
比如在写随笔的时候,编辑功能的实现,就是这种将数据库中存的内容,重新填入编辑器,编辑后然后保存。这里,由于lz电脑重装系统后,sql一直安装不上就不再测试了。
已经将该实现封装在用户控件的cs中了,可以直接将得到的htmlencode字符串赋给SetContents属性即可。
1 //可以通过下面的设置 实现编辑功能
2             MyUeditor.SetContents = "";
总结
Ueditor在使用的时候,路径确实是很头疼的问题,这里将其放入用户控件页,也是使用方便的一种途径。
-
博客地址:http://www.cnblogs.com/wolf-sun/
博客版权:如果文中有不妥或者错误的地方还望高手的你指出,以免误人子弟。如果觉得本文对你有所帮助不如【推荐】一下!如果你有更好的建议,不如留言一起讨论,共同进步! 再次感谢您耐心的读完本篇文章。

 浙公网安备 33010602011771号