Zabbix实战-简易教程--DB类--Redis多实例
一、获取LLD监控类(多实例端口)
通过脚本获取redis多实例,基本上和mysql一模一样:
#!/bin/bash
#Fucation: mysql low-level discovery
#Script_name: mysql_port_discovery.sh
redis() {
    port1=(`sudo /bin/netstat -tpln | awk -F "[ :]+" 'BEGIN {IGNORECASE=1; } /redis/ && /127.0.0.1/ {print $5}'`)
    port2=(`sudo /bin/netstat -tpln | awk -F "[ :  ]+" 'BEGIN {IGNORECASE=1; } /redis/ && /0.0.0.0/ {print $5}'`)

    if [ ! -n "${port1}"   ];then
        port=$port2
    else
        port=$port1
    fi

    max_index=$[${#port[@]}-1]
    printf '{\n'
    printf '\t"data":['
    for key in `seq -s' ' 0 $max_index`
    do
        printf '\n\t\t{'
        printf "\"{#REDISPORT}\":\"${port[${key}]}\"}"
        if [ $key -ne $max_index ];then
            printf ","
        fi

    done
    printf '\n\t]\n'
    printf '}\n'
}
$1
测试运行结果:

脚本已经上传至github地址:https://github.com/loveqx/zabbix-doc/blob/master/zabbix-scripts/zabbix-template-redis/monitor-redis.sh
二、测试和自定义key
获取了redis多实例后,我们可以根据多实例端口和redis-cli进而获得各个监控项。
在Agent上自定义key:
#monitor redis
UserParameter=custom.redis.discovery[*], /bin/bash /etc/zabbix/externalscripts/monitor-redis.sh $1
UserParameter=redis_stats[*],/usr/local/bin/redis-cli -p $1 -a $3 info|grep $2|cut -d : -f2
其中:$1表示端口 $3表示密码 $2表示item
比如:

三、制作模板
模板Template APP For Redis已经上传至github地址:https://github.com/loveqx/zabbix-doc/blob/master/zabbix-scripts/zabbix-template-redis/Template%20App%20For%20Redis.xml
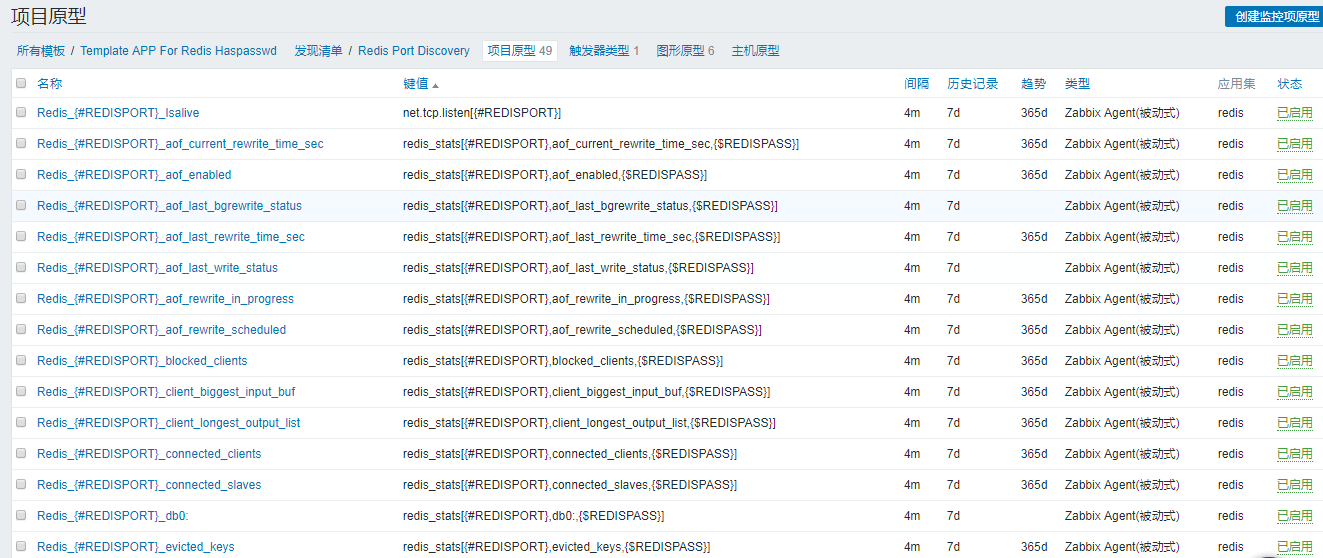
部分监控项如下:
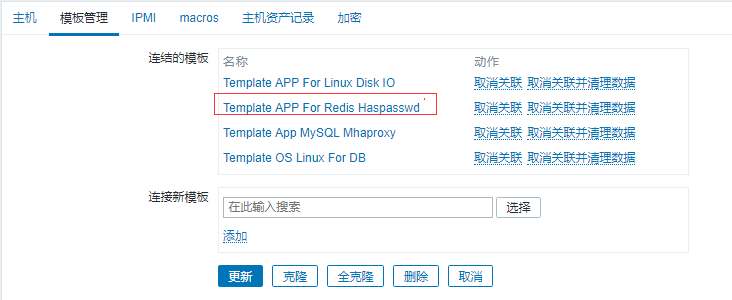
四、主机上套
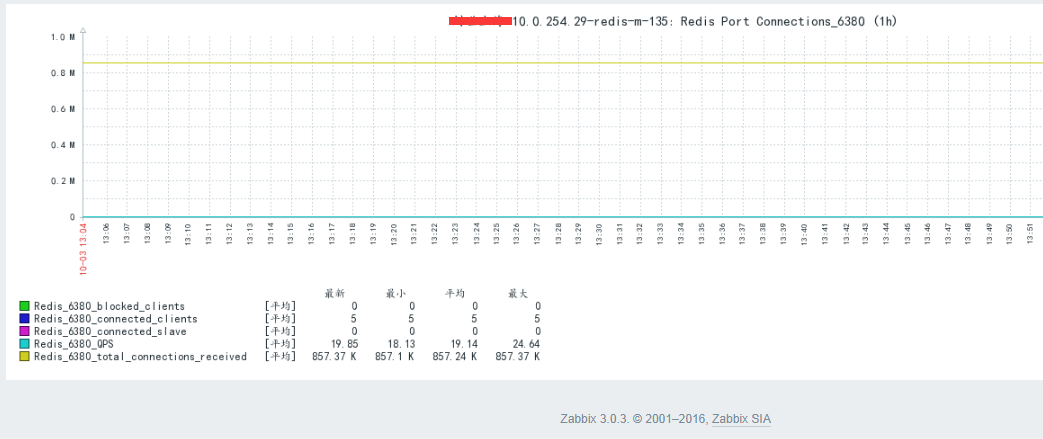
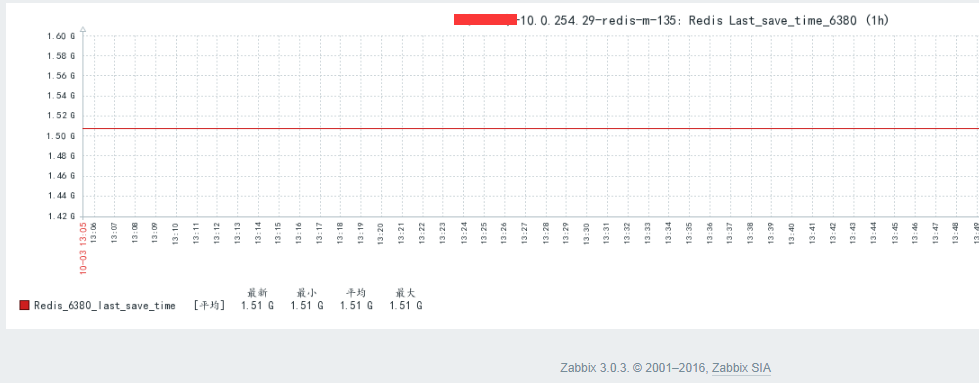
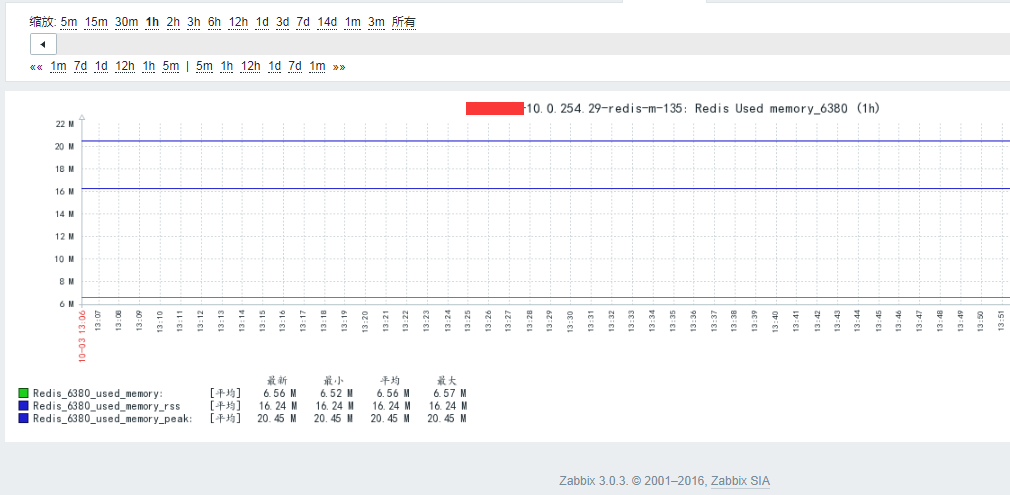
五、效果图

六、参考文献
脚本和模板的github地址为:https://github.com/loveqx/zabbix-doc/tree/master/zabbix-scripts/zabbix-template-redis

 浙公网安备 33010602011771号