

android 内核调试
这篇文档给出使用android emulator 和 arm-linux-androideabi-gdb 调试 android kernel 的方法
1. checkout goldfish 源码: 模拟器使用的kernel 是 goldfish
git clone https://android.googlesource.com/kernel/goldfish.git git
checkout -t origin/android-goldfish-3.4 -b goldfish3.4
2. 设置环境变量,主要是为了指定交叉编译器到path路径: 下述几句可以保存为一脚本,需要的时候在shell里执行
export PATH=$YOUR_ANDROID_SRC_PATH/prebuilts/gcc/linux-x86/arm/arm-linux-androideabi-4.8/bin/:$PATH
export ARCH=arm
export SUBARCH=arm
export CROSS_COMPILE=arm-eabi-
make goldfish_armv7_defconfig
3. 增加内核config选项
默认的goldfish_armv7_defconfig配置没有打开调试,也没有使用HIGHMEM,这里我们手动打开 goldfish/.config 目录,将下面的几个配置打开:
CONFIG_HIGHMEM=y 打开这个选项后,启动模拟器时 emulator -memory 参数才能发挥作用,否则模拟器的内存总是700多M
CONFIG_DEBUG_KERNEL=y 打开这个选项后,vmlinux 才有符号
CONFIG_KGDB=y 开启kgdb
4. 开始编译
make ARCH=arm CROSS_COMPILE=$YOUR_ANDROID_SRC_PATH/prebuilts/gcc/linux-x86/arm/arm-linux-androideabi-4.8/bin/arm-linux-androideabi- all
由于第3步开启了几个配置,所以编译一开始会有提示让选择配置选项,记得相关的配置全部选Y就可以了 编译之后在 goldfish/arch/arm/boot/zImage 出现,这个就是内核了
5. 启动模拟器
emulator -no-window -no-audio -verbose -show-kernel -kernel goldfish/arch/arm/boot/zImage -memory 2048 -qemu -s -S
我一般调试内核不需要图形界面,所以增加 -no-window, no-audio. 另外,希望看到内核的详细输出,增加了 -show-kernel, -verbose , 然后就是用 -kernel 参数指向刚刚编译好的 zImage , -memory 设置内存,内存越大,调试起来性能好些, 最后是 -qemu -s -S 启动调试监听,就是内核启动后会等待在 端口 1234 而不会一直启动完毕,这时候需要在另外一个界面启动gdb :
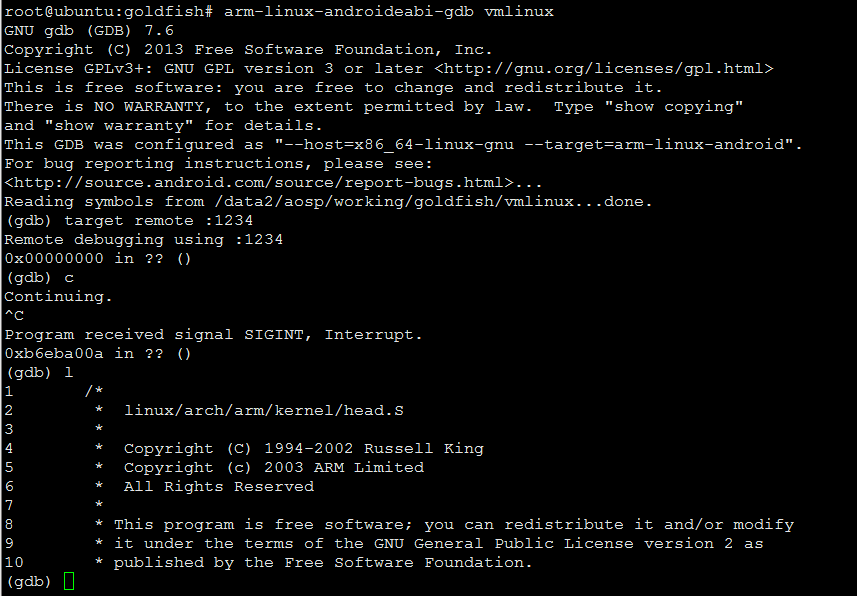
arm-linux-androideabi-gdb goldfish/vmlinux
然后在界面里执行远程调试:
参考:
https://gbrownmozilla.wordpress.com/2015/02/13/more-memory-for-the-android-emulator/
http://www.kgdb.info/kgdb/use_kgdb/using_kgdb_base_qemu/
http://yabinc.blogspot.com/2015/03/build-and-run-android-linux-kernel-in.html

 浙公网安备 33010602011771号