PS网页设计教程XIII——在PS中设计有创意的化妆品布局
作为编码者,美工基础是偏弱的。我们可以参考一些成熟的网页PS教程,提高自身的设计能力。套用一句话,“熟读唐诗三百首,不会作诗也会吟”。
本系列的教程来源于网上的PS教程,都是国外的,全英文的。本人尝试翻译这些优秀的教程。因为翻译能力有限,翻译的细节上还有待推敲,希望广大网友不吝赐教。
约定:
1、本文的软件是Photoshop CS5版本
2、原教程的截图是英文的,本人在重新制作的基础上,重新截了中文版的图
3、原文中有些操作没有给出参数。本人在反复测试的情况下测定了一些参数,以红色的文字显示。有些错误的参数,直接以红色文字显示正确的参数
例如:(90,22,231,77),表示矩形的左上角的坐标是(90,22),宽231,高77
例如:(90,22),表示矩形的左上角的坐标是(90,22),矩形的其他两个参数教程里已经指定
4、在教程的最后会附上本人的心得。有些是对教程中的一些步骤的优化等。
In this tutorial I will show you how to create a beauty layout based on some strange shapes. This PSD layout is aimed for building websites related to healthcare, medicine and health issues. It can be used for massage spa salons, spa resorts, body spa and facial spa accessories, spa equipment too.
在本教程中我将向你展示如何创建基于一些奇怪形状的优美布局。此 psd 格式版面的目的是为建立医疗保健、医学与健康问题有关的网站。它可用于按摩水疗美容院、温泉度假胜地、身体水疗,还有水疗配件、水疗设备等。
I will start this tutorial with a new document with the following background: #ecece2
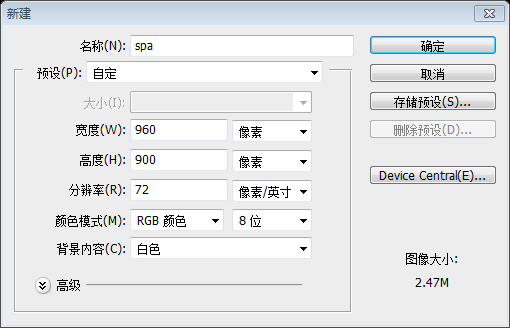
起初,新建一个文档,尺寸:960px*900px,背景色:#ecece2
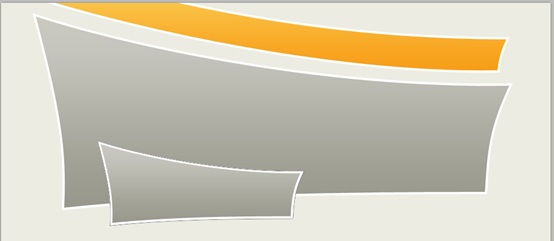
I will grab my Pen Tool and I will create 2 shapes like in the following image
我会选取我的钢笔工具,并按照下图中创建2个形状
此步骤极为简略,对于熟练使用钢笔工具设计人员来说,下图中的两个形状根本不算什么,但是对于不擅长使用钢笔工具的人来说,要颇费一番周折。因此,在这儿把具体的步骤贴在下方,由于本人不擅长使用钢笔工具,故下面的步骤中也没有使用钢笔工具。仅仅是在这儿做一个参考而已
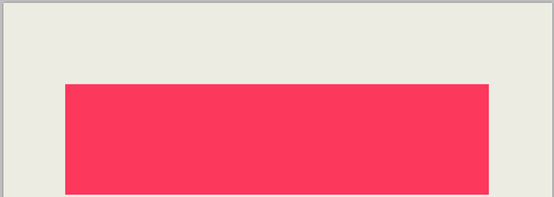
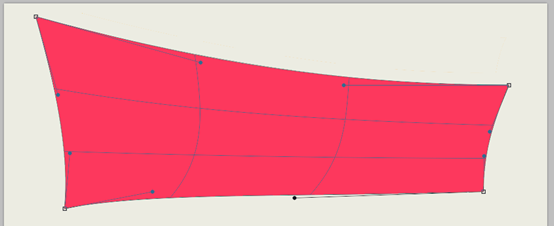
新建一个矩形(108,142,741,193)
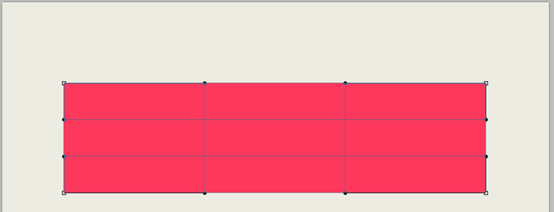
按Ctrl+T自由变换,然后右键选择变形
拖动四角的控制点到合适的位置(本例中右下角的控制点没有变动),并拖动曲率控制点到合适的位置,调整每条边的曲线,如下图所示:
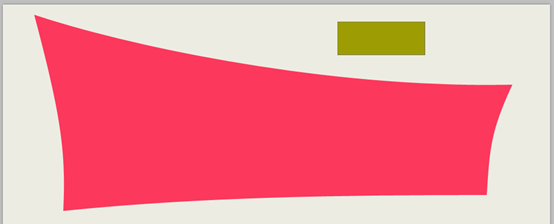
再用矩形工具创建一个矩形
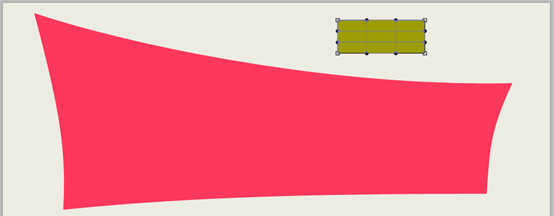
按Ctrl+T自由变换,然后右键选择变形
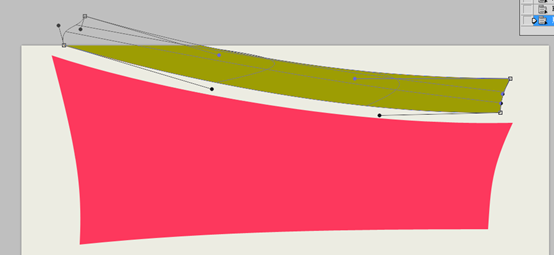
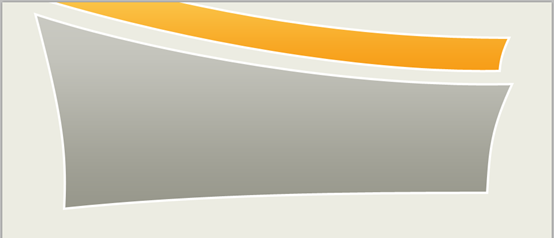
拖动四角的控制点到合适的位置,并拖动曲率控制点到合适的位置,调整每条边的曲线,如下图所示:
改变两个形状的颜色,大块的颜色改为: #c4c4bc,小块的颜色改为: #fbc84d
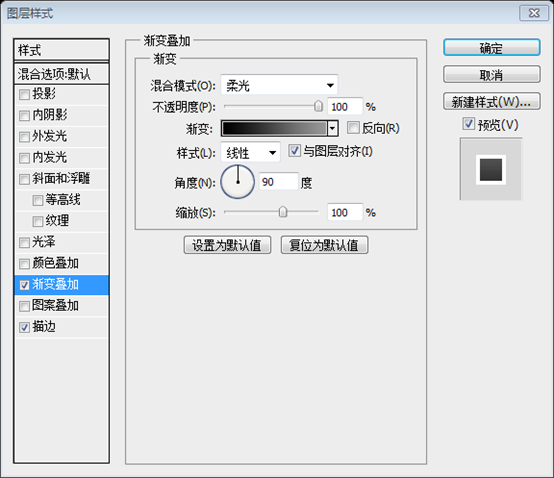
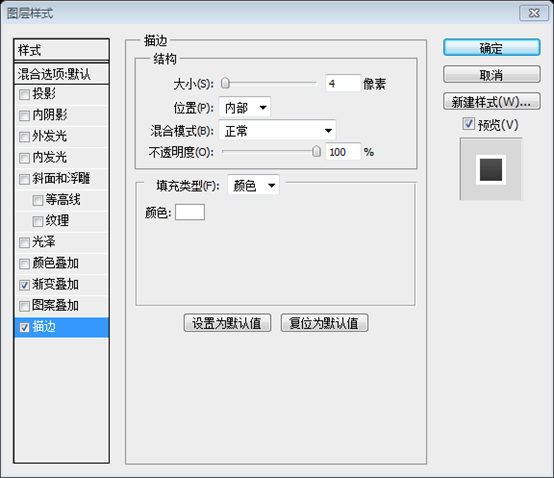
对两个形状添加如下的图层样式:
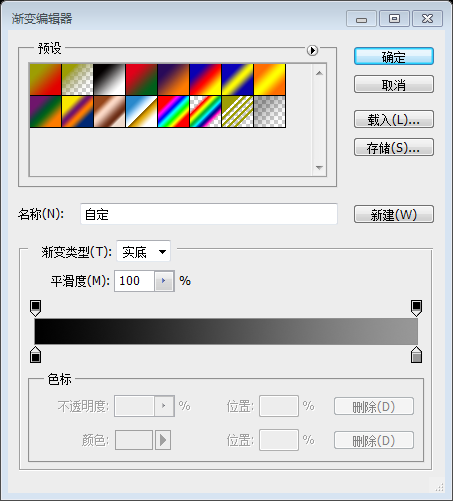
渐变编辑器的颜色: #000000,#989898
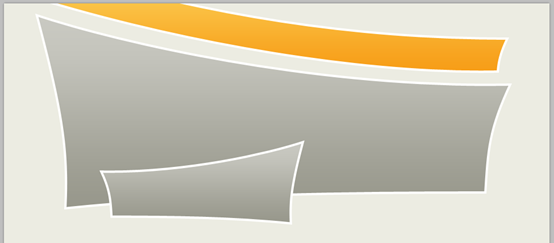
I will duplicate the big shape, and I will resize it
复制大的形状,然后调整它的大小(43%)
I will flip the shape horizontally (Edit > Transform > Flip Horizontally)
我将水平翻转这个形状(点击:编辑 > 变换路径 > 水平翻转)
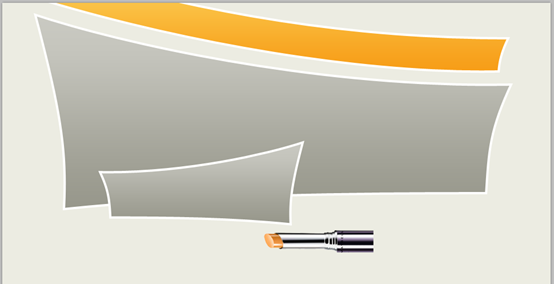
I will place a stock image with a lipstick right under these shapes
在这些形状的下方合适的位置摆放一张口红的图片
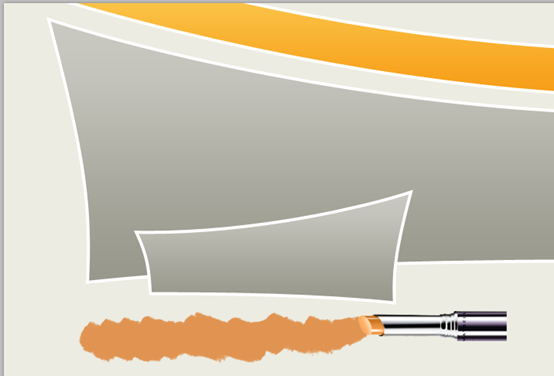
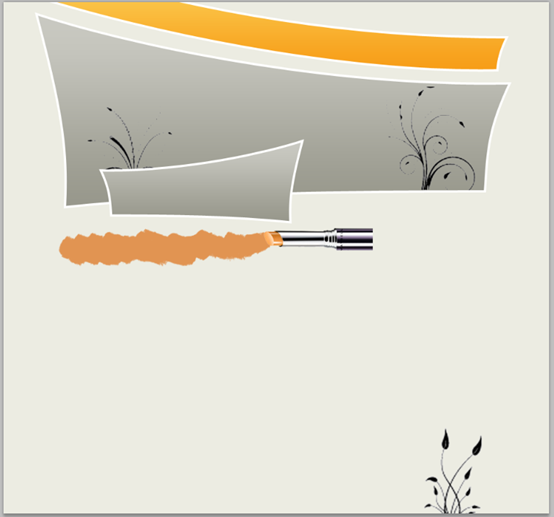
Create a new layer (press on CTRL+SHIFT+ALT+N) in the same time. With Brush tool I will draw a strange drawing. Be sure you use a proper brush when you try to create this drawing.
同时新建一个图层(按CTRL+SHIFT+ALT+N)。用画笔工具画一些图案,当绘画时确保选用适当的画笔。
Now it is time to add some floral designs. If you remember a few days ago I have released a pack of vector swirls… You can download them from here: Vector swirls
Open the EPS file inside Photoshop, and then make a selection around the floral swirls you want to use. You can use Rectangular Marquee Tool.
现在添加一些花纹。如果你记得一些天之前,我提供了一个卷曲植物的矢量包,你可以从这儿下载
在PS中打开EPS文件,然后在你想要的卷曲花草的四周做一个选区。你可以用矩形选择工具
Be sure you have the layer selected, and then press on CTRL+J (this shortcut will create a new layer via cut). You will notice another layer on top of the original one. Please select it, and then drag it to the PSD layout. With the same technique you can add as many flowers you want over our beauty layout.
Please click on the image to see the full size beauty layout.
确保选中图层(在打开的矢量文件中),按CTRL+J(把选中的部分创建新图层的快捷方式)。你注意到另一个图层在之前的图层的上方。请选择它,然后拖动它到我们的PSD的图层。用同样的技术,你可以增加一些你想要的花在我们美丽的图层
请点击图片看美丽图层的完整尺寸
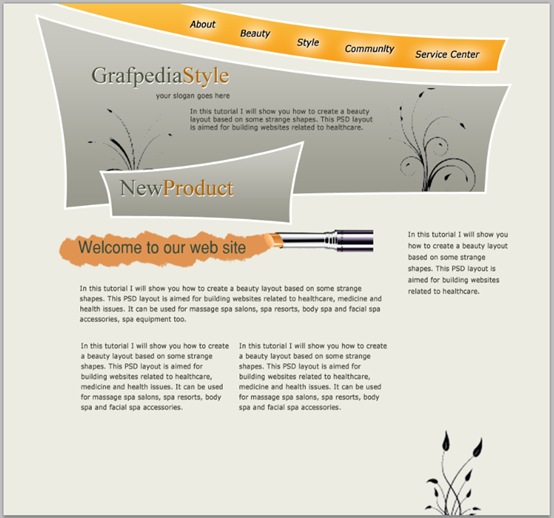
Now it is time to add some text with Horizontal Type Tool
用水平文字工具添加一些文本
在这一步没有详细说明,故在此补充说明
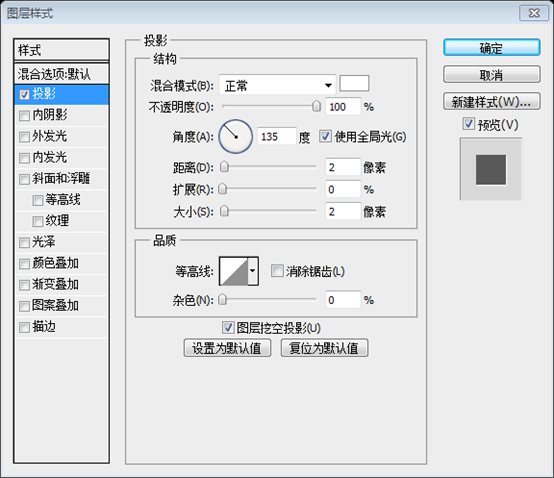
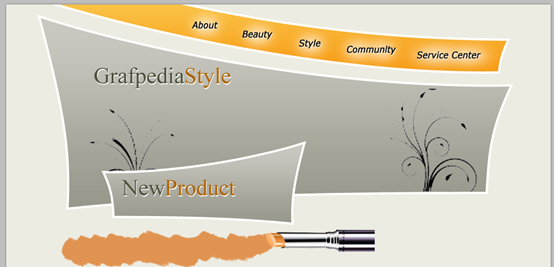
用文字工具添加菜单,字体:Verdana,字号:16px,粗斜体,宽度比设置为90%。如下图添加菜单:About、Beauty、Style、Communlty、Service Center。并按照下图添加投影的图层样式
添加文字的背光。在About文字的后方,用椭圆工具画一个白色椭圆,添加高斯模糊(点击:滤镜 > 模糊 > 高斯模糊),并设置不透明度为:70%。依照此法给每个文字添加背光
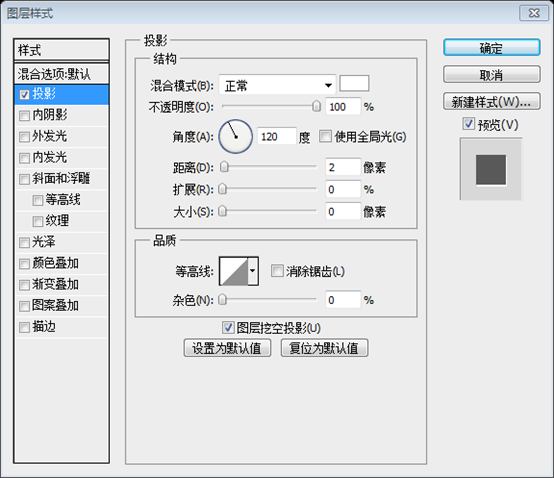
用文字工具添加标题文字:GrafpediaStyle、NewProduct。字体:Times New Roman,字号:40px。颜色:#4e513c和#ae6400。并添加如下的样式:
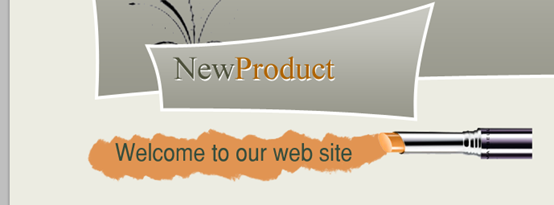
用文字工具添加欢迎文字:Welcome to our web site。字体:SansSerif,字号:30px,字符宽度:90%,颜色: #364d3d
用文字工具添加段落文字
用文字工具添加版权信息
Between text areas I will place some lines. You can use Line tool
在文本段落之间摆放一些直线。你可以用直线工具
每组直线包含3条直线,1长2短
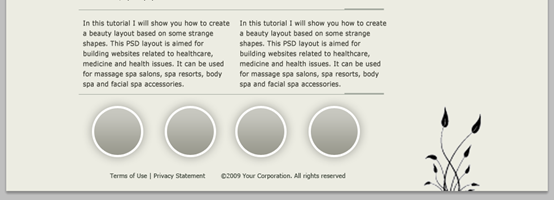
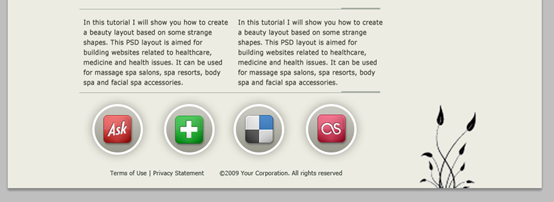
On the bottom of the layout I will create some round buttons. I will create 4 shapes with Ellipse Tool.
You can see that I have used the same layer styles like I have used for the big shape.
在布局的底部创建一些圆按钮。用椭圆工具添加4个椭圆。
如你所见,我给它们添加和上面大的形状一样的图层样式。
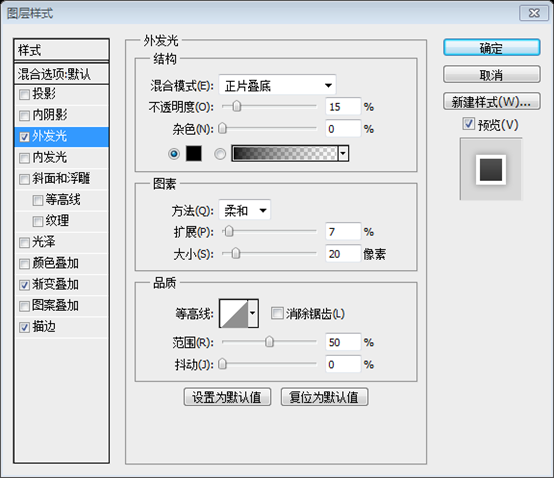
实际上除了和上面大的形状一样的图层样式以外,还额外增加了外发光的样式,如下所示:
Over these circles I will add some icons
在这些圆上添加一些图标
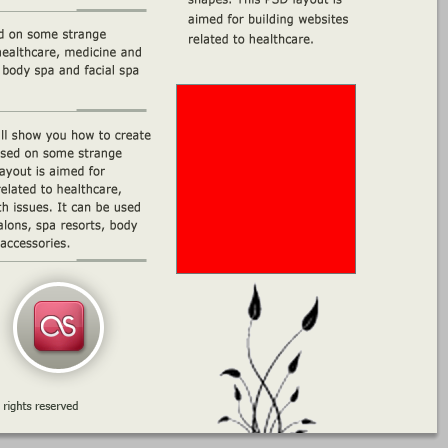
On the right side (in the sidebar of the layout) I will create another shape with pen tool
在右边(布局的侧边栏)我用钢笔工具创建另一个形状
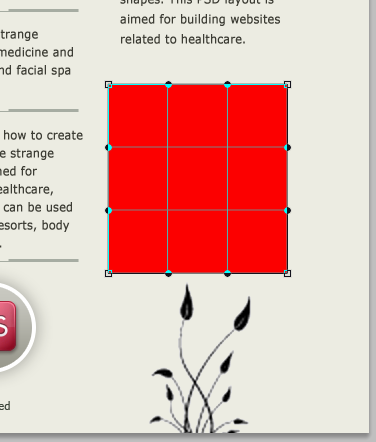
和之前的做法一样,先用矩形工具画一个矩形
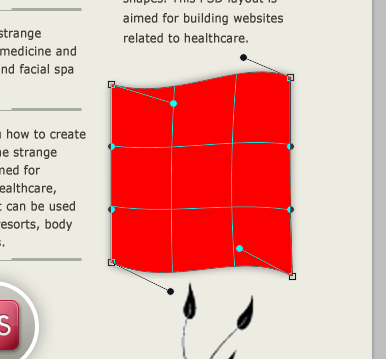
按Ctrl+T自由变形,右键选择变形
调整四角的点到合适的位置,并拖动曲率控制点到合适的位置,调整每条边的曲线,如下图所示:
颜色改为: #c4c4bc,并添加和之前圆按钮一样的图层样式
Here you can showcase some of your best beauty products. It will be a slide show. If you know something about jQuery I am sure you will not have problems to implement a simple slide show.
这儿可以展示你一些最好看的货品。这会是图片切换。如果你知道一些jQuery的技术,我确信你不会有技术上的难题去实现图片切换
用自定义形状工具添加两个箭头,并添加和圆按钮一样的图层样式,只是描边的半径改为1
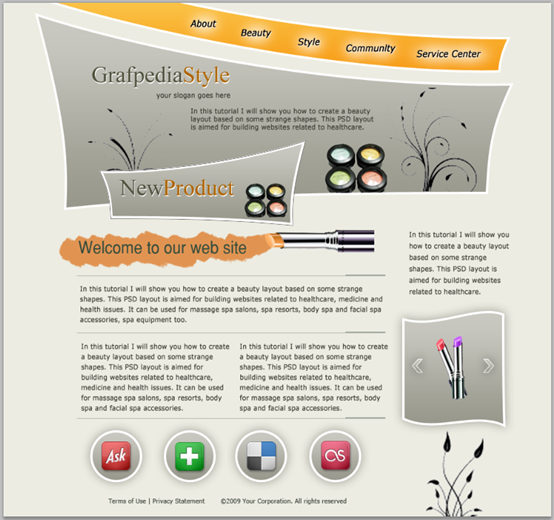
I will add another stock image with some make-up images. This is my final result
我要添加另一些选中的图片。这是我最终的结果
后记
本片教程是利用特殊的形状(原教程中用的是钢笔工具,本翻译教程是利用矩形自由变换来达到同样的效果)达到美观页面的效果


 本片教程是利用特殊的形状(原教程中用的是钢笔工具,本翻译教程是利用矩形自由变换来达到同样的效果)达到美观页面的效果







 浙公网安备 33010602011771号