
SharePoint【学习笔记】--【Sandbox Solution】-- Full Trust Proxy--开发实例之(2、在Webpart中访问Full Trust Proxy)
上一篇
我们在Sharepoint的Farm Solution中创建,部署并注册了一个能访问数据库的Full trust Proxy,这一篇我们将在Sharepoint的Sandbox Solution中创建一个Webpart,并通过前面创建的Full trust proxy访问数据库,把访问结果显示在我们创建的Webpart中。
进入操作步骤。
一、创建和设置项目
1、打开VS2010,创建一个空项目Empty SharePoint Project,命名为MyTestSandBoxAccessDBWebPart,如下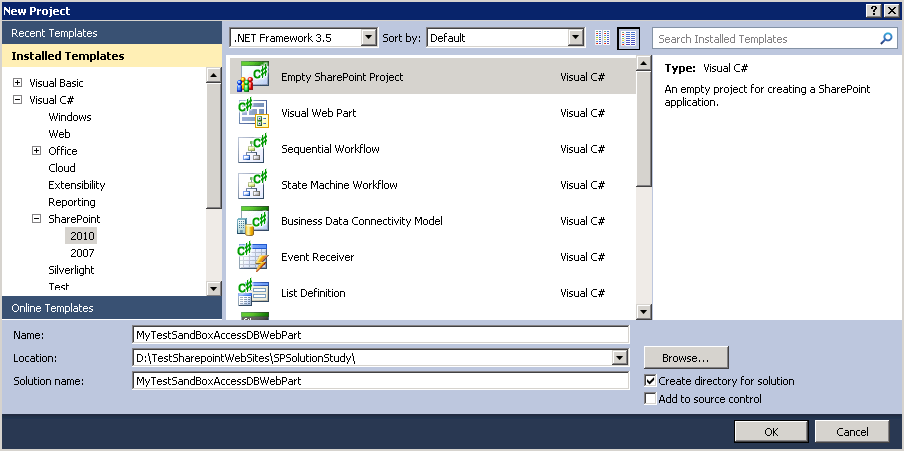 图
图
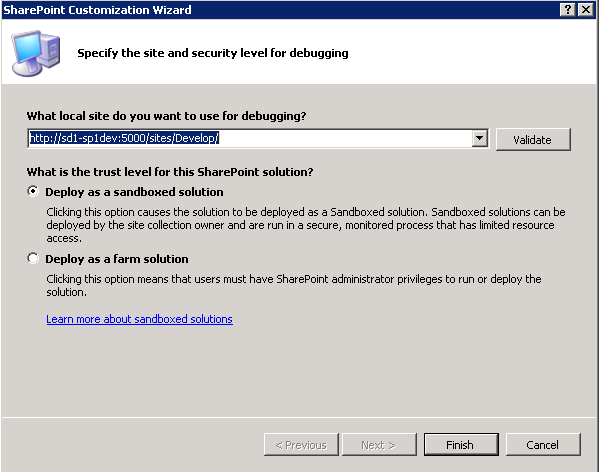
此项目为Sandbox类型的
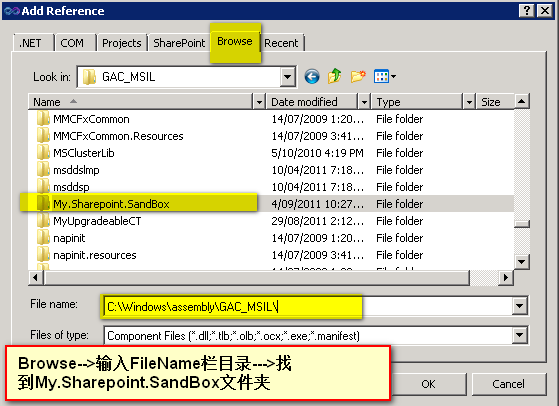
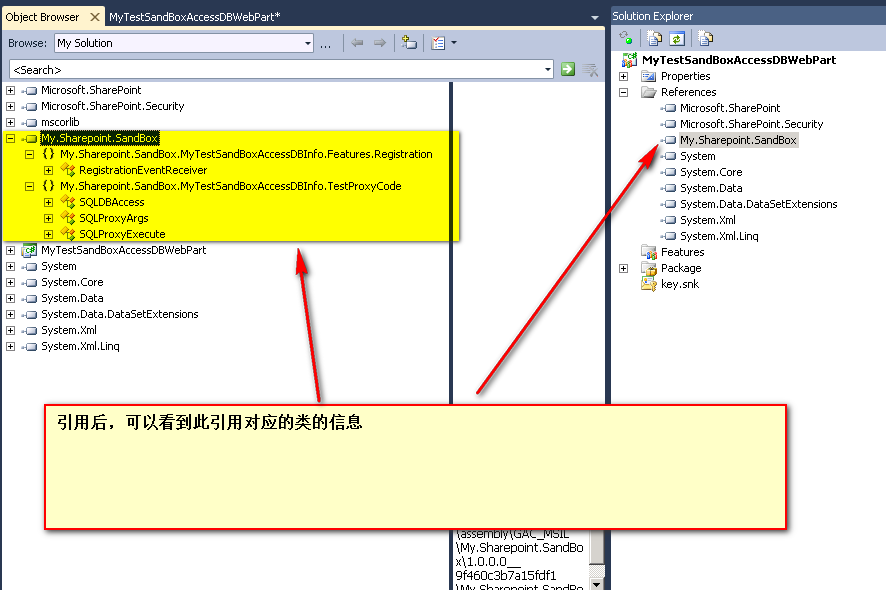
2、在Solution Explorer中,右击References目录,选择Add reference,在跳出的Add Reference窗口,选择Browse栏,浏览到你部署的Full trust Proxy类所在目录
C:\Windows\assembly\GAC_MSIL\My.Sharepoint.SandBox
进入对应的版本
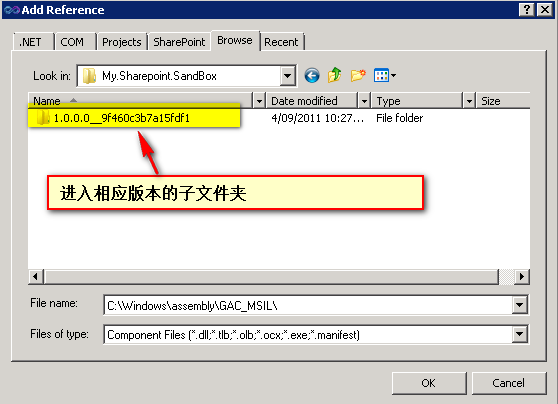
选择My.Sharepoin.SandBox.dll类

引用成功后,可以双击此类,看到它里面定义的对应内容
二、创建Webpart并调用Full Trust Proxy
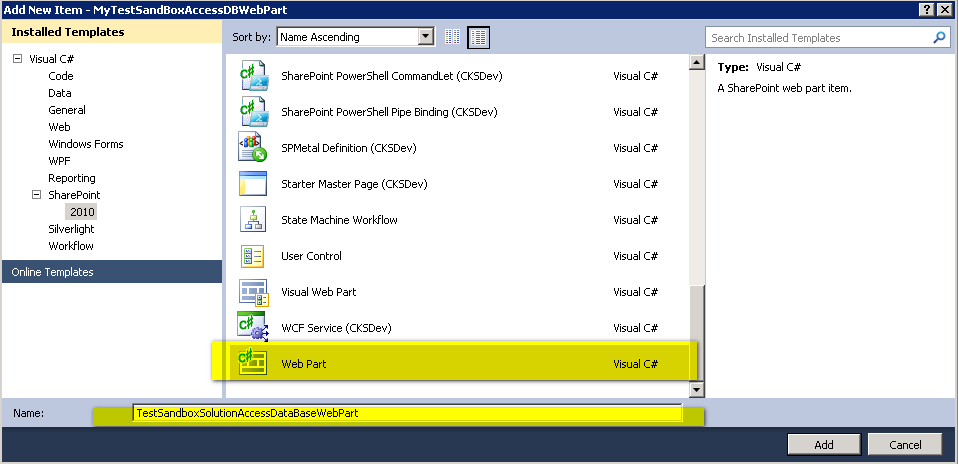
1、在Solution Explorer中,右击项目,选择Add,添加New Item,选择Webpart(注意:不能选择添加Visual Web Part),并命名为TestSandboxSolutionAccessDataBaseWebPart
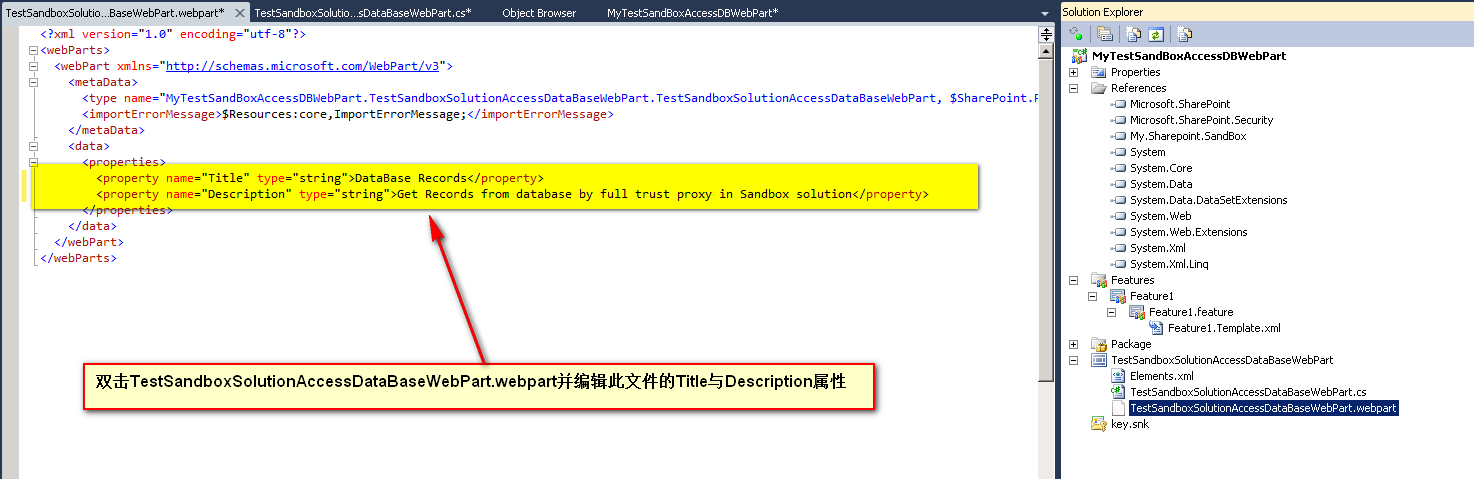
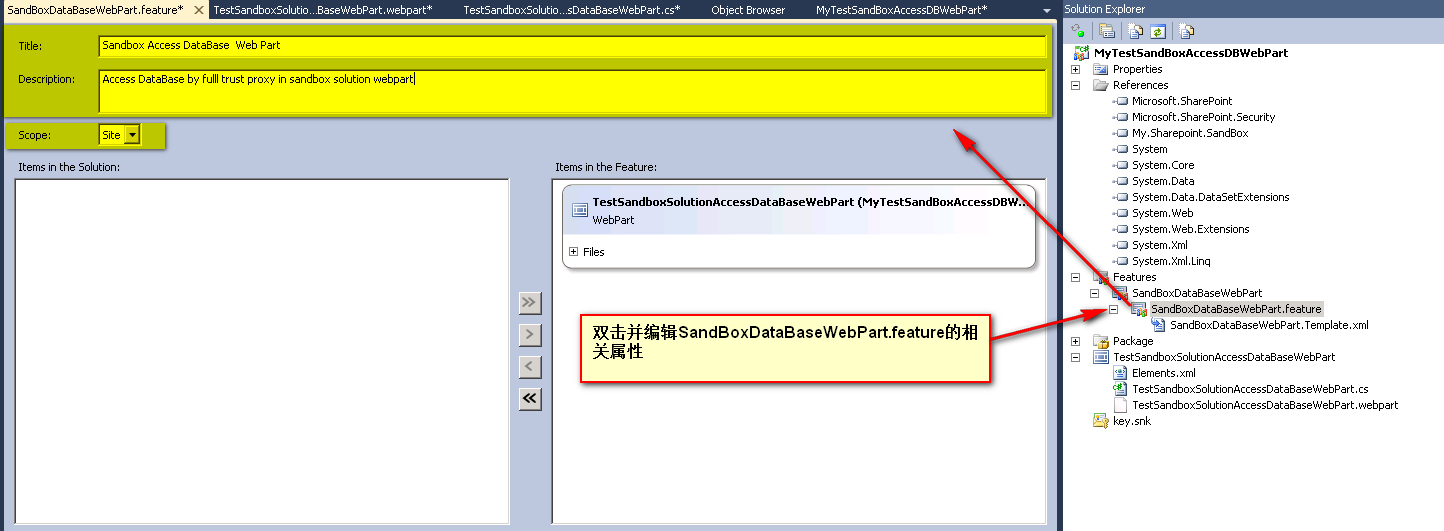
2、在Solution Explorer中,双击TestDBWebpart.webpart,编辑内容如下:
此处我们设置了它的Title和Description.
3、右击Feature1,重命名为DataBaseWebPart,
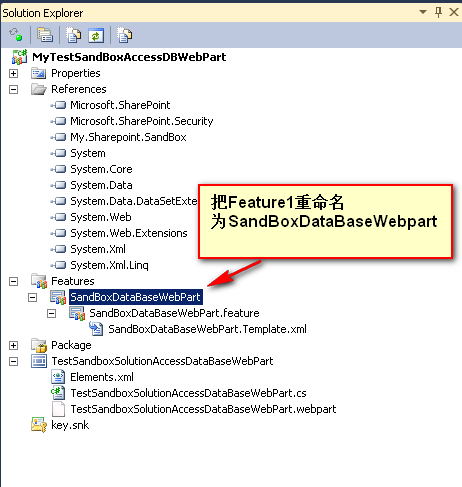
然后双击DataBaseWebPart,打开Feature Designer,在此窗口中设置如下图
4、修改TestDBWebpart.cs代码如下:

using System.ComponentModel;
using System.Web;
using System.Web.UI;
using System.Web.UI.WebControls;
using System.Web.UI.WebControls.WebParts;
using Microsoft.SharePoint;
using Microsoft.SharePoint.WebControls;
using Microsoft.SharePoint.UserCode;
using Microsoft.SharePoint.Administration;
using Microsoft.SharePoint.Utilities;
using System.Data;
using My.Sharepoint.SandBox;
namespace MyTestSandBoxAccessDBWebPart.TestDBWebpart
{
[ToolboxItemAttribute(false)]
public class TestDBWebpart : WebPart
{
private TextBox txtDBConnection = new TextBox() { Text = @"Data Source=Data Source=serverDB;Initial Catalog=MyDb;User ID=MyApp;Password=mypwd" };
private TextBox txtSQLCommand = new TextBox() { Text = @"SELECT TOP(100)* FROM dbo.myTable" };
private Label results = new Label();
private Label lblFileContent = new Label() { Text = "Input DBConnectionStr :" };
private Label lblFileName = new Label() { Text = "Input SQL Command :" };
private Button btnAccessDatabase = new Button() { Text = "Access Database" };
private GridView gv = new GridView();
public TestDBWebpart()
{
#region ProxyOne
string assemblyName = "My.Sharepoint.SandBox, Version=1.0.0.0, Culture=neutral, PublicKeyToken=9f460c3b7a15fdf1";
string typeName = "My.Sharepoint.SandBox.MyTestSandBoxAccessDBInfo.TestProxyCode.SQLProxyExecute";
try
{
btnAccessDatabase.Click += (object sender, EventArgs e) =>
{
string DBConnectionString = txtDBConnection.Text.ToString().Trim();
string SQLCommandStr = txtSQLCommand.Text.ToString().Trim();
DataTable dt = ((DataSet)SPUtility.ExecuteRegisteredProxyOperation(assemblyName, typeName,
new My.Sharepoint.SandBox.MyTestSandBoxAccessDBInfo.TestProxyCode.SQLProxyArgs(DBConnectionString, SQLCommandStr))).Tables[0];
gv.DataSource = dt;
gv.DataBind();
};
}
catch (Exception ex)
{
results.Text = ex.ToString();
}
#endregion
}
protected override void CreateChildControls()
{
Table layoutTable = new Table();
#region Create Table
//Input File Content Row
layoutTable.Rows.Add(new TableRow());
layoutTable.Rows[0].Cells.Add(new TableCell());
layoutTable.Rows[0].Cells.Add(new TableCell());
//Input File Location Row
layoutTable.Rows.Add(new TableRow());
layoutTable.Rows[1].Cells.Add(new TableCell());
layoutTable.Rows[1].Cells.Add(new TableCell());
//Create File button Row
layoutTable.Rows.Add(new TableRow());
layoutTable.Rows[2].Cells.Add(new TableCell() { ColumnSpan = 2 });
//Show Result Row
layoutTable.Rows.Add(new TableRow());
layoutTable.Rows[3].Cells.Add(new TableCell() { ColumnSpan = 2 });
txtDBConnection.Width = 400;
txtSQLCommand.Width = 400;
layoutTable.Rows[0].Cells[0].Controls.Add(lblFileContent);
layoutTable.Rows[0].Cells[1].Controls.Add(txtDBConnection);
layoutTable.Rows[1].Cells[0].Controls.Add(lblFileName);
layoutTable.Rows[1].Cells[1].Controls.Add(txtSQLCommand);
layoutTable.Rows[2].Cells[0].Controls.Add(btnAccessDatabase);
layoutTable.Rows[3].Cells[0].Controls.Add(results);
#endregion
this.Controls.Add(layoutTable);
this.Controls.Add(gv);
base.CreateChildControls();
}
protected override void RenderContents(HtmlTextWriter writer)
{
base.RenderContents(writer);
}
}
}
在上面的代码中,如何取得Assembly Name中的相应值,可参见此文 :
Sharepoint学习笔记--- 快速确定VisualStudio2010当前Project的assembly name
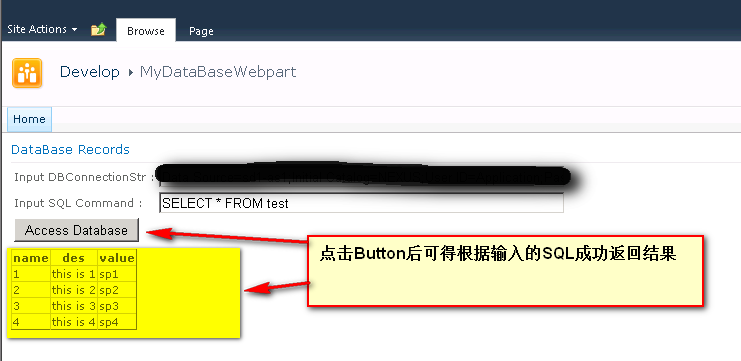
在此Webpart中,我们创建了两个TextBox,一个用于输入数据库连接字符串,一个用于输入SQL语句。同时还定义了一个按钮,并Attach了此按钮的Click事件,当点击此按钮后,后台代码会通过取得的参数,传递给Full Trust Proxy类,通过Full Trust Proxy类去访问数据库内容,然后把取得的结果传递回来,显示在Webpart上的GridView控件中。
三、部署并使用Webpart呈现DataBase数据库数据
Build并部署此项目。成功后,在测试Sharepoint网站上创建一个Web Part Page,在此Page上加入部署的Webpart,然后在此Webpart的相应Text框中输入相应内容再点击Access Database按钮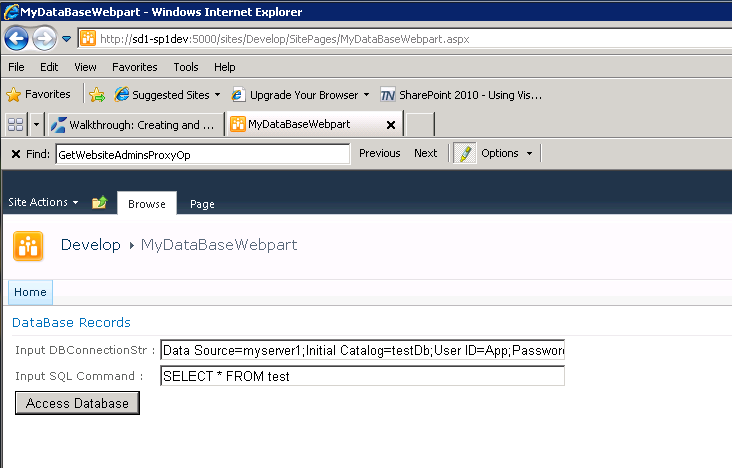
可看到结果
转载:http://www.cnblogs.com/wsdj-ITtech/archive/2011/09/16/2177820.html
