
WCF学习之旅—WCF服务部署到应用程序(十)
上接 WCF学习之旅—WCF寄宿前的准备(八)
WCF学习之旅—WCF服务部署到IIS7.5(九)
五、控制台应用程序宿主
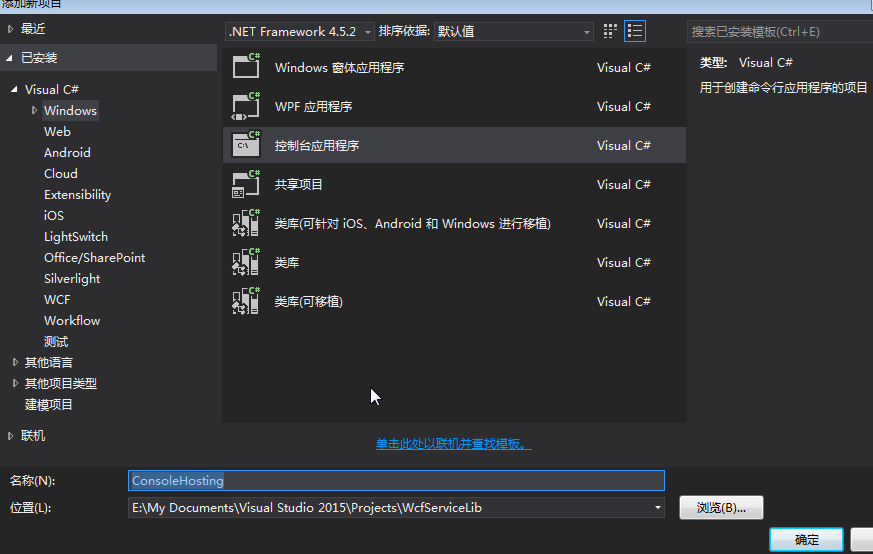
(1) 在解决方案下新建控制台输出项目 ConsoleHosting。如下图。
(2)添加 System.ServiceModel.dll 的引用。
(3)添加 WCF 服务类库(WcfServiceLib)的项目引用。
(4)创建宿主程序,代码如下:
using System;
using System.Collections.Generic;
using System.Linq;
using System.ServiceModel;
using System.ServiceModel.Description;
using System.Text;
using System.Threading.Tasks;
using WcfServiceLib;

namespace ConsoleHosting
{
    class Program
    {
        static void Main(string[] args)
        {
            //创建宿主的基地址
            Uri baseAddress = new Uri("http://localhost:8080/BookService");
            //创建宿主
            using (ServiceHost host = new ServiceHost(typeof(BookService), baseAddress))
            {
                //向宿主中添加终结点
                host.AddServiceEndpoint(typeof(IBookService), new WSHttpBinding(), baseAddress);
                if (host.Description.Behaviors.Find<ServiceMetadataBehavior>() == null)
                {
                    //将HttpGetEnabled属性设置为true
                    ServiceMetadataBehavior behavior = new ServiceMetadataBehavior();
                    behavior.HttpGetEnabled = true;
                    behavior.HttpGetUrl = baseAddress;
                    //将行为添加到Behaviors中
                    host.Description.Behaviors.Add(behavior);
                    //打开宿主
                    host.Opened += delegate
      {
          Console.WriteLine("BookService控制台程序寄宿已经启动,HTTP监听已启动....,按任意键终止服务!");

      };

                    host.Open();
                    Console.Read();
          }
            }
        }
    }

}
(5)运行宿主程序,在运行客户端进行调用之前,需要先运行宿主程序。如下图所示,则说明宿主建立成功。

建立客户端
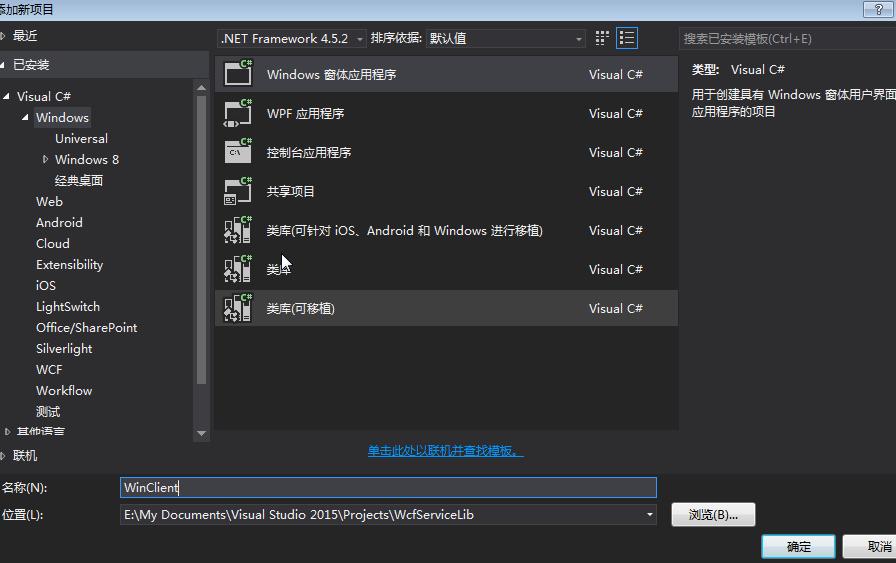
(1) 重新建立解决方案-->Windows窗体应用程序项目。如下图。
(2)添加对服务的引用(在引用上右键-->输入我们定义的服务宿主的基地址(此处为:http://localhost:8080/BookService)-->转到-->确定),具体请看第一节。如下图1,图2。
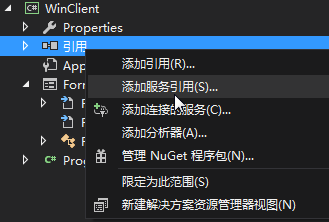
图1
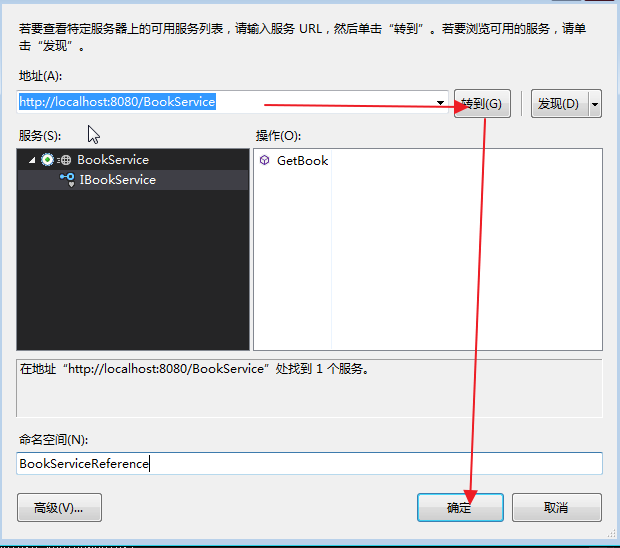
图2
(2) 在From1中添加一个文本框与一个按钮。如下图。

(3) 在From1.cs中写如下代码。
using System;
using System.Collections.Generic;
using System.ComponentModel;
using System.Data;
using System.Drawing;
using System.Linq;
using System.Text;
using System.Threading.Tasks;
using System.Windows.Forms;


namespace WinClient
{
    public partial class Form1 : Form
    {
        public Form1()
        {
            InitializeComponent();
        }

        private void btnGetBook_Click(object sender, EventArgs e)
        {
            BookServiceReference.BookServiceClient client = new BookServiceReference.BookServiceClient();
            string book = client.GetBook("5");
            textBox1.Text = book;

        }

    }

}
(4) 测试程序如下图所示说明成功(注意:一定要先运行我们的宿主程序才行,如果宿主没有打开的话会报错:由于目标计算机积极拒绝,无法连接。)。如下图。

在这个示例中我们把Endpoint中的ABC,基地址,Behaviors等都直接写在了代码里,但实际应用过程中都是去依赖配置文件,为了对比说明我们下面的例子中会使用配置文件。
六、Windows应用程序宿主
(1) 在解决方案下新建Windows窗体应用程序项目 WinHosting。如下图。

(2)添加 System.ServiceModel.dll 的引用。
(3)添加 WCF 服务类库(WcfServiceLib)的项目引用。
(4)添加应用程序配置文件App.config,这次我们使用配置的方式进行WCF服务的公布,WCF服务配置代码如下。
<?xml version="1.0" encoding="utf-8" ?>

<configuration>

    <startup>

        <supportedRuntime version="v4.0" sku=".NETFramework,Version=v4.5.2" />

    </startup>


  <system.serviceModel>


    <behaviors>

      <serviceBehaviors>

        <behavior name="metadataBehavior">

          <serviceMetadata httpGetEnabled="true" httpGetUrl="http://127.0.0.1:8080/BookService/metadata" />

          <serviceDebug includeExceptionDetailInFaults="True" />

        </behavior>

      </serviceBehaviors>


    </behaviors>


    <services>

      <service behaviorConfiguration="metadataBehavior" name="WcfServiceLib.BookService">

        <endpoint address="http://127.0.0.1:8080/BookService" binding="wsHttpBinding"

        contract="WcfServiceLib.IBookService" />

      </service>

    </services>

  </system.serviceModel>

</configuration>
(5)创建宿主程序Form1窗体,并修改App.config,代码如下:
using System;
using System.Collections.Generic;
using System.ComponentModel;
using System.Data;
using System.Drawing;
using System.Linq;
using System.ServiceModel;
using System.Text;
using System.Threading.Tasks;
using System.Windows.Forms;
using WcfServiceLib;


namespace WinHosting
{
    public partial class Form1 : Form
    {
        public Form1()
        {
            InitializeComponent();
        }

        ServiceHost host = null;
        private void Form1_Load(object sender, EventArgs e)
        {
            try
            {
                host = new ServiceHost(typeof(BookService));

                    host.Opened += delegate
                    {
                        label1.Text="窗体宿主程序,BookService,使用配置文件!";

                    };
                    host.Open();

            }
            catch (Exception ex)
            {
                label1.Text=ex.Message;
            }
        }

        private void Form1_FormClosed(object sender, FormClosedEventArgs e)
        {
            host.Close();

        }

    }

}
(6) 运行程序如下图所示。

建立客户端
使用我们在Console寄宿程序编写的客户端,去访问Windows窗体宿主程序的WCF服务。

 浙公网安备 33010602011771号