

android之自定义view 二
在 android之自定义view 一 中,我们了解了如何自定义一个View。但我们并没有说明如何为自定义的View设置自定义的属性。这一篇中简单介绍一下:
添加自定义属性
步骤:
1)在res/values下创建attrs.xml
2)在相关xml布局文件中添加新的命名空间
3)重写 public View (Context context, AttributeSet attrs)
实例:
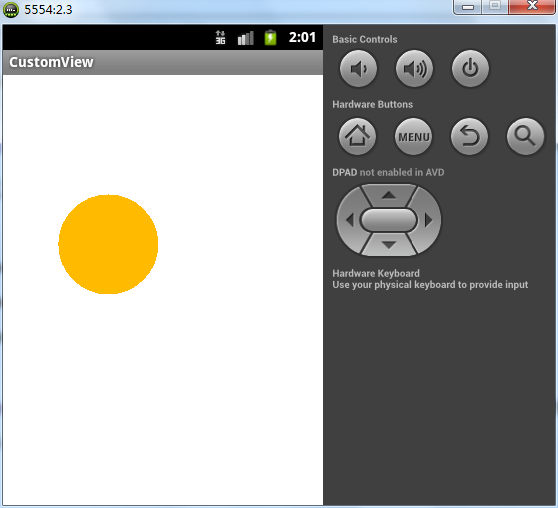
我们还用 android之自定义view 一 中的例子。我们为CustomView1添加颜色、半径两个属性
最终运行结果图:
代码:
attrs.xml
<?xml version="1.0" encoding="utf-8"?>
<resources>
    <declare-styleable name="MyView">
    <attr name="paintColor" format="color"/>
    <attr name="radius" format="dimension"/>
    </declare-styleable>
</resources>
XML布局文件
 1 <RelativeLayout xmlns:android="http://schemas.android.com/apk/res/android"
 2     xmlns:my="http://schemas.android.com/apk/res/com.example.customview"
 3     xmlns:tools="http://schemas.android.com/tools"
 4     android:id="@+id/RLayout"
 5     android:layout_width="match_parent"
 6     android:layout_height="match_parent"
 7     android:paddingBottom="@dimen/activity_vertical_margin"
 8     android:paddingLeft="@dimen/activity_horizontal_margin"
 9     android:paddingRight="@dimen/activity_horizontal_margin"
10     android:paddingTop="@dimen/activity_vertical_margin"
11     tools:context=".CustomViewActivity" >
12
13     <com.example.customview.CustomView1
14         android:id="@+id/cs"
15         android:layout_width="fill_parent"
16         android:layout_height="fill_parent"
17         my:paintColor="#FFBB00"
18         my:radius="50dip" />
19
20 </RelativeLayout>
说明:
添加新的命名空间:xmlns:my="http://schemas.android.com/apk/res/com.example.customview" 其中my是新命名空间的名字,res/+我们自定义view的包名。在自定义view中通过my:xxx引用。
自定义View类
package com.example.customview;

import android.content.Context;
import android.content.res.TypedArray;
import android.graphics.Canvas;
import android.graphics.Color;
import android.graphics.Paint;
import android.util.AttributeSet;
import android.view.View;

public class CustomView1 extends View {

    public float currentX = 46;
    public float currentY = 57;
    private Paint p;
    private float radius;
    public float getRadius() {
        return radius;
    }

    public void setRadius(float radius) {
        this.radius = radius;
    }

    public int getPaintColor() {
        return paintColor;
    }

    public void setPaintColor(int paintColor) {
        this.paintColor = paintColor;
    }

    private int paintColor;

    private void init() {
        p = new Paint();
        p.setColor(Color.GREEN);
    }

    public CustomView1(Context context) {
        super(context);
        System.out.println("---------1-----------");
        init();
    }

    public CustomView1(Context context, AttributeSet attrs) {
        super(context, attrs);
        System.out.println("---------2-----------");
        init();

        TypedArray array = context.obtainStyledAttributes(attrs,
                R.styleable.MyView);
        paintColor = array
                .getColor(R.styleable.MyView_paintColor, 0X000000);
        radius = array.getDimension(R.styleable.MyView_radius, 20);
        p.setColor(paintColor);
        array.recycle();
    }

    @Override
    protected void onDraw(Canvas canvas) {
        super.onDraw(canvas);
        canvas.drawCircle(currentX, currentY, radius, p);
    }

}
说明:
1.重写双参构造函数,记着在最后调用array.recycle();
2.为我们新添加的属性设置新的属性字段及getter\setter方法。如本例的:
 private float radius;
    public float getRadius() {
        return radius;
    }

    public void setRadius(float radius) {
        this.radius = radius;
    }

    public int getPaintColor() {
        return paintColor;
    }

    public void setPaintColor(int paintColor) {
        this.paintColor = paintColor;
    }

    private int paintColor;
这样的话,我们就可以在代码中也可以改变这些新的属性值了。
推荐后续阅读:

 浙公网安备 33010602011771号