SharePoint2010整合Silverlight 4应用——Bing地图控件
 本文中我们将展示如何在SharePoint 2010中集成Silverlight应用。例子中会用到Bing Map 控件。完成后的效果图如下:开发环境本例中,我们使用到的开发环境包括:1、Visual Studio 20102、SharePoint Server 20103、 Silverlight 4 Tools for Visual Studio 20104、Bing Maps Silverl...
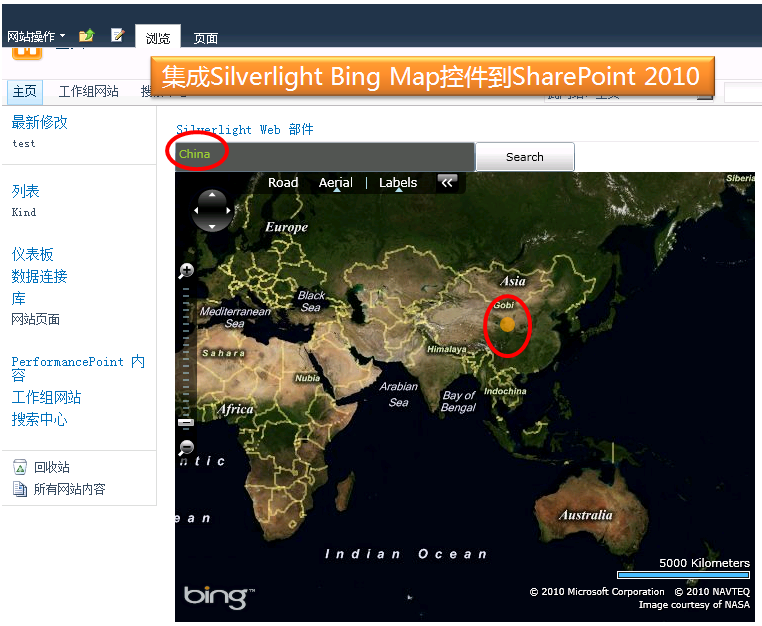
本文中我们将展示如何在SharePoint 2010中集成Silverlight应用。例子中会用到Bing Map 控件。完成后的效果图如下:
开发环境
本例中,我们使用到的开发环境包括:
1、Visual Studio 2010
2、SharePoint Server 2010
3、 Silverlight 4 Tools for Visual Studio 2010
4、Bing Maps Silverlight Control SDK
开发前,你需要确保已安装“Bing Maps Silverlight Control SDK”。另外还需要在https://www.bingmapsportal.com/ 注册一个账号。注册好后,通过提供下列信息来获取一个key。这个key在调用Bing Maps控件时会用到。

注意:Bing Maps Silverlight Control SDK里有详细的开发文档。如果你对此控件的使用遇到什么疑惑,可以参考这个帮助文档。
现在,我们就可以开始开发了。 我将整个应用分成了3大块儿,以便理解。
1、创建一个Silverlight Bing Map Control应用程序
2、创建一个SharePoint应用程序并集成该Silverlight应用
3、宿主Silverlight WebPart到SharePoint站点
创建一个Silverlight Bing Map Control应用程序
若要新建一个Silverlight应用程序,先打开Visual Studio 2010,新建项目并选择"Silverlight Application"项目模板。 给我们的应用程序起一个名字“SilverlightBingMapControl”,点击“OK”。

会弹出对话框请求自动创建一个ASP.NET web应用程序以便宿主我们的silverlight应用。

直接点“OK”。
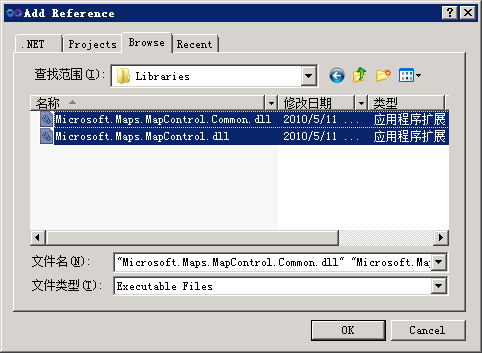
接下来需要添加对“Silverlight Bing Map Control”API的引用。右击我们的silverlight应用程序项目,选择“Add Reference”并浏览到前面安装控件的位置,选中“Microsoft.Maps.MapControl.Common.dll”和“Microsoft.Maps.MapControl.dll”。
接下来还要引用“Bing Map Web Service”。以便使Bing地图控件发挥实际作用。
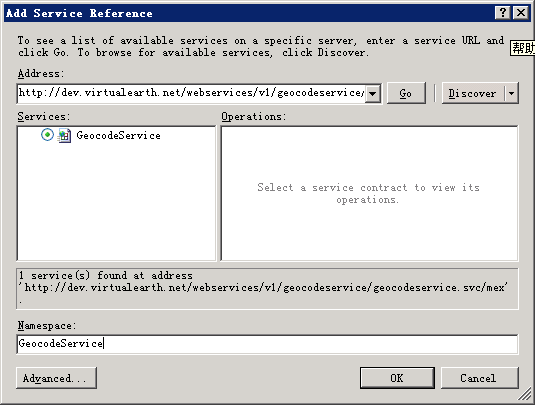
右击我们的silverlight应用程序项目,选择“Add Service Reference”。然后在地址栏输入http://dev.virtualearth.net/webservices/v1/geocodeservice/geocodeservice.svc并点击Go。在Namespace文本框中输入GeocodeService,点"OK"。
下图为我们当前的Silverlight应用程序。

现在,我们来设计一个简单的XAML文件来宿主Silverlight Map Control。下面的代码中,我添加了一个搜索文本框,一个搜索按钮以及一个Silverlight Bing Map 控件。
xmlns="http://schemas.microsoft.com/winfx/2006/xaml/presentation"
xmlns:x="http://schemas.microsoft.com/winfx/2006/xaml"
xmlns:d="http://schemas.microsoft.com/expression/blend/2008"
xmlns:mc="http://schemas.openxmlformats.org/markup-compatibility/2006"
mc:Ignorable="d"
d:DesignHeight="300" d:DesignWidth="400" xmlns:my="clr-namespace:Microsoft.Maps.MapControl;assembly=Microsoft.Maps.MapControl" xmlns:my1="clr-namespace:Microsoft.Maps.MapControl;assembly=Microsoft.Maps.MapControl.Common">
<Grid x:Name="LayoutRoot" Background="White">
<Grid.RowDefinitions>
<RowDefinition Height="Auto" />
<RowDefinition Height="*"/>
</Grid.RowDefinitions>
<StackPanel Orientation="Horizontal" Grid.Row="0">
<TextBox Width="300" Name="txtLocation" MinWidth="150" Background="#555555" Foreground="YellowGreen" />
<Button Content="Search" Name="Search" MinWidth="100" MinHeight="30" Background="Black" Click="Search_Click" />
</StackPanel>
<my:Map Grid.Row="1" CredentialsProvider="Your Key" Name="BingMap" />
</Grid>
</UserControl>
将其中的CredentialsProvider替换成你在上面获得的key。这时,在设计视图中就可以看到我们的地图控件了。

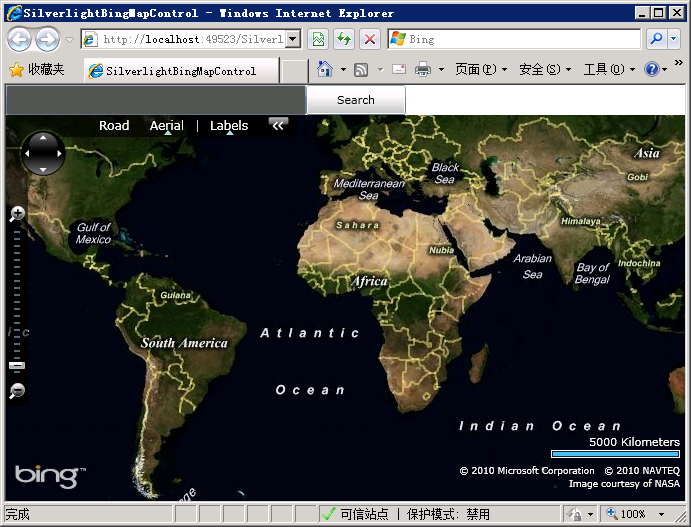
现在可以测试一下你的应用程序了,直接运行即可。相应的宿主silverlight的ASP.NET 应用程序会自动启动并在网页中显示出Silverlight 地图控件。
现在实际上就可以整合到SharePoint里了。不过为了使其变得更有趣些,我们将通过代码调用Bing Map Web Service定位到地图上某个地理位置。
这里的代码基本都来源于Bing SDK 。通过Bing Maps Geocode Service我们可以获取到用户指定的地理位置所对应的坐标。
{
GeocodeService.GeocodeServiceClient geocodeService = new GeocodeService.GeocodeServiceClient("BasicHttpBinding_IGeocodeService");
geocodeService.GeocodeCompleted += new EventHandler<GeocodeService.GeocodeCompletedEventArgs>(geocodeService_GeocodeCompleted);
GeocodeService.GeocodeRequest geocodeRequest = new GeocodeService.GeocodeRequest();
geocodeRequest.Credentials = new Credentials();
geocodeRequest.Credentials.ApplicationId = ((ApplicationIdCredentialsProvider)BingMap.CredentialsProvider).ApplicationId;
geocodeRequest.Query = strAddress;
geocodeService.GeocodeAsync(geocodeRequest, waypointIndex);
}
当Bing Maps Web服务的geocode请求得到返回值时会调用GeocodeComplated。
{
GeocodeResult result = null;
if (e.Result.Results.Count > 0)
{
result = e.Result.Results[0];
if (result != null)
{
this.ShowMarker(result);
}
}
}
Showmaker()方法会在该地理位置上标上一个橙色的圆点。
{
MapLayer myLayer = new MapLayer();
BingMap.Children.Add(myLayer);
Ellipse point = new Ellipse();
point.Width = 15;
point.Height = 15;
point.Fill = new SolidColorBrush(Colors.Orange);
point.Opacity = 0.65;
GeocodeLocation gloc = result.Locations[0];
Location location = new Location(gloc.Latitude, gloc.Longitude);
MapLayer.SetPosition(point, location);
MapLayer.SetPositionOrigin(point, PositionOrigin.Center);
myLayer.Children.Add(point);
}
最后,在搜索按钮点击事件上调用Geocode()。
{
Geocode(txtLocation.Text, 0);
}
完成后再次运行应用程序。数据一个有效的数据并点击搜索。你将看到在指定的地理位置出现一个橙色的小点。
创建一个SharePoint应用程序并集成该Silverlight应用
这一步非常简单但很重要。首先在同一解决方案下创建一个SharePoint 2010项目,选择模板“Empty SharePoint Project”。
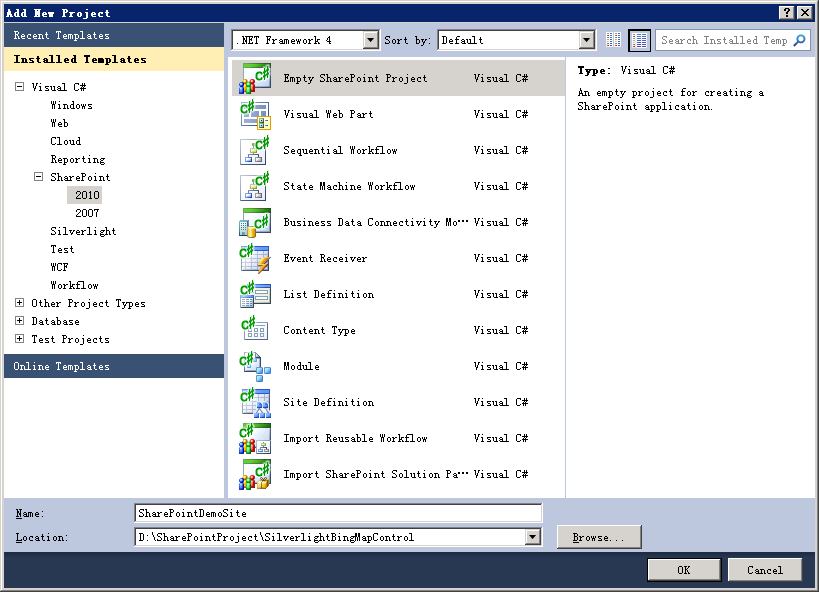
为项目命名后点OK。然后出现下面的窗口:
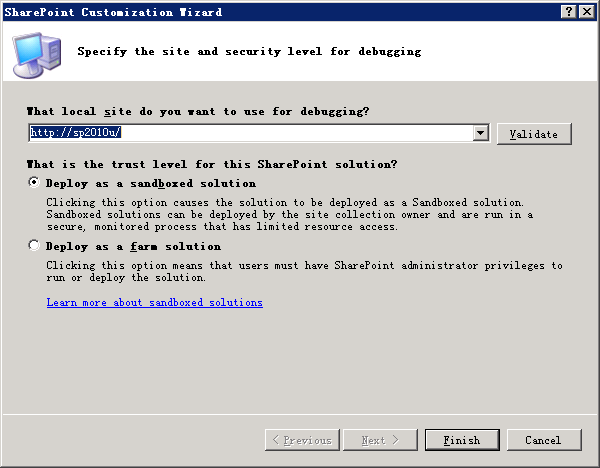
询问调试网站的URL和信任级别。保持默认,直接点OK。
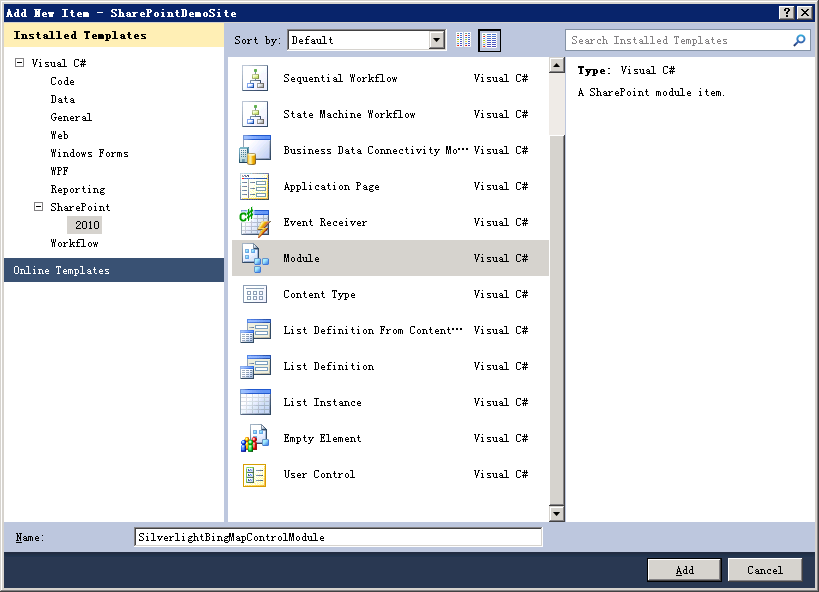
我们需要添加一个SharePoint 模块(Module)。一个模块可以包含若干文件。这些文件会随着SharePoint应用程序一同被部署。若要添加一个模块,右击SharePoint项目并点击“Add New Item”。选中Module。
为该模块命名,并点击“Add”。然后右击该模块并选择“Properties”。
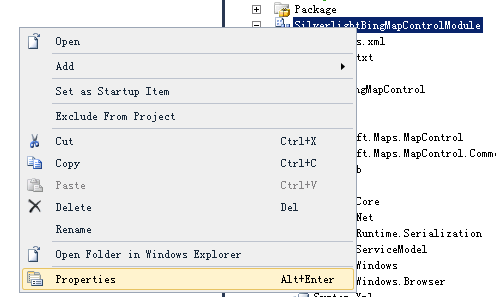
在属性面板中选择Project Output Reference,做如下的设置:
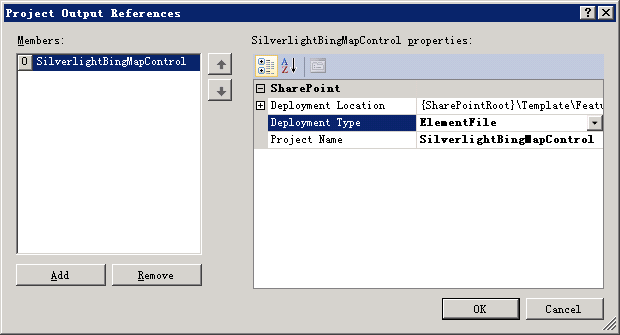
这里要注意,我们需要将Deployment Type设置为“ElementFile”,而Project name应为我们上面的Silverlight应用程序的项目名称。点击OK。打开该SharePoint模块下的“Element.XML”文件。记下Silverlight的 “.xap”文件的路径。我们需要在添加Silverlight WebPart时填写该url。
现在,我们已经完成了SharePoint项目开发。编译并部署该项目。只需在该SharePoint项目上右击并选择Deploy即可。
宿主Silverlight WebPart到SharePoint站点
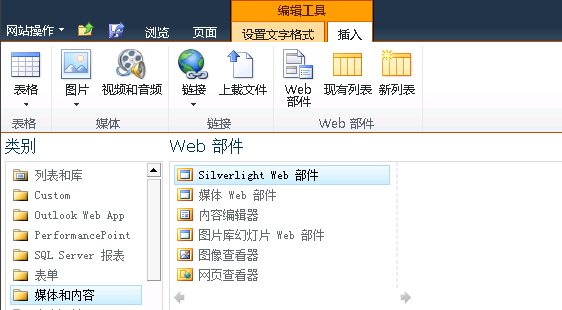
添加Silverlight WebPart的过程和其他一般的webpart类似。打开SharePoint页面的编辑模式,点击“插入”标签,选择“Web部件”。在类别中选择“媒体和内容”分类,然后点击“Silverlight Web部件”。点添加。
会弹出一个AJAX对话框,要求输入Silverlight Application Package(xap)文件的url。将前面我们在SharePoint模块的Element文件中记下的url贴进去。
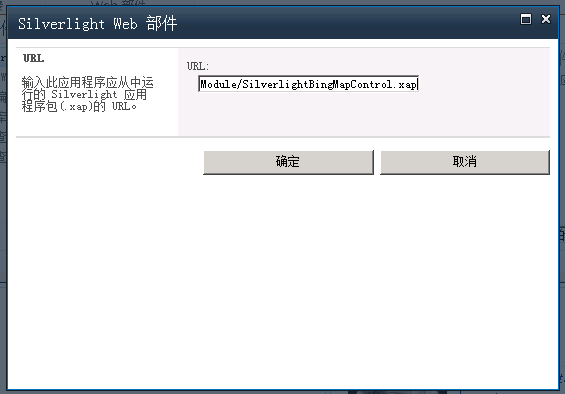
点确定后,我们在SharePoint里看到了相同的Silverlight地图控件。 像其他webpart一样,你可以修改其宽度和高度。

保存并浏览页面。完成了。
希望对你有帮助!
参考资料

 浙公网安备 33010602011771号