
微服务(入门三):netcore ocelot api网关结合consul服务发现
简介
api网关是提供给外部调用的统一入口,类似于dns,所有的请求统一先到api网关,由api网关进行指定内网链接。
ocelot是基于netcore开发的开源API网关项目,功能强大,使用方便,它包含了负载均衡、路由、请求聚合、服务发现、权限认证等功能。
基础准备
开发环境:vs2017
netcore:2.1
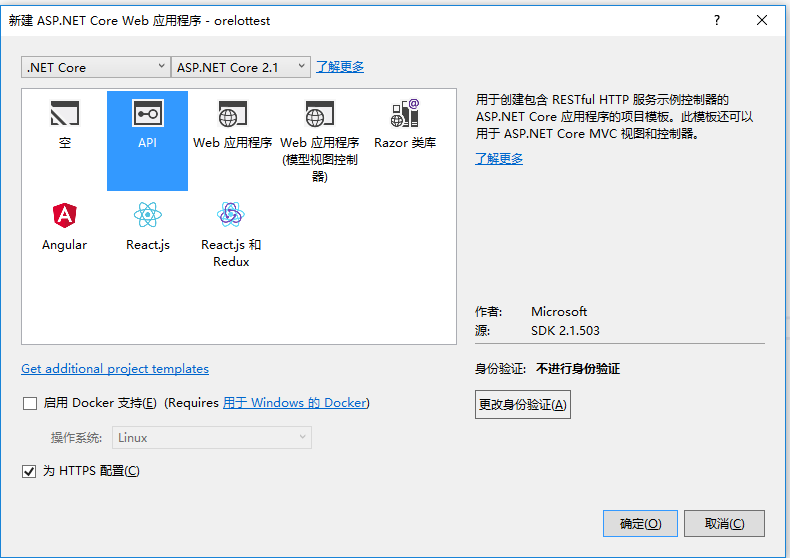
新建项目
netcore安装ocelot
- install-package Ocelot 安装ocelot组件
配置ocelot
1.添加ocelotSettings.json文件,并且在program.cs文件当中添加配置信息
using System;
using System.Collections.Generic;
using System.IO;
using System.Linq;
using System.Threading.Tasks;
using Microsoft.AspNetCore;
using Microsoft.AspNetCore.Hosting;
using Microsoft.Extensions.Configuration;
using Microsoft.Extensions.Logging;

namespace ocelotTest
{
    public class Program
    {
        public static void Main(string[] args)
        {
            BuildWebHost(args).Run();
        }

        public static IWebHost BuildWebHost(string[] args) =>
         WebHost.CreateDefaultBuilder(args)
             .UseStartup<Startup>()
            .UseUrls("http://localhost:8683")
         .ConfigureAppConfiguration(conf => {
             conf.AddJsonFile("OcelotSettings.json", optional: false, reloadOnChange: true);
         })
             .Build();
    }
}
2.注入ocelot服务
using System;
using System.Collections.Generic;
using System.Linq;
using System.Threading.Tasks;
using Microsoft.AspNetCore.Builder;
using Microsoft.AspNetCore.Hosting;
using Microsoft.AspNetCore.Mvc;
using Microsoft.Extensions.Configuration;
using Microsoft.Extensions.DependencyInjection;
using Microsoft.Extensions.Logging;
using Microsoft.Extensions.Options;
using Ocelot.DependencyInjection;
using Ocelot.Middleware;
using Ocelot.Provider.Consul;
using Ocelot.Provider.Polly;

namespace ocelotTest
{
    public class Startup
    {
        public Startup(IConfiguration configuration)
        {
            Configuration = configuration;
        }

        public IConfiguration Configuration { get; }

        // This method gets called by the runtime. Use this method to add services to the container.
        public void ConfigureServices(IServiceCollection services)
        {
            //注入ocelot服务
            services.AddOcelot(Configuration).AddConsul().AddPolly();
        }

        // This method gets called by the runtime. Use this method to configure the HTTP request pipeline.
        public void Configure(IApplicationBuilder app, IHostingEnvironment env)
        {
            if (env.IsDevelopment())
            {
                app.UseDeveloperExceptionPage();
            }

            app.UseOcelot().Wait();
        }
    }
}
3.配置ocelotSettings.json
{
  "ReRoutes": [

    {
      //下游路由模板,真实请求的路径
      "DownstreamPathTemplate": "/api/{everything}",
      //请求的方式,例如:http,https
      "DownstreamScheme": "http",
      //服务器名称
      "ServiceName": "zyz",
      //启用consul服务
      "UseServiceDiscovery": true,
      //服务熔断
      "QoSOptions": {
        "ExceptionsAllowedBeforeBreaking": 3, //允许多少次异常请求
        "DurationOfBreak": 5, //熔断时间,单位为秒
        "TimeoutValue": 5000 //如果下游请求的处理时间超过多少则自动设置超时
      },
      "HttpHandlerOptions": {
        "AllowAutoRedirect": false,
        "UseCookieContainer": false,
        "UseTracing": false
      },
      "ReRouteIsCaseSensitive": false,
      //负载均衡:
      //RoundRobin轮流发送;
      //LeastConnection – 将请求发往最空闲的那个服务器
      //NoLoadBalance – 总是发往第一个请求或者是服务发现
      "LoadBalancerOptions": {
        "Type": "RoundRobin"
      },
      //上游地址配置
      "UpstreamPathTemplate": "/test/{everything}",
      //上游支持的请求类型
      "UpstreamHttpMethod": [ "Post", "Get" ]
    }
  ],
  "GlobalConfiguration": {
    "BaseUrl": "https://localhost:8683",
    //consul服务器地址和ip
    "ServiceDiscoveryProvider": {
      "Host": "localhost",
      "Port": 8500
    }
  }
}
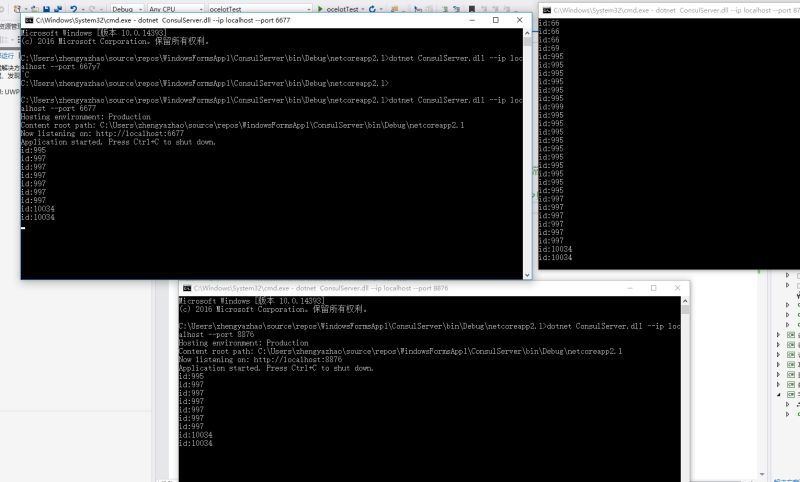
4.启动ocelot项目和consul服务。
把服务注册到consul当中,通过postman发送请求测试,成功转发消息,并且实现负载均衡。

小结:简单的ocelot搭建完成,后续的一些扩展功能慢慢在研究。
快速入口:微服务(入门一):netcore安装部署consul
快速入口: 微服务(入门二):netcore通过consul注册服务
快速入口: 微服务(入门三):netcore ocelot api网关结合consul服务发现
快速入口:微服务(入门四):identityServer的简单使用(客户端授权)

