


1.SmartWizard 向导插件
第一步:引用js文件
1     <link href="http://www.cnblogs.com/Style/js/jquery.smart_wizard.css" rel="stylesheet" type="text/css" />
2     <script src="http://www.cnblogs.com/Style/js/jquery.smartWizard-2.0.js" type="text/javascript"></script>
在css文件里控制向导的高度和宽度
.swMain
{
    float: left;
    width: 100%;/*向导宽度,原来是width:980px;*/
}

.swMain .loader
{

    color: #5A5655;
    background: #FFF url(../images/loader.gif) no-repeat 5px;  /*这个路径要写对了,否则会触发应用程序异常(文件未找到)*/

}
.swMain .stepContainer div.content
{

    height: 460px;/*向导每一步高度,原来是height:460px;*/


    width: 100%;/*向导每一步宽度,原来是width:968px;*/
    clear: both;
}
css中引用的背景图路径要写对了,否则会触发 void Application_Error(object sender, EventArgs e) 事件,异常时文件未找到。
第二步:定义HTML代码应用CSS样式
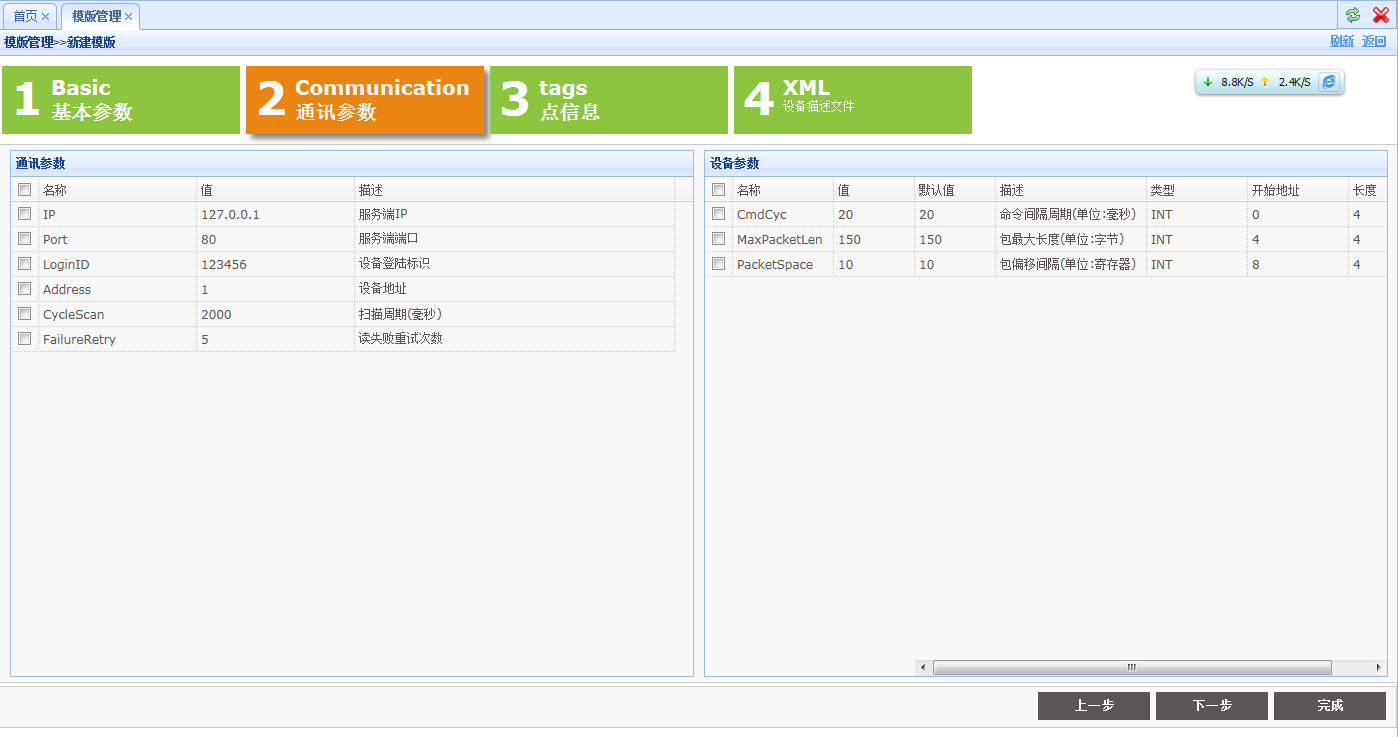
   <!-- Smart Wizard -->
        <div id="wizard" class="swMain">
            <ul>
                <li><a href="#step-1">
                    <label class="stepNumber">
                        1</label>
                    <span class="stepDesc">Basic<br />
                        基本参数 </span></a></li>
                <li><a href="#step-2">
                    <label class="stepNumber">
                        2</label>
                    <span class="stepDesc">Communication<br />
                        通讯参数 </span></a></li>
                <li><a href="#step-3">
                    <label class="stepNumber">
                        3</label>
                    <span class="stepDesc">tags<br />
                        点信息 </span></a></li>
                <li><a href="#step-4">
                    <label class="stepNumber">
                        4</label>
                    <span class="stepDesc">XML<br />
                        <small>设备描述文件</small> </span></a></li>
            </ul>
            <div id="step-1">
             </div>
            <div id="step-2">
             </div>
            <div id="step-3">
             </div>
            <div id="step-4">
             </div>
</div>
第三步:页面初始化时应用样式调整大小
//初始化向导
function initWizard() {
    $('#wizard').smartWizard({ labelNext: '下一步', labelPrevious: '上一步', labelFinish: '完成', onLeaveStep: leavestepCallback, onShowStep: showstepCallback, enableAllSteps: true });

    var h = document.body.clientHeight;
    if (h > 400) {
        $(".stepContainer").height(h - 170); //根据
        $(".swMain .stepContainer div.content").height(h - 170);
    }
    $("#templateXML").height(h - 230);

}
初始化时注册了几个事件回调,可以在这些函数里处理校验和初始化操作。比如我在第二步里用到了easyui的datagrid控件,当显示时需要调用resize 函数,否则表格是出不来的,这问题用了半天才找到原因,一开始以为是css样式冲突导致的。
//显示下一步
function showstepCallback(obj) {
    var step_num = obj.attr('rel');
    if (step_num == 2) {
        $("#table_Communication_datagrid").css("display", "block").datagrid('resize');
        $("#table_ProtocalParameter_datagrid").css("display", "block").datagrid('resize');
    }
    else if (step_num == 3) {
        $("#table_Point_datagrid").css("display", "block").datagrid('resize');

    }
    return true;
}
向导的大小也是比较麻烦的,在css样式里设置高度100%,不起作用,所以用代码控制大小了。
2.uploadify上传插件

第一步:应用js文件
    <script src="../Style/js/uploadify-v3.1/jquery.uploadify-3.1.js" type="text/javascript"></script>
    <link href="../Style/js/uploadify-v3.1/uploadify.css" rel="stylesheet" type="text/css" />
第二步:在HTML代码里使用table布局方式使用上传插件。
 <tr>
                <th class="ItemName" style="width: 100px;">
                    驱动文件: <%--<input type="checkbox" name="ReplaceFile" value="" />覆盖现有文件--%>
                </th>
                <td>
                    <input type="text" id="CfgFileName" name="CfgFileName" readonly="readonly" class="easyui-validatebox"
                        data-options="required:true,missingMessage:'请上传驱动配置文件'" style="width: 260px;"
                        value="" />
                    <div id="some_file_queue"> <%--用于显示上传的flash文件--%>
                    </div>
                </td>
                <td style="padding: 0px; vertical-align: middle; padding-top: 10px;">
                    <input type="file" name="uploadify" id="uploadify" />
 <%--用于显示上传的按钮--%>
                </td>
            </tr>
本来想把“上传”按钮直接放到路径文本框后面,但显示的效果总是会出现换行,所以使用table布局,放到一个新的单元格里了。
第三步:页面加载时初始化上传插件
  function initUploadify() {
            /// <summary>初始化上传控件</summary>
            $("#uploadify").uploadify({
                height: 20,
                swf: '../Style/js/uploadify-v3.1/uploadify.swf',
                buttonText: "浏览...",
                // fileTypeExts: "*.xml",
                progressData: 'percentage',
                queueID: "some_file_queue",
                onUploadSuccess: function (file, data, response) {
                    var result = eval('(' + data + ')');
                    if (result.success) {
                        $("#DriverName").val(result.obj.DriverName);
                        $("#DriverFileName").val(result.obj.DriverFileName);
                        $("#CfgXML").val(result.obj.FileName);
                        $("#CfgFileName").val(file.name + ",保存成功!");
                        $("#IsCfgXMLUpdate").val(true);
                    }
                    else {
                        $("#CfgFileName").val("文件保存失败," + result.msg + "!");
                        $("#IsCfgXMLUpdate").val(false);
                    }
                },
                uploader: '../AjaxHandler/UploadHandler.ashx?Type=Driver&folder=<%=DriverFolder %>',
                width: 120
            });
        }
详细参数可以看它官网示例,这里注意的是从后台返回来的数据 data 是字符串格式,所以需要使用 eval转成对象。
后台代码:
    public override bool ProcessRequestcontext()
    {
        try
        {
            this.Context.Response.ContentType = "text/plain";
            this.Context.Response.Charset = "utf-8";
            string folder = this.Context.Request["folder"];
            string folderPath = HttpContext.Current.Server.MapPath(folder) + "\\";
            string type = this.Context.Request["Type"];

            if (!Directory.Exists(folderPath))
                Directory.CreateDirectory(folderPath); //有可能权限不够

            HttpPostedFile file = this.Context.Request.Files["Filedata"];

            if (file != null)
            {
                string filePath = folderPath + file.FileName;
                if (File.Exists(filePath))
                    File.Delete(filePath);

                file.SaveAs(filePath);
                //成功时返回文件的完整路径
                if (type == "Driver")//驱动文件
                {
                    XmlDocument doc = new XmlDocument();
                    doc.Load(filePath);
                    DriverCfg cfg = DriverCfg.LoadCfg(doc);
                    var cfgInfo = new { DriverName = cfg.DriverName, DriverFileName = cfg.DriverFileName, FileName = folder + "\\" + file.FileName };
                    this.Context.Response.Write(JsonConvert.SerializeObject(new JSON(true, cfgInfo)));
                }
                else if (type == "Photo")
                {
                    string fileUrl = folder + "\\" + file.FileName;
                    this.Context.Response.Write(JsonConvert.SerializeObject(new JSON(true, null, fileUrl)));
                }
            }
            else
            {
                this.Context.Response.Write(JsonConvert.SerializeObject(new JSON(false, null, "上传的文件为空")));
            }
            return true;
        }
        catch (Exception ex)
        {
            this.Context.Response.Write(JsonConvert.SerializeObject(new JSON(false, null, ex.Message, ex)));
            return false;

        }
    }

 浙公网安备 33010602011771号