
RaspberryPi学习教程系列3(编程实验篇-双色LED实验)
By : ReganGao
Email : xssRegan@gmail.com
Date: 2018/10/10
Note: 开始进入编程前,我们要对进行一些基本准备,请看上一篇!
第一个实验,我们从最基本入手,来体会树莓派开发的乐趣!前提是你已经有了一些C/C++/Python
一些基础。因为本系列教程主要以C++&Python 为主,当然也会涉及到Node.js。
一: 介绍与组件
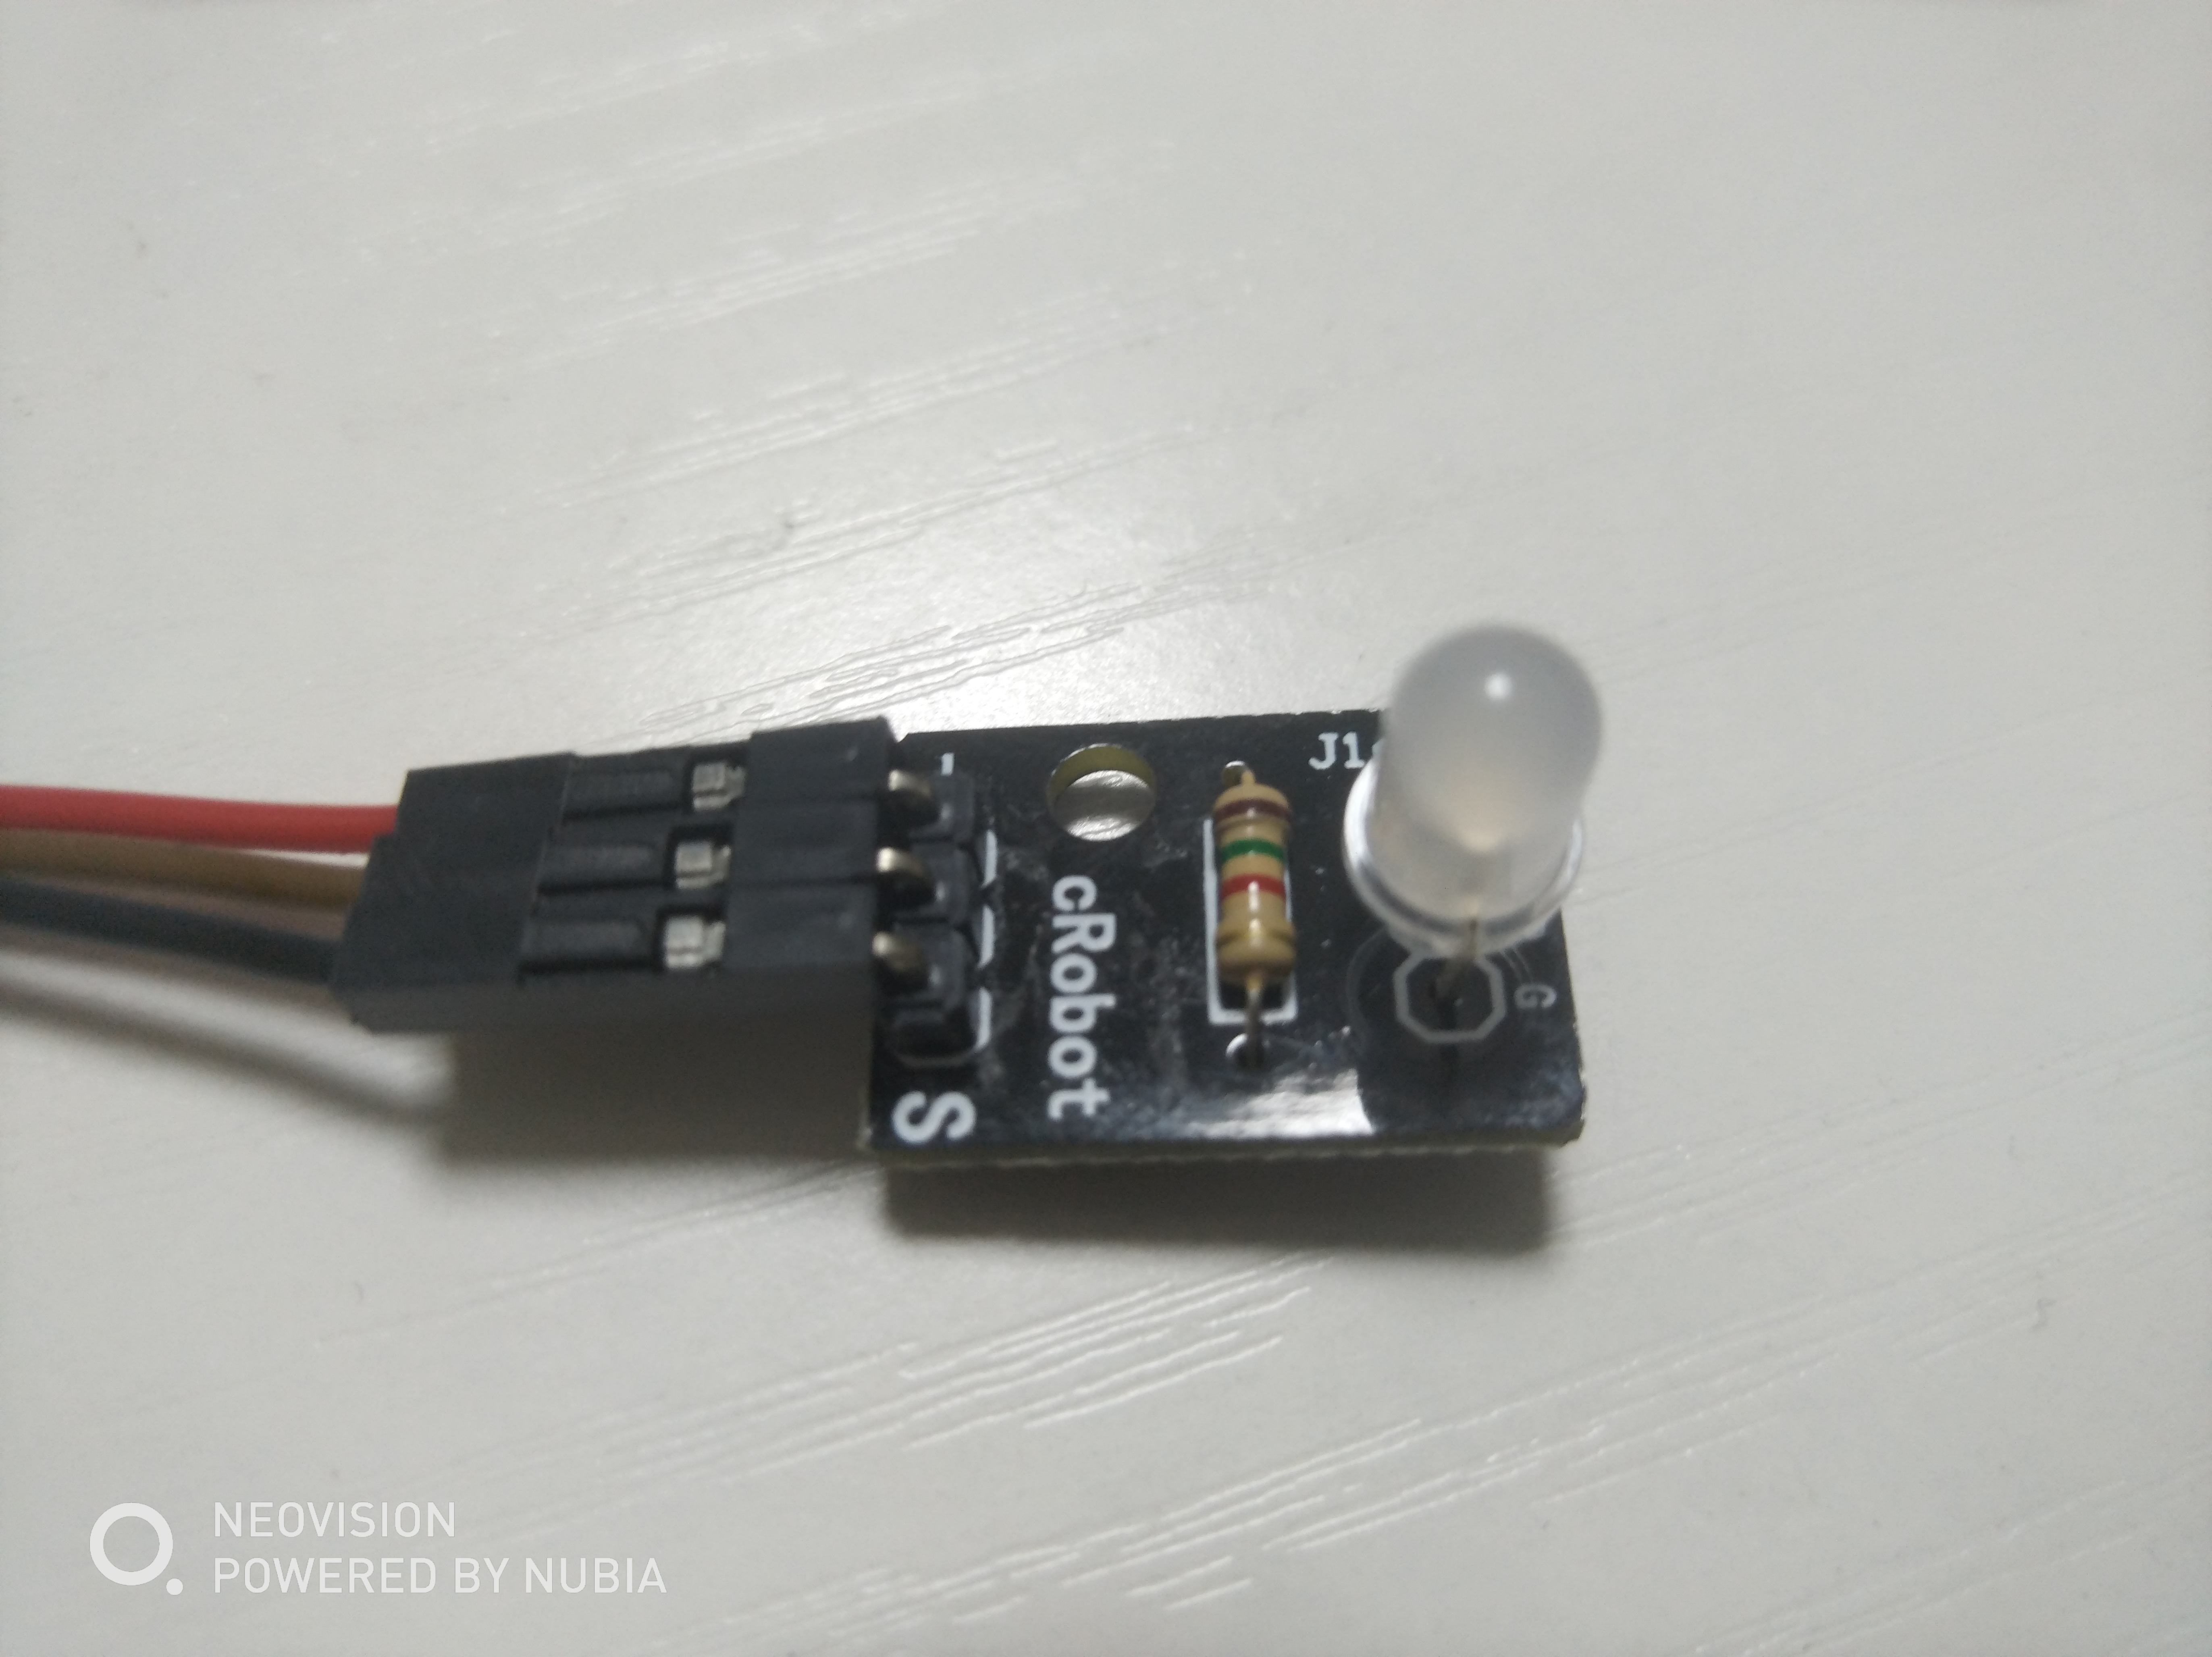
双色LED模块实验为树莓派最基础,最具有代表性的实验。可以带我们初步学习树莓派编程。
双色LED能够发出两种不同颜色的光,通常为红色和绿色,而不是仅有一种颜色。因此常用来做设备状态指示灯。
此实验要用到 Raspberry Pi 主板(带系统),电源适配器,T型扩展板(也可不用),双色LED模块,面包板,跳线等。

二:实验步骤
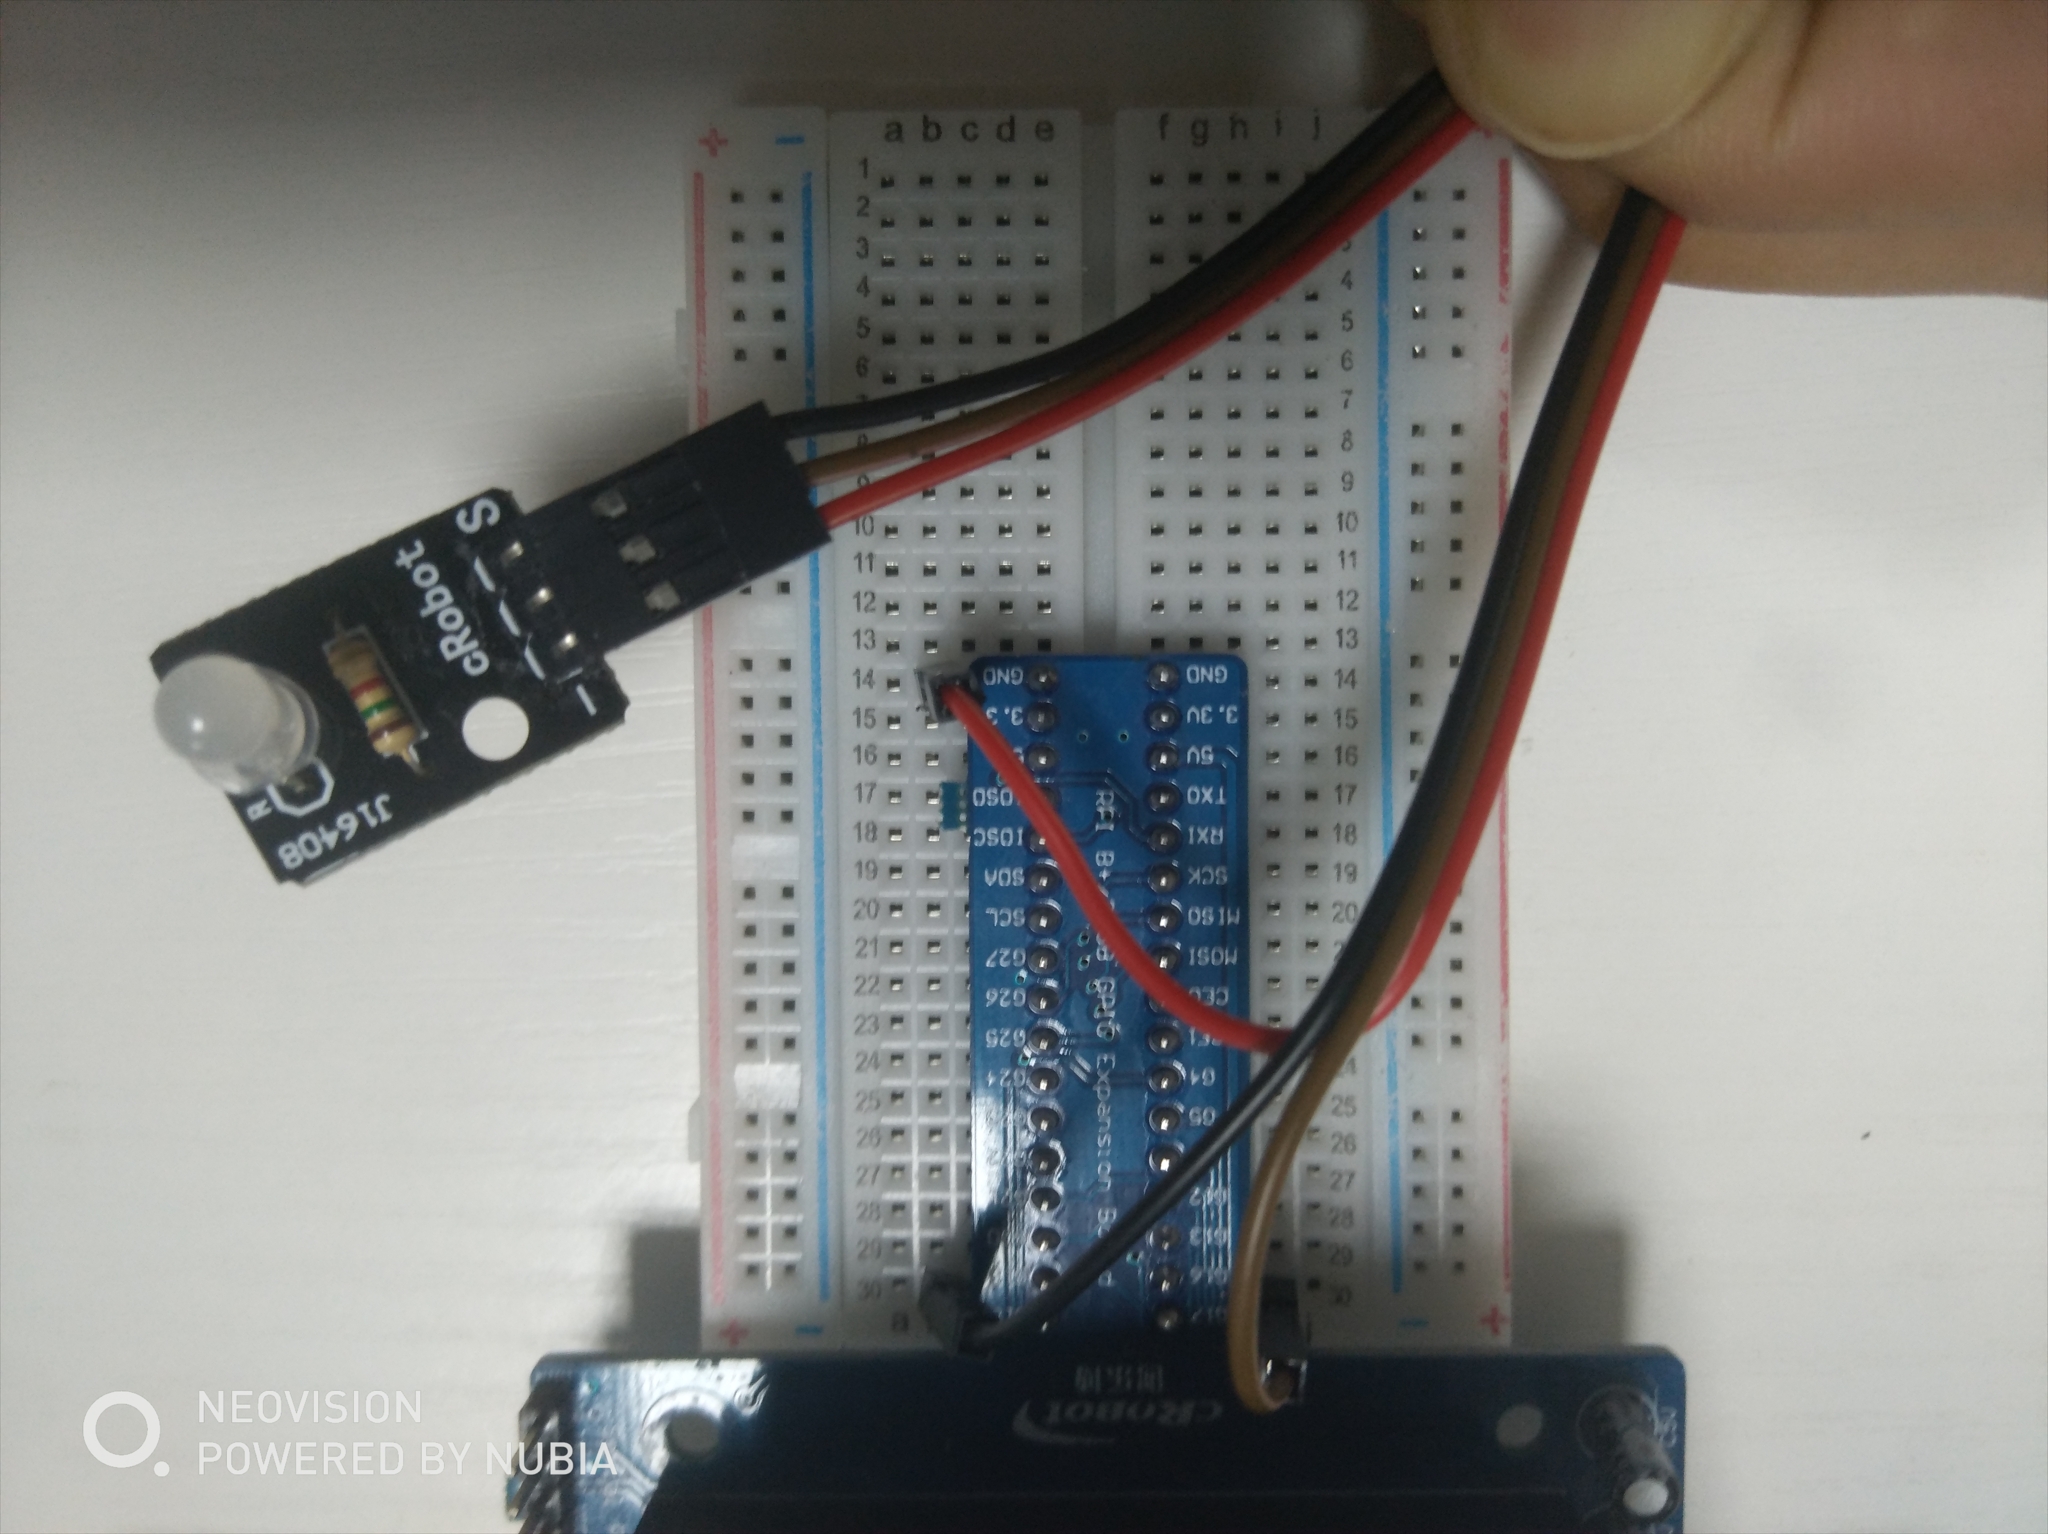
1, 建立电路连接:
| 树莓派 | T型转接板 | 双色LED模块 |
| GPI00 | GPI017 | Red |
| GND | GND | G |
| GPI01 | GPI018 | Green |
2,运行程序代码(代码会附在最下面)
首先 在home/pi 目录下创建文件夹,用来存放实验DEMO代码。
我这里用ReganDemo 为例。
可以通过 scp 命令 或者使用 FileZilla 工具把所写的代码上传到此目录中后运行。
我这里编程语言与代码文件对应如下 :
C语言上传文件 demo_led_1.c
Python语言上传文件 demo_led_1.py
Node.js 语言上传文件 demo_led_1.js
-----对于C/C++------
编译文件:
c / sudo gcc demo_led_1.c -o demo_led_1 -lwiringPi
c++ / sudo g++ demo_led_1.c -o demo_led_1 -lwiringPi
运行代码:
sudo ./demo_led_1

-----对于Python------
运行文件:
sudo python demo_led_1.py

-----对于Node.js------
下载插件
npm install -S rpio
运行文件
node demo_led_1.js

三:代码附录
------- 对于C++ -------
#include <wiringPi.h>
#include <softPwm.h>
#include <stdio.h>

#define uchar unsigned char

#define LedPinRed    0
#define LedPinGreen  1

void ledInit(void)
{
    softPwmCreate(LedPinRed,  0, 100);
    softPwmCreate(LedPinGreen,0, 100);
}

void ledColorSet(uchar r_val, uchar g_val)
{
    softPwmWrite(LedPinRed,   r_val);
    softPwmWrite(LedPinGreen, g_val);
}

int main(void)
{
    int i;

    if(wiringPiSetup() == -1){ //when initialize wiring failed,print messageto screen
        printf("setup wiringPi failed !");
        return 1;
    }
    //printf("linker LedPin : GPIO %d(wiringPi pin)\n",LedPin); //when initialize wiring successfully,print message to screen

    ledInit();

    while(1){
        ledColorSet(0x55,0x55);   //red
        delay(5000);
        ledColorSet(0x00,0xff);   //green
        delay(5000);
        ledColorSet(0xff,0x45);
        delay(500);
        ledColorSet(0xff,0xff);
        delay(500);
        ledColorSet(0x7c,0xfc);
        delay(500);
    }

    return 0;
}
------- 对于Python -------
#!/usr/bin/env python
import RPi.GPIO as GPIO
import time

colors = [0xFF00, 0x00FF, 0x0FF0, 0xF00F]
pins = {'pin_R':11, 'pin_G':12}  # pins is a dict

GPIO.setmode(GPIO.BOARD)       # Numbers GPIOs by physical location
for i in pins:
    GPIO.setup(pins[i], GPIO.OUT)   # Set pins' mode is output
    GPIO.output(pins[i], GPIO.HIGH) # Set pins to high(+3.3V) to off led

p_R = GPIO.PWM(pins['pin_R'], 2000)  # set Frequece to 2KHz
p_G = GPIO.PWM(pins['pin_G'], 2000)

p_R.start(0)      # Initial duty Cycle = 0(leds off)
p_G.start(0)

def map(x, in_min, in_max, out_min, out_max):
    return (x - in_min) * (out_max - out_min) / (in_max - in_min) + out_min

def setColor(col):   # For example : col = 0x112233
    R_val = (col & 0x1100) >> 8
    G_val = (col & 0x0011) >> 0

    R_val = map(R_val, 0, 255, 0, 100)
    G_val = map(G_val, 0, 255, 0, 100)

    p_R.ChangeDutyCycle(R_val)     # Change duty cycle
    p_G.ChangeDutyCycle(G_val)

def loop():
    while True:
        for col in colors:
            setColor(col)
            time.sleep(0.5)

def destroy():
    p_R.stop()
    p_G.stop()
    for i in pins:
        GPIO.output(pins[i], GPIO.HIGH)    # Turn off all leds
    GPIO.cleanup()

if __name__ == "__main__":
    try:
        loop()
    except KeyboardInterrupt:
        destroy()
------- 对于Node.js -------
var rpio = require('rpio');

//  打开 GPIO17 针脚 作为输出
rpio.open(11, rpio.OUTPUT);

function blink(){
   // 指定 GPIO17 输出电流 高电平
    rpio.write(11, rpio.HIGH);
    setTimeout(function(){
     // 指定 GPIO17 停止输出(LOW)
        rpio.write(11, rpio.LOW);
        rpio.open(12, rpio.OUTPUT);
        rpio.write(12, rpio.HIGH);
    },1000)
}


setInterval(blink, 2000);
有两点需要注意:
1. 以上代码均为双色LED 交替闪烁功能,也只供参考!
2. C++编程使用 wiringPi 编码, Python与Node.js均使用物理引脚BOARD编码!
接下来可以继续学习下一编程实验!
------正文完-------

 浙公网安备 33010602011771号