安装操作系统CentOS-7.x
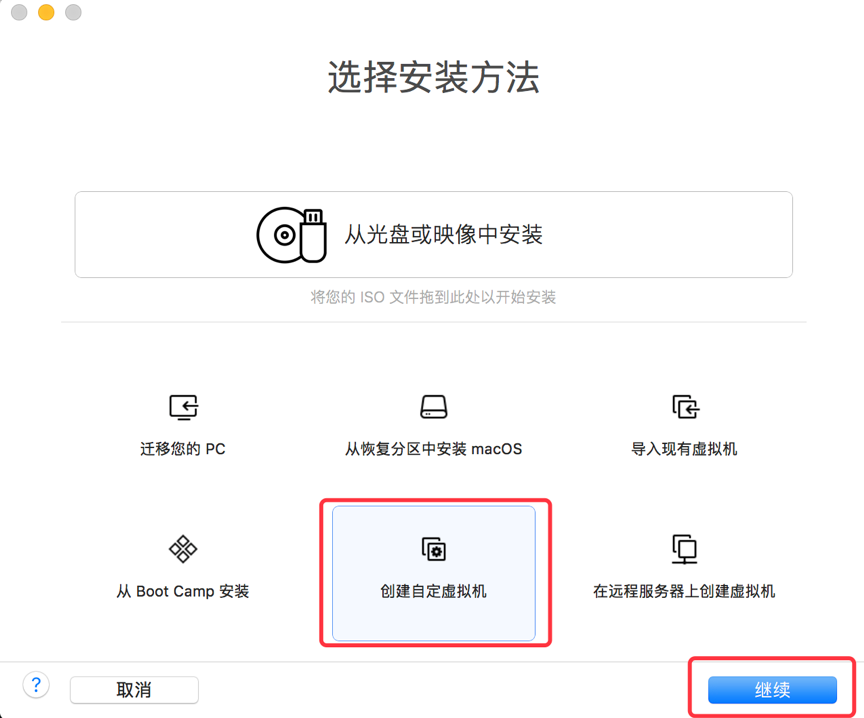
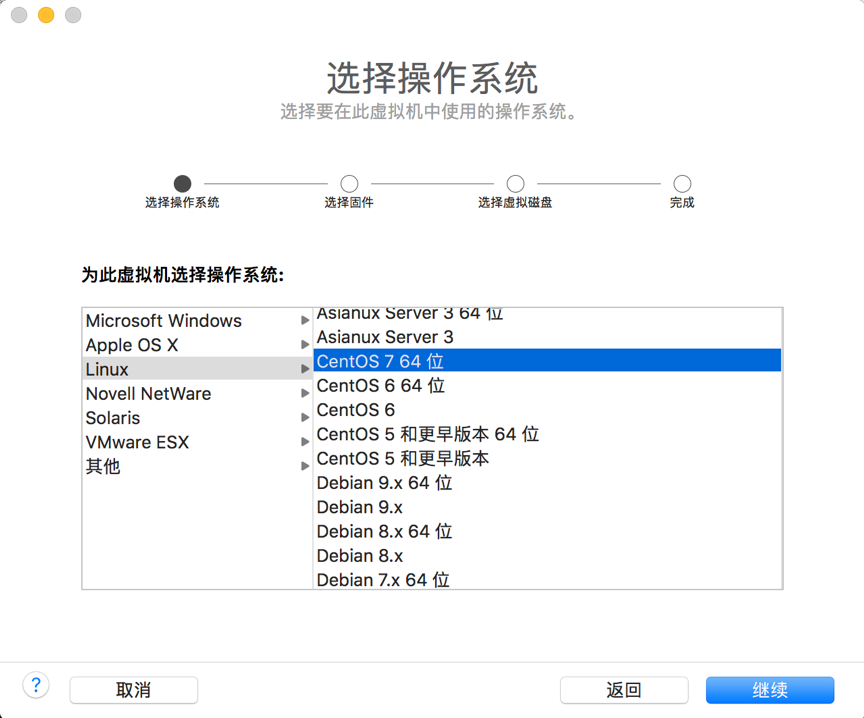
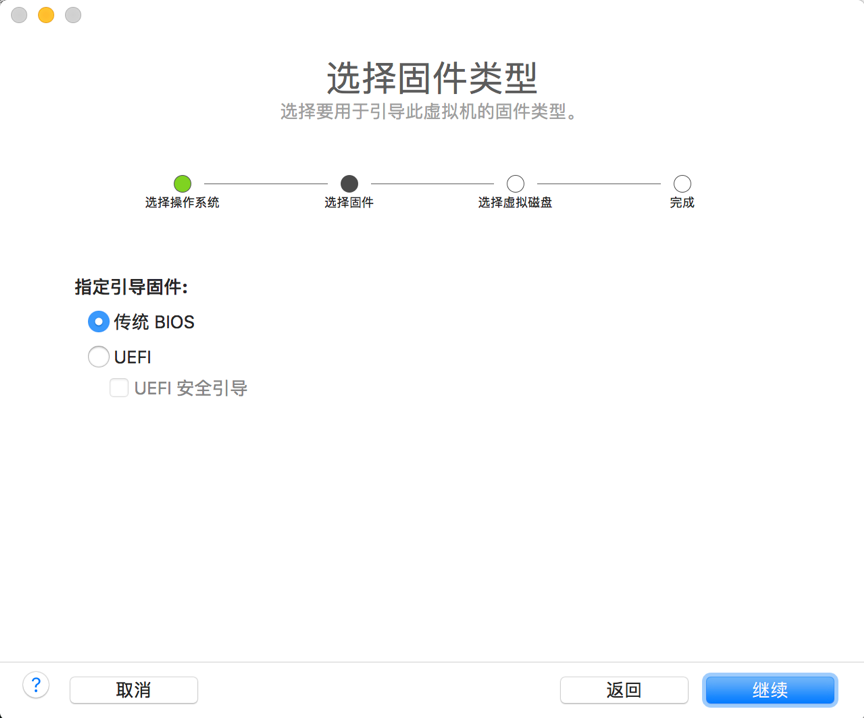
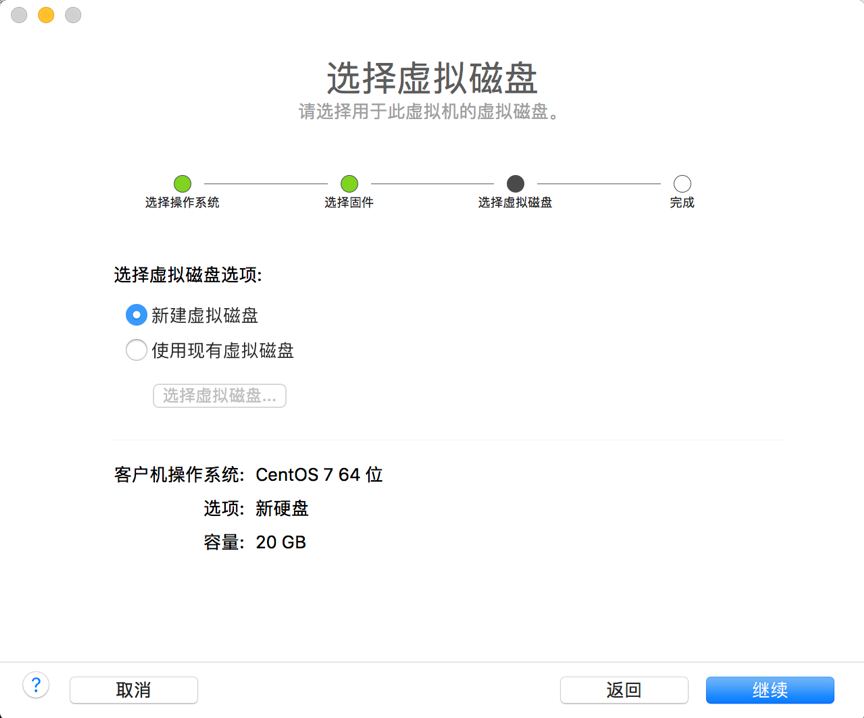
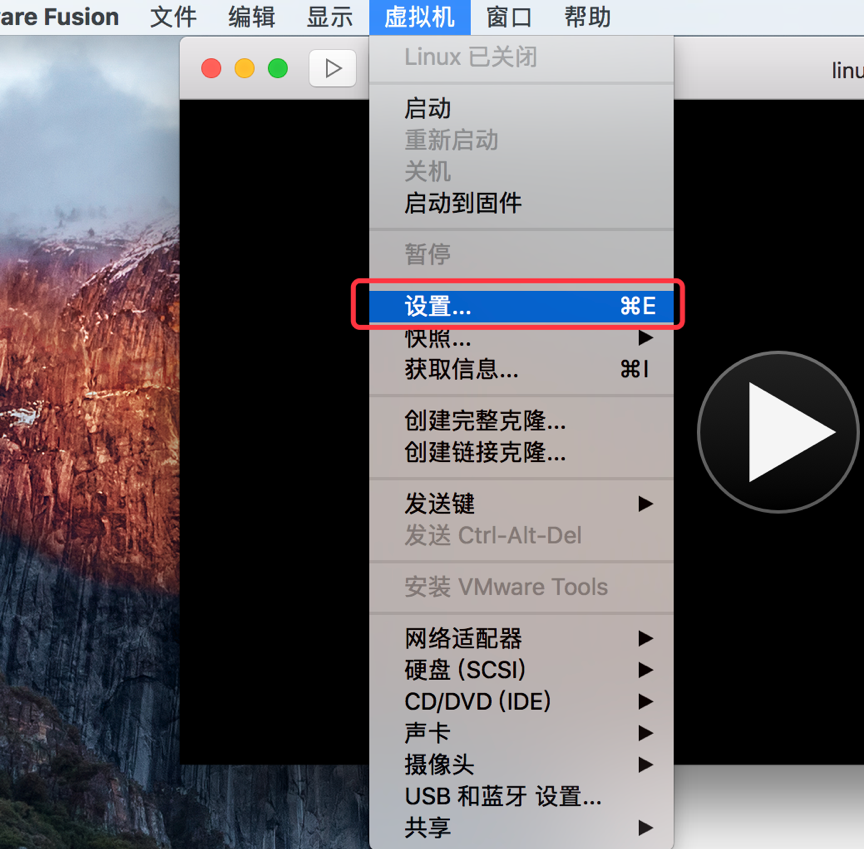
一、创建虚拟机
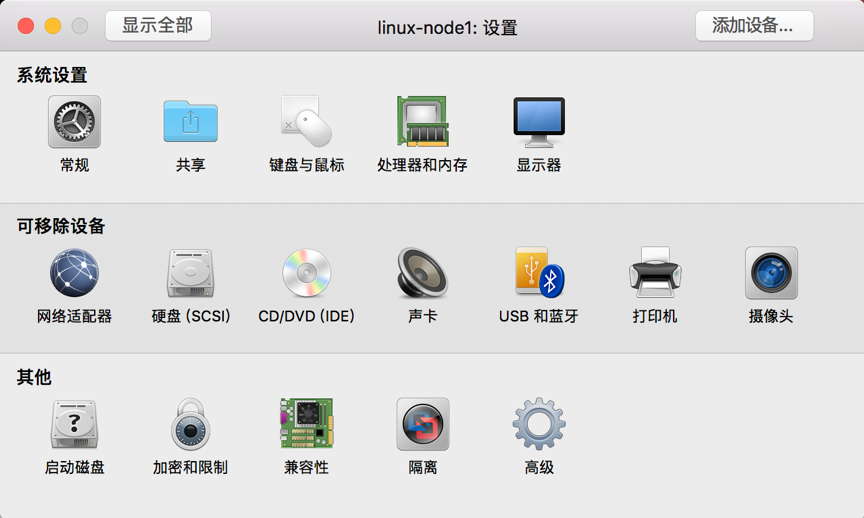
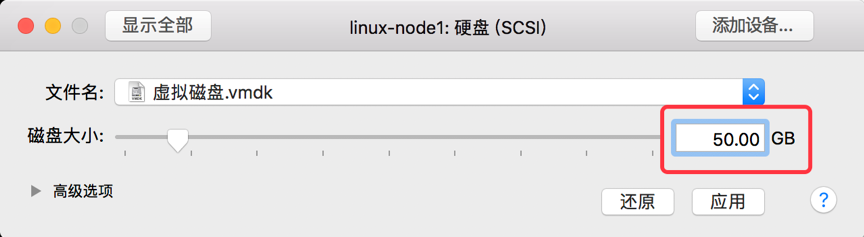
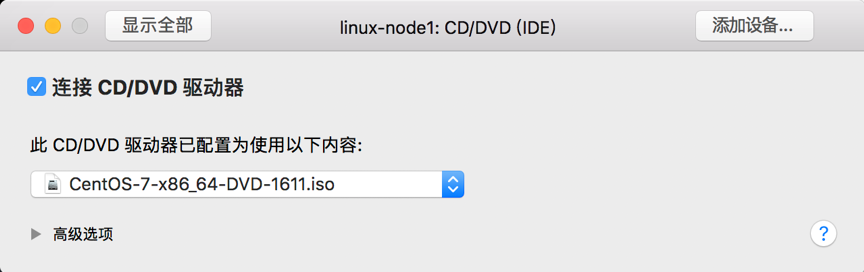
使用VMware Fusion创建虚拟机
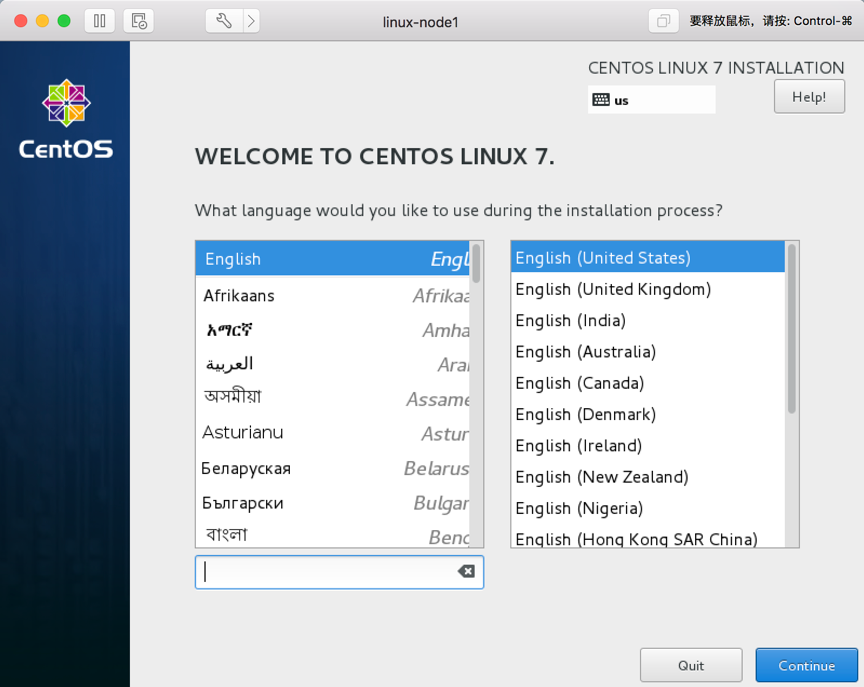
二、系统安装
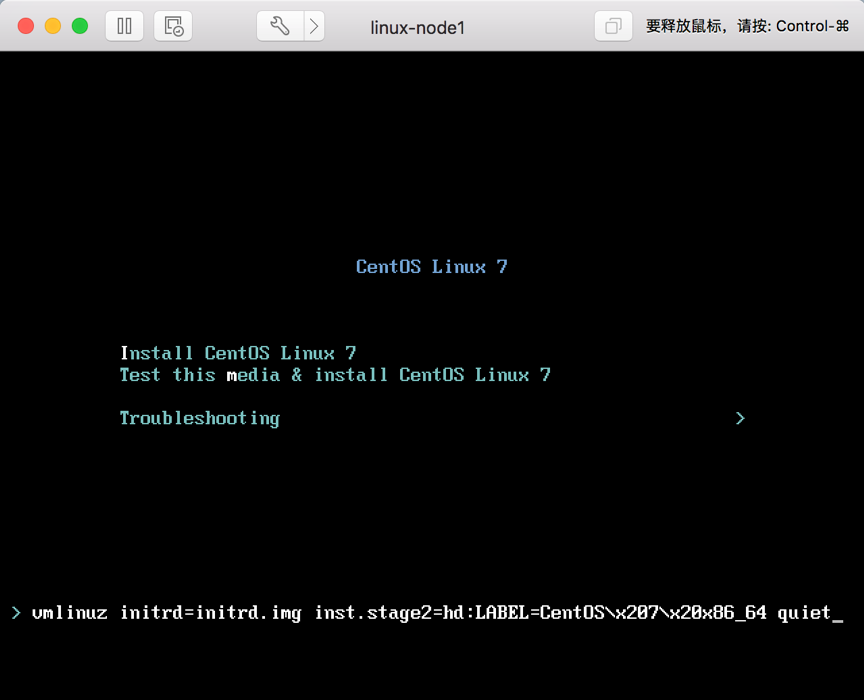
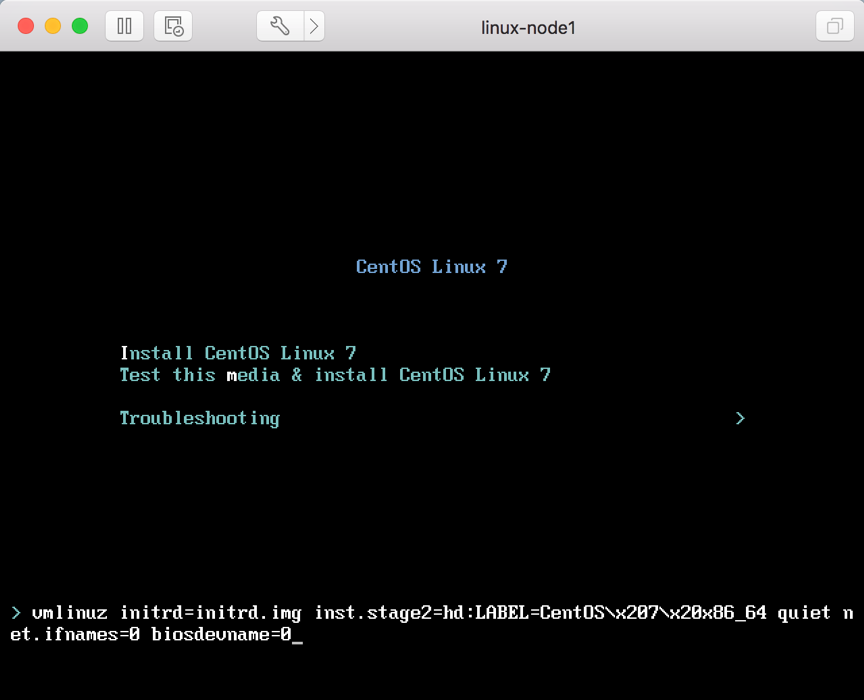
为了统一环境,保证实验的通用性,将网卡名称设置为eth*,不使用CentOS 7默认的网卡命名规则。所以需要在安装的时候,增加内核参数。
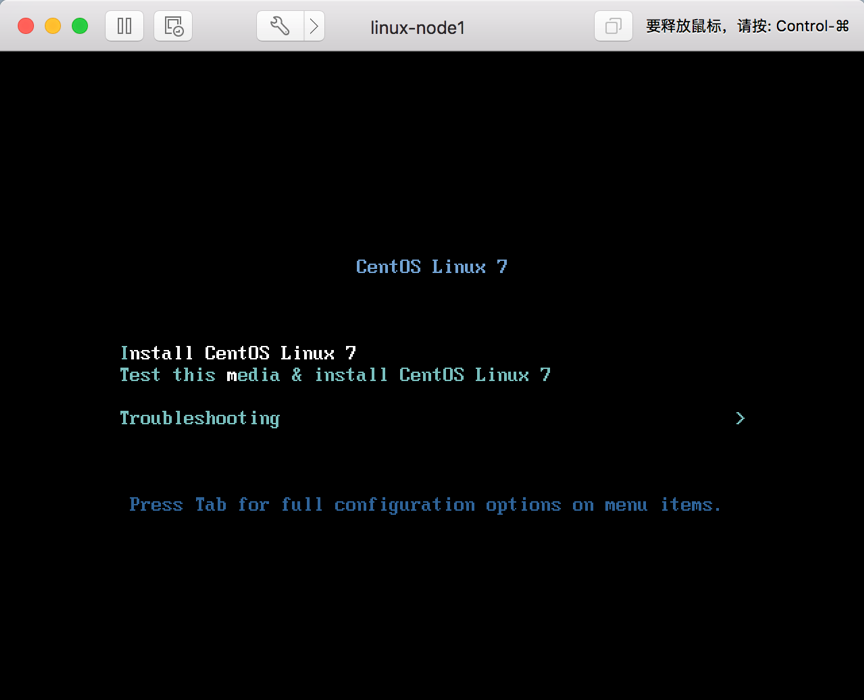
- 光标选择"Install CentOS 7"
- 点击Tab,打开kernel启动选项后,增加net.ifnames=0 biosdevname=0 ,如下图所示。

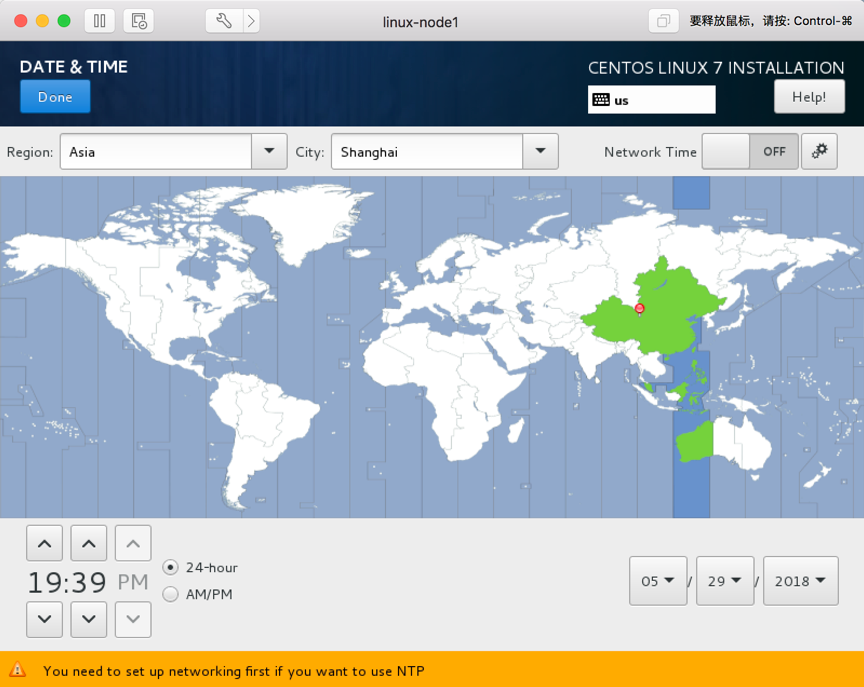
- 修改时区

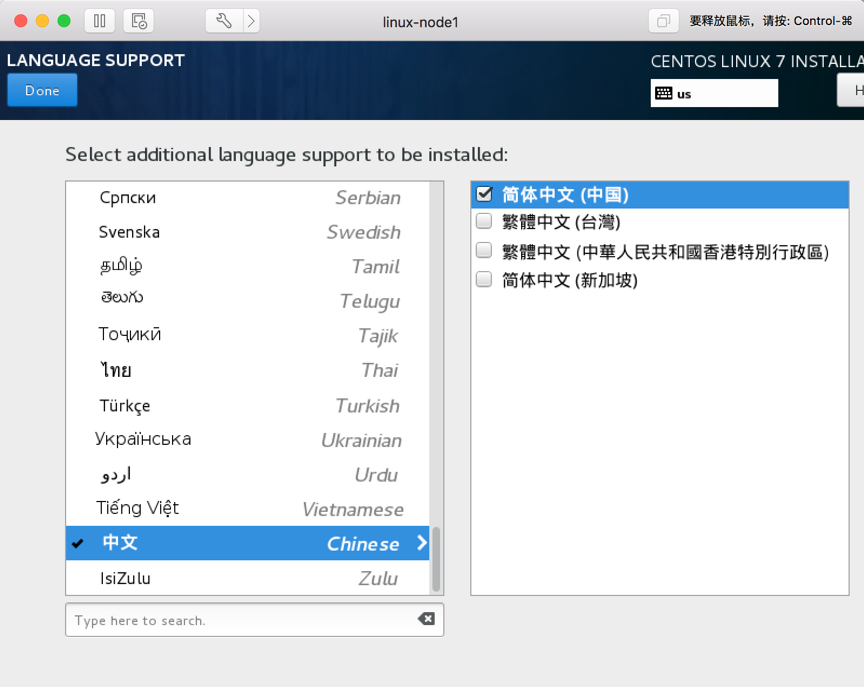
- 安装中文语言包
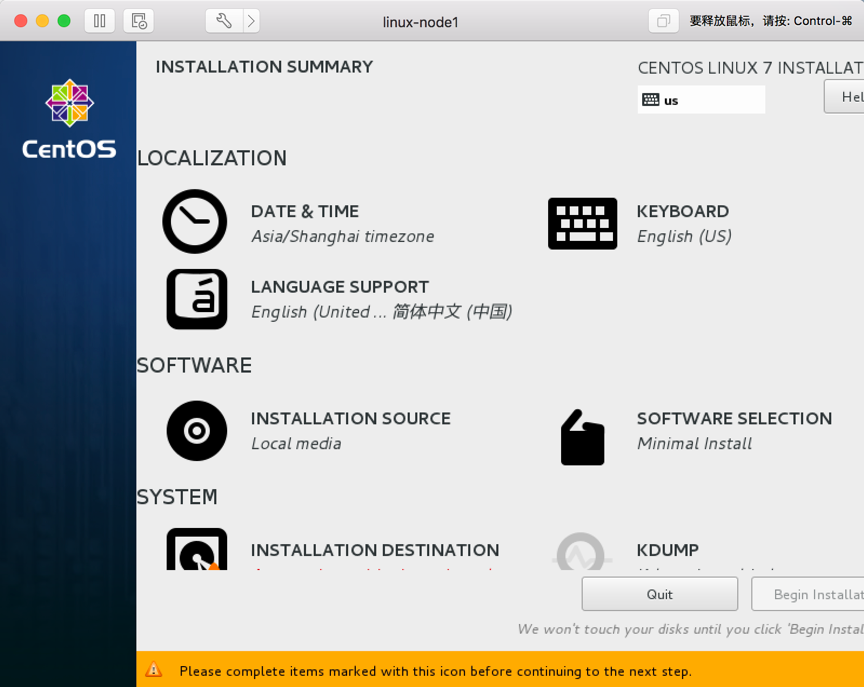
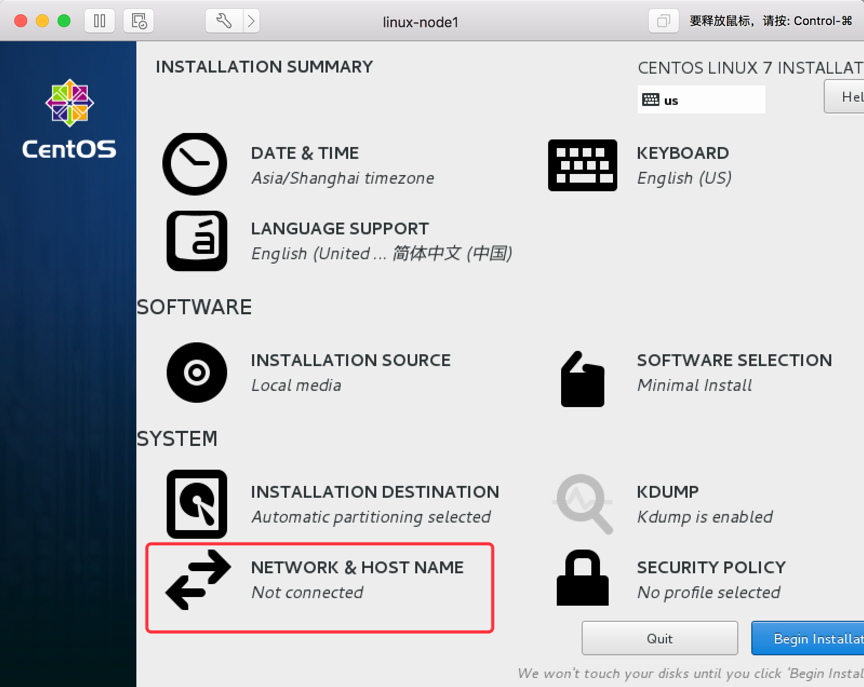
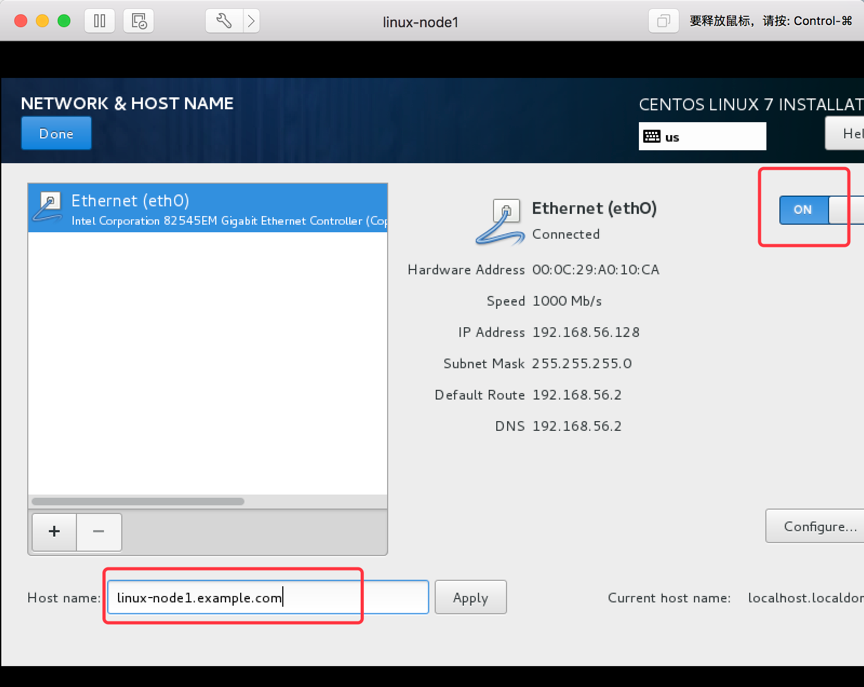
- 网卡&主机名配置

三、系统配置
网卡配置
[root@linux-node1 ~]# vi /etc/sysconfig/network-scripts/ifcfg-eth0
TYPE=Ethernet
HWADDR=00:0C:29:CA:80:0D
BOOTPROTO=static
NAME=eth0
ONBOOT=yes
IPADDR=192.168.56.11
NETMASK=255.255.255.0
GATEWAY=192.168.56.2
重启网络服务
[root@linux-node1 ~]# systemctl restart network
关闭NetworkManager和防火墙开机自启动
[root@linux-node1 ~]# systemctl disable firewalld
[root@linux-node1 ~]# systemctl disable NetworkManager
设置主机名
[root@linux-node1 ~]# vi /etc/hostname
linux-node1.example.com
设置主机名解析
[root@linux-node1 ~]# vi /etc/hosts
127.0.0.1   localhost localhost.localdomain localhost4 localhost4.localdomain4
::1         localhost localhost.localdomain localhost6 localhost6.localdomain6

192.168.56.11 linux-node1 linux-node1.example.com
192.168.56.12 linux-node2 linux-node2.example.com
192.168.56.13 linux-node3 linux-node3.example.com
设置DNS解析
[root@linux-node1 ~]# vi /etc/resolv.conf
nameserver 192.168.56.2
安装EPEL仓库和常用命令
[root@linux-node1 ~]# rpm -ivh http://mirrors.aliyun.com/epel/epel-release-latest-7.noarch.rpm
[root@linux-node1 ~]# yum -y install net-tools vim lrzsz tree screen lsof tcpdump nc mtr nmap
关闭并确认SELinux处于关闭状态
[root@linux-node1 ~]# vim /etc/sysconfig/selinux
SELINUX=disabled #修改为 disabled
开启时间同步
yum -y install chrony
vim /etc/chrony.conf

# server 0.centos.pool.ntp.org iburs
# server 1.centos.pool.ntp.org iburst
# server 2.centos.pool.ntp.org iburst
# server 3.centos.pool.ntp.org iburst
# 注释以上配置,添加阿里云ntp
server ntp1.aliyun.com iburst


systemctl enable chronyd
systemctl start chronyd
systemctl status chronyd
chronyc sources -v
timedatectl
date
关机
[root@linux-node1 ~]# reboot
建议给虚拟机做快照

 浙公网安备 33010602011771号