
IdentityServer4 4.x版本 配置Scope的正确姿势
前言
IdentityServer4 是为ASP.NET Core系列量身打造的一款基于 OpenID Connect 和 OAuth 2.0 认证的框架
IdentityServer4官方文档:https://identityserver4.readthedocs.io/
看这篇文章前默认你对IdentityServer4 已经有一些了解。
本篇使用IdentityServer4的4.x版本,跟老版本的稍微有些差别。下面直接进入正题。
鉴权中心
创建IdentityServer4项目
使用IdentityServer4 来搭建一个鉴权中心,首先建议安装一下IdentityServer4的官方项目模板。也可以不安装,自己创建项目,然后NuGet安装需要的包也行。(不过还是推荐用官方的模板,很方便)。
命令行执行:dotnet new -i IdentityServer4.Templates

安装完成后会多出以下项目模板:

我这里选用is4inmem这个模板来创建项目,这个模板的数据都是写死在内存中的,并且包含了Quickstart页面,比较简单方便。
来到我的项目目录下执行:dotnet new is4inmem --name Idp

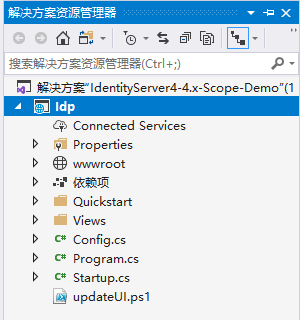
执行完成会生成以下文件:

VS2019打开项目:
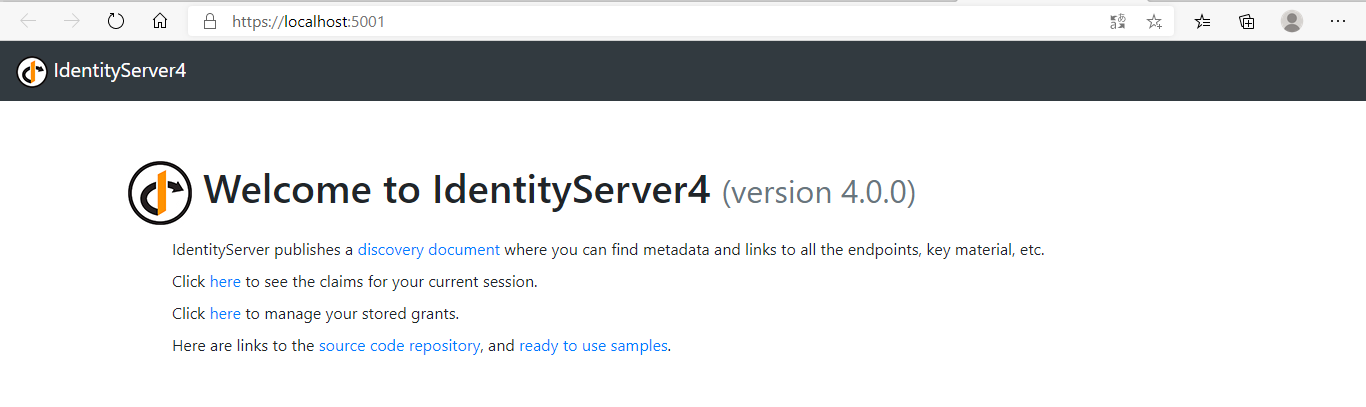
运行项目:
配置ApiResource、ApiScope、Clients
修改Startup:
// in-memory, code config
builder.AddInMemoryIdentityResources(Config.IdentityResources);
builder.AddInMemoryApiScopes(Config.ApiScopes);
//添加API资源
builder.AddInMemoryApiResources(Config.ApiResources);
builder.AddInMemoryClients(Config.Clients);
这里比之前版本多了一个添加ApiScopes的方法:
builder.AddInMemoryApiScopes(Config.ApiScopes);
因为我接下来有要保护的API资源,所以需要添加一行:
builder.AddInMemoryApiResources(Config.ApiResources);
Config中的代码:
public static class Config
{
    public static IEnumerable<IdentityResource> IdentityResources =>
        new IdentityResource[]
        {
            new IdentityResources.OpenId(),
            new IdentityResources.Profile(),
        };

    public static IEnumerable<ApiScope> ApiScopes =>
        new ApiScope[]
        {
            new ApiScope("scope1"),
            //new ApiScope("scope2"),
        };

    public static IEnumerable<ApiResource> ApiResources =>
        new ApiResource[]
        {
            new ApiResource("api1","#api1")
            {
                //!!!重要
                Scopes = { "scope1"}
            },
            //new ApiResource("api2","#api2")
            //{
            //    //!!!重要
            //    Scopes = { "scope2"}
            //},
        };

    public static IEnumerable<Client> Clients =>
        new Client[]
        {
            new Client
            {
                ClientId = "postman client",
                ClientName = "Client Credentials Client",

                AllowedGrantTypes = GrantTypes.ClientCredentials,
                ClientSecrets = { new Secret("postman secret".Sha256()) },

                AllowedScopes = { "scope1" }
            },
        };
}
我添加了一个ID为postman client的客户端,授权模式就用最简单的ClientCredentials客户端模式。需要注意的是4.x版本的ApiScope和ApiResource是分开配置的,然后在ApiResource中一定要添加Scopes。如果你在网上搜的IdentityServer4教程比较老的,都是没有这个ApiScope的,默认ApiResource的Name作为Scope。类似这样:
public static IEnumerable<ApiResource> ApiResources =>
        new ApiResource[]
        {
            new ApiResource("api1","#api1"),//错误
            new ApiResource("api2","#api2"),//错误
        };


public static IEnumerable<Client> Clients =>
        new Client[]
        {
            new Client
            {
                ......

                AllowedScopes = { "api1", "api2" }
            },
        };
如果你这么写的话,虽然不影响你获取token,但是你访问api资源的话,永远会得到一个401错误!!!
ApiResource
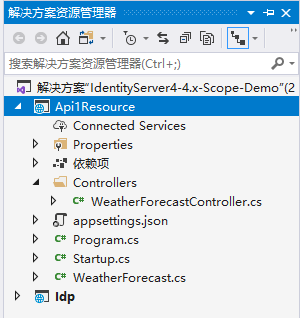
下面添加一个api1资源,新建asp.netcore web应用并使用webapi模板:
NuGet安装:Microsoft.AspNetCore.Authentication.JwtBearer
Startup部分代码:
public void ConfigureServices(IServiceCollection services)
{
    services.AddControllers();

    services.AddAuthentication(JwtBearerDefaults.AuthenticationScheme)
        .AddJwtBearer(options =>
        {
            //IdentityServer地址
            options.Authority = "http://localhost:5001";
            //对应Idp中ApiResource的Name
            options.Audience = "api1";
            //不使用https
 		    options.RequireHttpsMetadata = false;
        });
}

// This method gets called by the runtime. Use this method to configure the HTTP request pipeline.
public void Configure(IApplicationBuilder app, IWebHostEnvironment env)
{
    if (env.IsDevelopment())
    {
        app.UseDeveloperExceptionPage();
    }

    app.UseHttpsRedirection();

    app.UseRouting();

    //身份验证
    app.UseAuthentication();

    //授权
    app.UseAuthorization();

    app.UseEndpoints(endpoints =>
    {
        endpoints.MapControllers();
    });
}
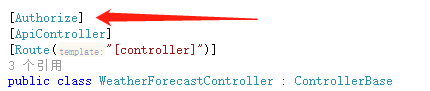
给WeatherForecastController添加[Authorize]标记:
运行Api1Resource,用postman测试访问weatherforecast接口:

此时得到401错误。下面先去Idp获取一个token:

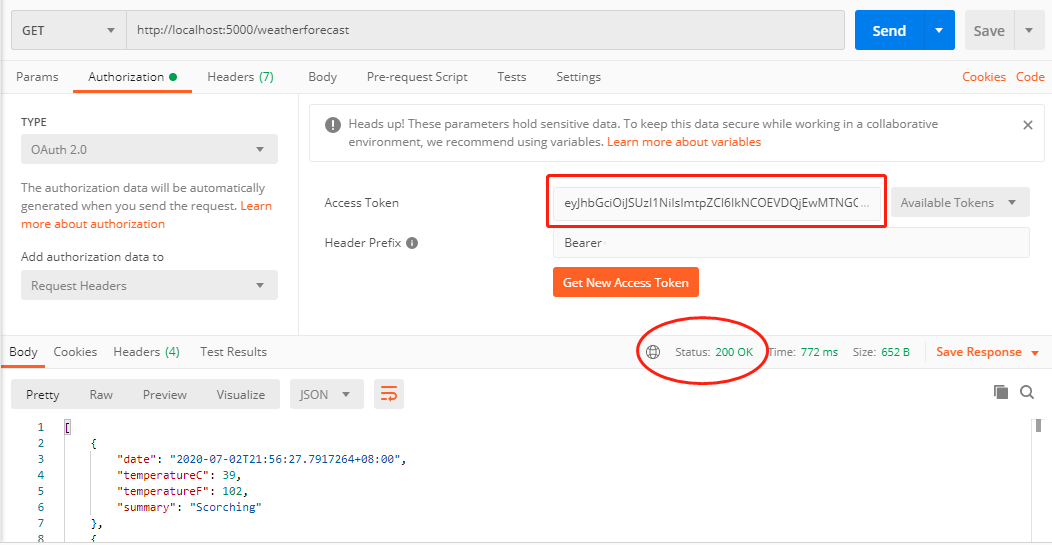
拿到token后再去访问weatherforecast就没问题了:
进行到这里,好像跟scope都没什么关系,那么scope到底有什么用处呢?
ApiScope策略授权
继续修改代码。
Api1Resource项目NuGet安装:IdentityServer4.AccessTokenValidation

再新建一个TestController用于区分:

下面我需要做的是使用scope结合策略授权来分别限制TestController和WeatherForecastController的访问权限。
修改Startup:
public void ConfigureServices(IServiceCollection services)
{
    ......

    services.AddAuthorization(options =>
    {
        //基于策略授权
        options.AddPolicy("WeatherPolicy", builder =>
        {
            //客户端Scope中包含api1.weather.scope才能访问
            builder.RequireScope("api1.weather.scope");
        });
        //基于策略授权
        options.AddPolicy("TestPolicy", builder =>
        {
            //客户端Scope中包含api1.test.scope才能访问
            builder.RequireScope("api1.test.scope");
        });
    });
}
为了好理解,我把scope名称分别改成了:api1.weather.scope和api1.test.scope。
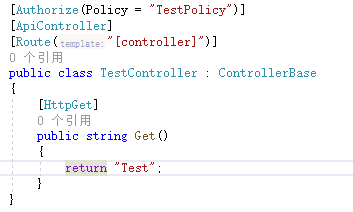
WeatherForecastController的Authorize标记修改一下:[Authorize(Policy = "WeatherPolicy")]
TestController的代码很简单:
因为修改了scope名称,需要把Idp中的scope名称也改一下:
public static IEnumerable<ApiScope> ApiScopes =>
    new ApiScope[]
    {
        new ApiScope("api1.weather.scope"),
        new ApiScope("api1.test.scope"),
        //new ApiScope("scope2"),
    };

public static IEnumerable<ApiResource> ApiResources =>
    new ApiResource[]
    {
        new ApiResource("api1","#api1")
        {
            //!!!重要
            Scopes = { "api1.weather.scope", "api1.test.scope" }
        },
        //new ApiResource("api2","#api2")
        //{
        //    //!!!重要
        //    Scopes = { "scope2"}
        //},
    };
客户端定义,AllowedScopes暂时只给一个api1.weather.scope测试一下
public static IEnumerable<Client> Clients =>
            new Client[]
            {
                new Client
                {
                    ClientId = "postman client",
                    ClientName = "Client Credentials Client",

                    AllowedGrantTypes = GrantTypes.ClientCredentials,
                    ClientSecrets = { new Secret("postman secret".Sha256()) },

                    AllowedScopes = { "api1.weather.scope" }
                },
            };
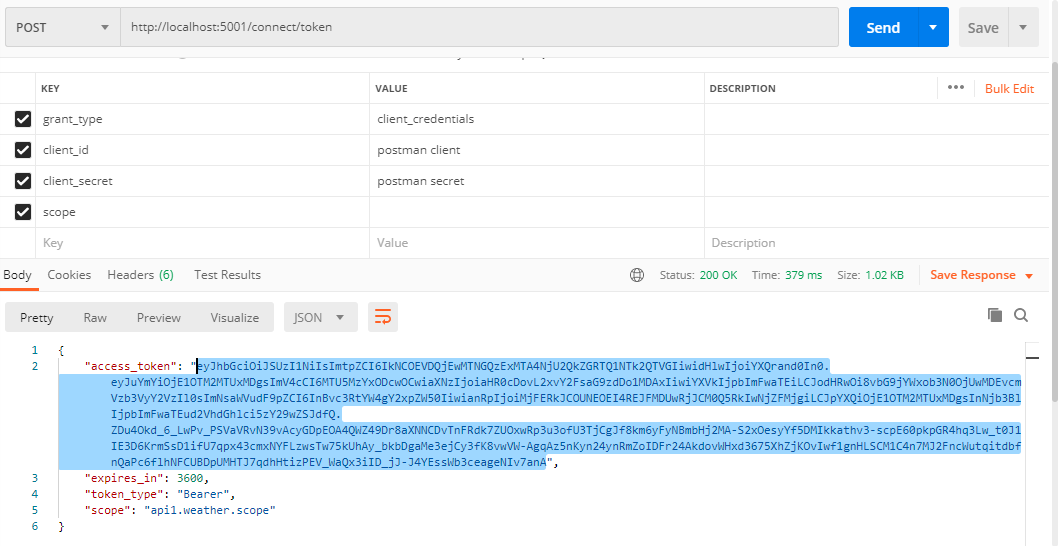
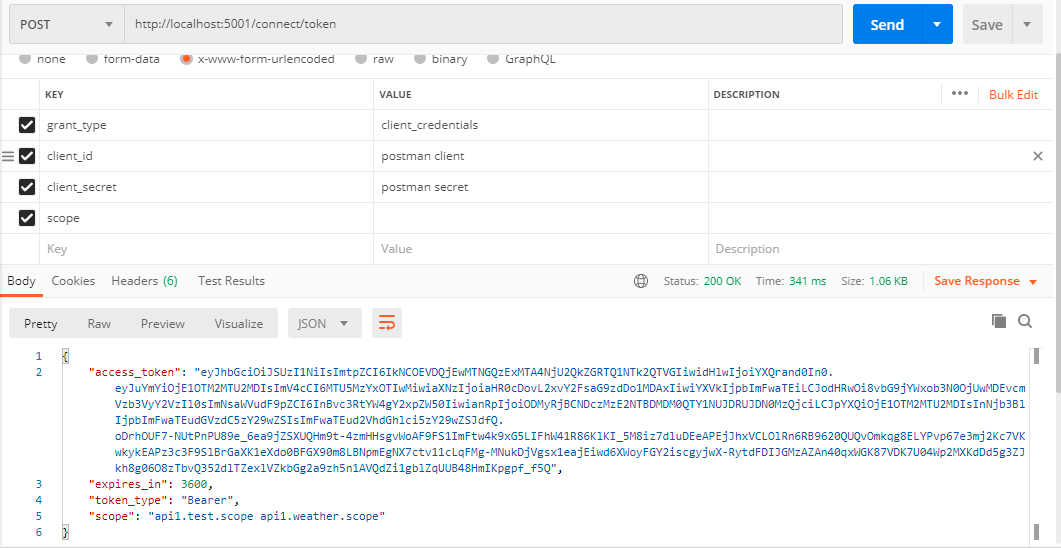
postman获取token:
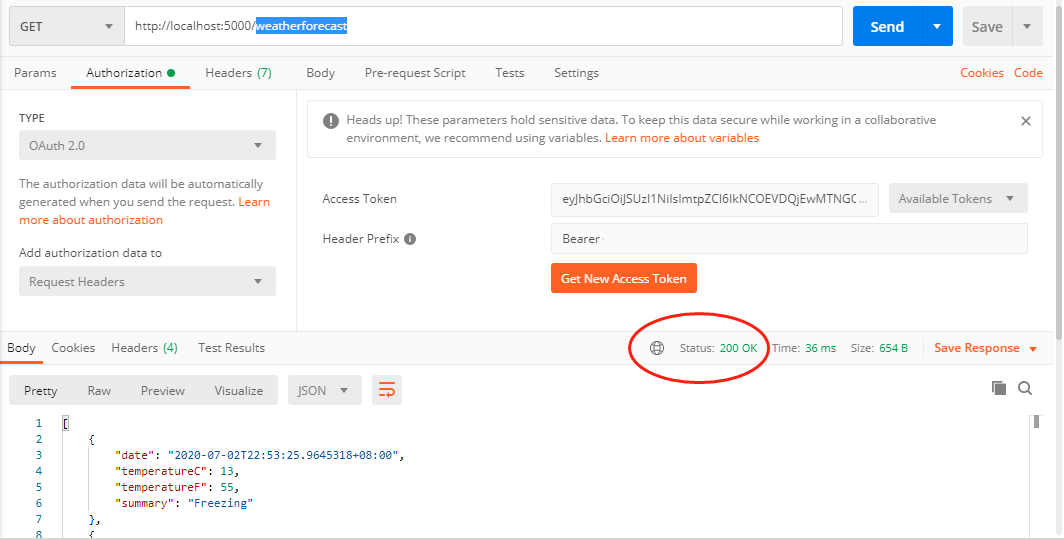
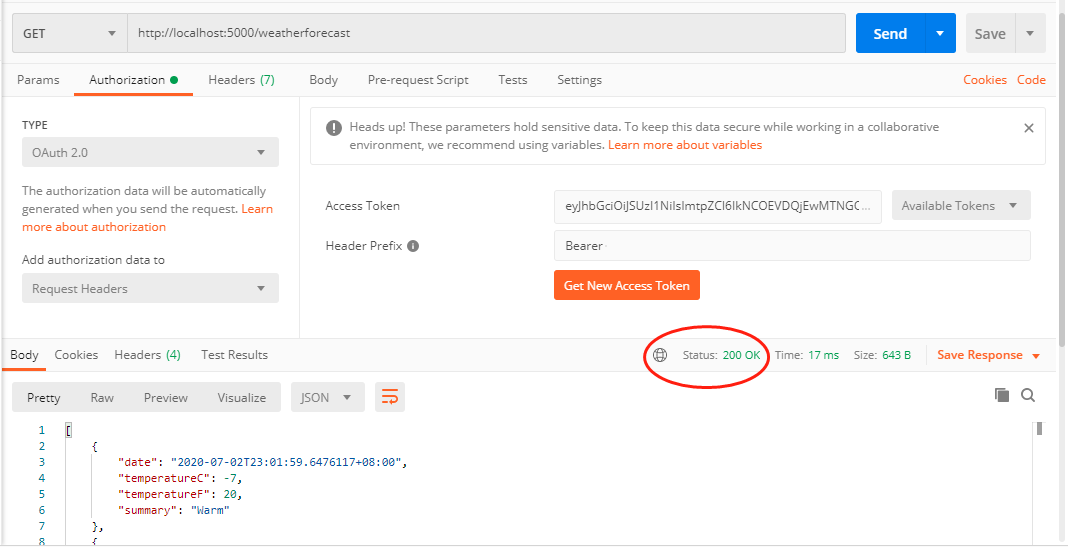
访问weatherforecast接口,正常响应200。
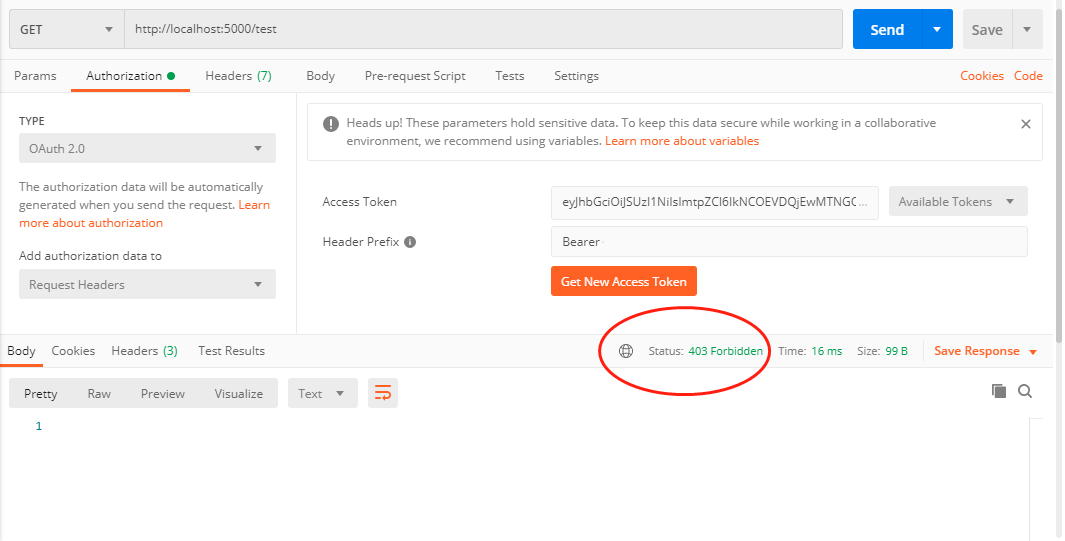
再访问test,得到403错误:
接下来修改一下Idp的客户端定义,添加api1.test.scope:
AllowedScopes = { "api1.weather.scope", "api1.test.scope" }
修改Idp后一定要重新获取token,jwt就是这样,一旦生成就无法改变。
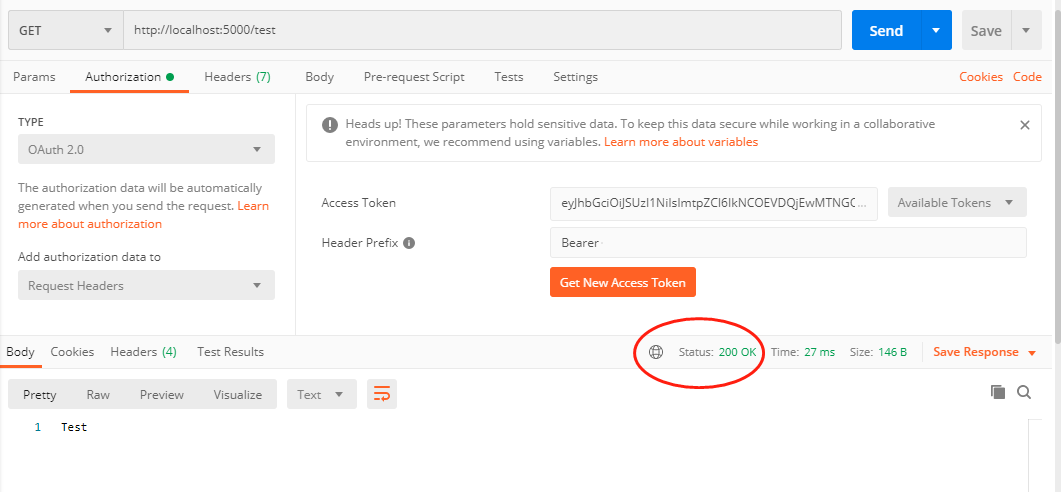
拿到新的token后访问test和weatherforecast,这时候就都可以正常响应了。
总结
以上使用IdentityServer4搭建了一个鉴权中心,保护API资源,并使用ApiScope配合策略授权完成了一个简单的权限控制。IdentityServer4的玩法非常多,知识点也很多。强烈推荐B站的@solenovex 杨老师的视频,地址:https://www.bilibili.com/video/BV16b411k7yM 多看几遍,会有收获。。。
需要代码的点这里:https://github.com/xiajingren/IdentityServer4-4.x-Scope-Demo
——本文使用【Typora】+【EasyBlogImageForTypora】编辑
欢迎关注我的公众号,一起学习。
如果本文对您有所帮助,您可以点击右下方的【推荐】按钮支持一下;文中如有不妥之处,还望指正,非常感谢!!!

作者:xhznl
出处:http://www.cnblogs.com/xhznl/
文章可以转载,但请注明出处

