
Mybatis(六) Spring整合mybatis
心莫浮躁~踏踏实实走,一步一个脚印,就算不学习,玩,能干嘛呢?人生就是那样,要找点有意思,打发时间的事情来做,而钻研技术,动脑动手的过程,还是比其他工作更有意思些~ so,努力啥的都是强迫自己做自以为努力正确的事情,想干嘛就干嘛把!
--WZY
一、Spring整合mybatis思路
非常简单,这里先回顾一下mybatis最基础的根基,
mybatis,有两个配置文件
全局配置文件SqlMapConfig.xml(配置数据源,全局变量,加载映射文件等东西)
映射文件xxxMapper.xml,用来对输入参数输出参数,数据库语句做配置的。
mybatis配置好之后的使用步骤
1、获取sqlMapConfig.xml的位置然后进行加载
2、通过sqlMapConfig.xml中的内容创建出sqlsessionFactory对象
3、然后通过sqlsessionFactory对象创建出sqlsession对象
4、有了sqlsession对象就可以进行相应的操作了。
集成思路
有了上面的一些知识回顾,那么就有思路让spring继承mabatis了。
1、让spring来管理数据源信息,sqlMapConfig.xml中就不需要加载数据源了。交给spring管理
2、让spring通过单例方式管理SqlSessionFactory,只需要一个SqlSessionFactory帮我们生成sqlsession即可。也就是需要sqlsession对象就让sqlsessionfactory生成。所以是单例方式。
3、让spring创建sqlsession bean。也就是通过SqlSessionFactory创建SqlSession,
4、如果是使用mapper代理开发的方式,那么持久层的mapper都需要由spring进行管理,spring和mybatis整合生成mapper代理对象。
二、工程搭建
2.1、创建java工程
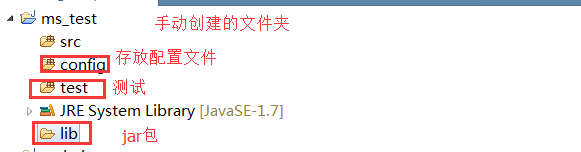
2.2、添加jar包
Mybatis的核心和依赖包
数据库驱动包
spring的包
junit包
spring和mybatis整合包
dbcp连接池
2.3、
2.4、添加SqlMapConfig.xml
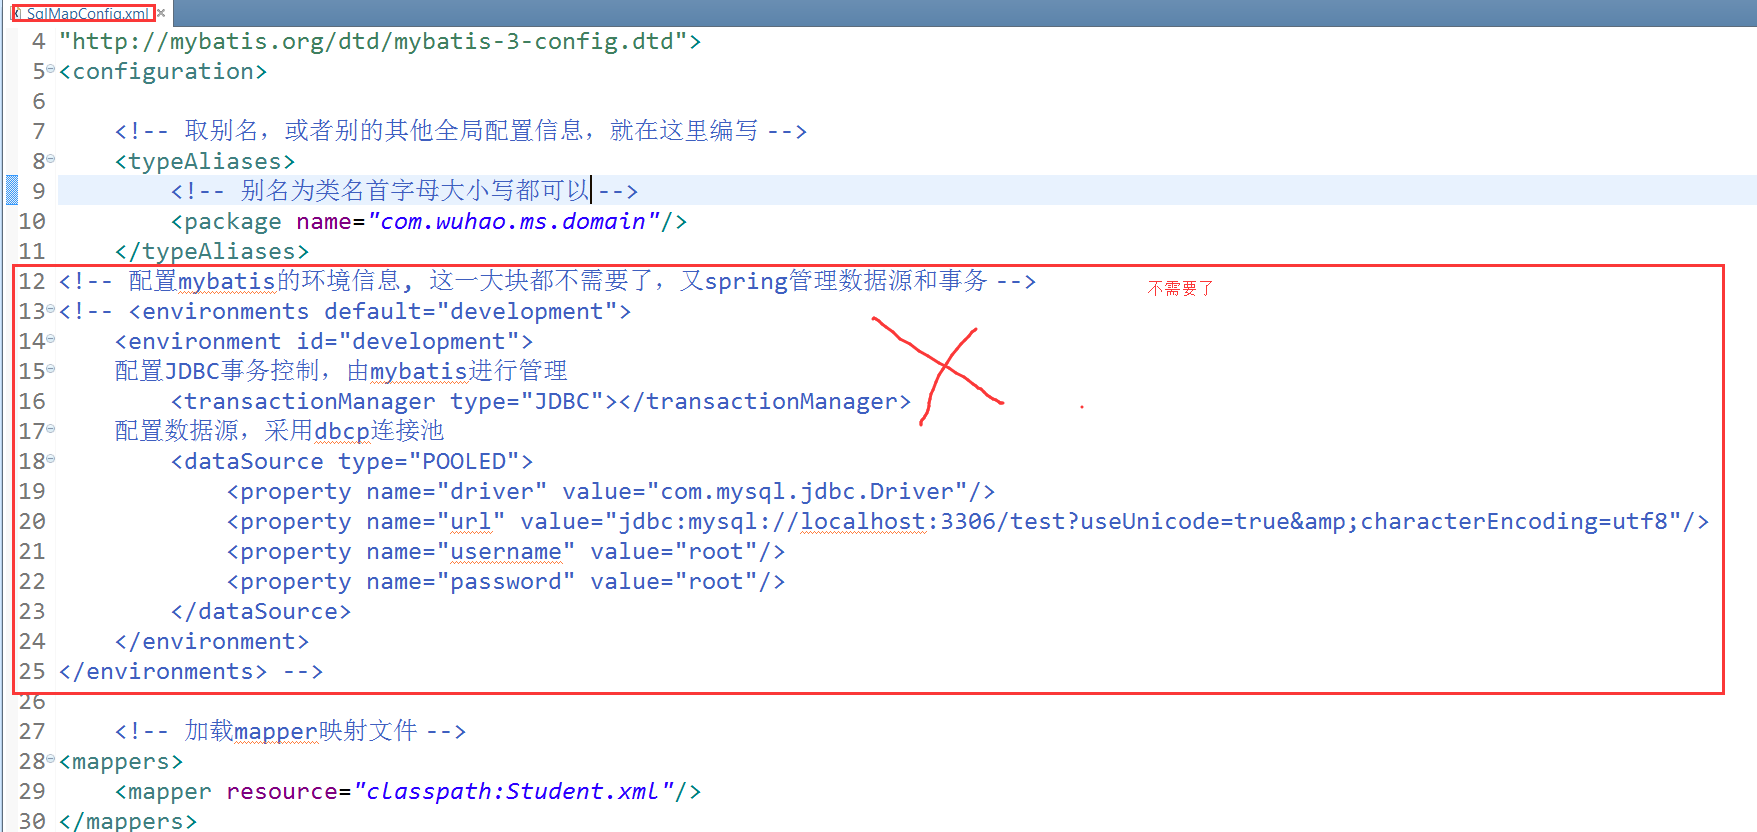


<?xml version="1.0" encoding="UTF-8" ?>
<!DOCTYPE configuration
PUBLIC "-//mybatis.org//DTD Config 3.0//EN"
"http://mybatis.org/dtd/mybatis-3-config.dtd">
<configuration>

    <!-- 取别名,或者别的其他全局配置信息,就在这里编写 -->
    <typeAliases>
        <!-- 别名为类名首字母大小写都可以 -->
        <package name="com.wuhao.ms.domain"/>
    </typeAliases>

    <!-- 加载mapper映射文件 -->
<mappers>
    <mapper resource="classpath:Student.xml"/>
</mappers>
</configuration>
2.5、映射配置文件Student.xml
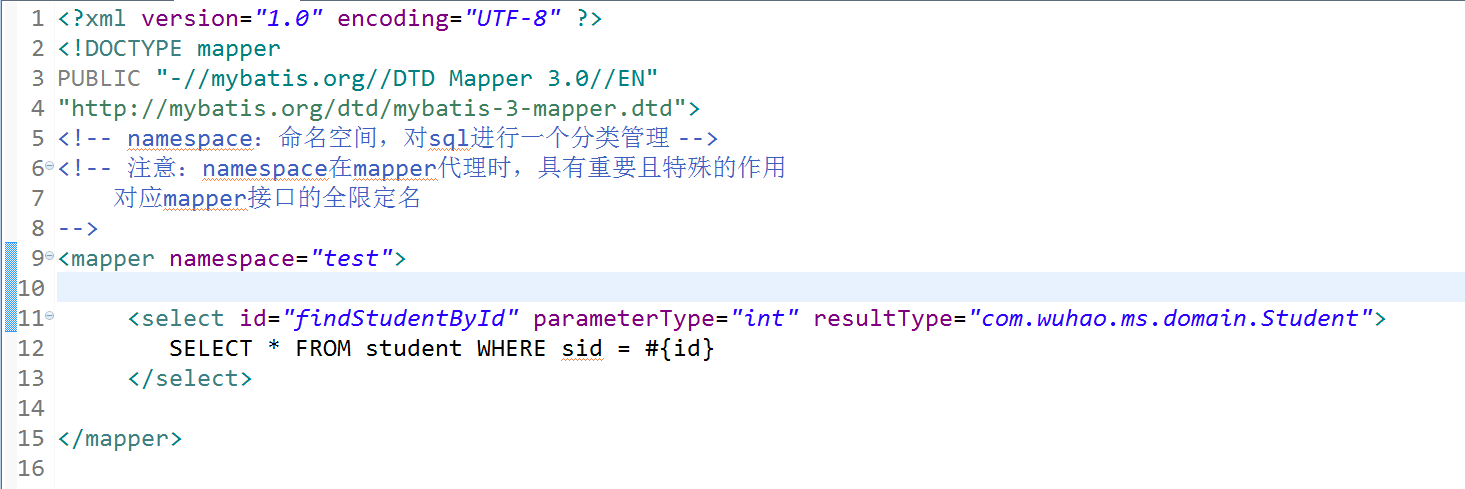
<?xml version="1.0" encoding="UTF-8" ?>
<!DOCTYPE mapper
PUBLIC "-//mybatis.org//DTD Mapper 3.0//EN"
"http://mybatis.org/dtd/mybatis-3-mapper.dtd">
<!-- namespace:命名空间,对sql进行一个分类管理 -->
<!-- 注意:namespace在mapper代理时,具有重要且特殊的作用
    对应mapper接口的全限定名
-->
<mapper namespace="test">

     <select id="findStudentById" parameterType="int" resultType="com.wuhao.ms.domain.Student">
         SELECT * FROM student WHERE sid = #{id}
     </select>

</mapper>
2.6、整合spring的配置文件applicationContext.xml

<beans xmlns="http://www.springframework.org/schema/beans"
    xmlns:xsi="http://www.w3.org/2001/XMLSchema-instance" xmlns:mvc="http://www.springframework.org/schema/mvc"
    xmlns:context="http://www.springframework.org/schema/context"
    xmlns:aop="http://www.springframework.org/schema/aop" xmlns:tx="http://www.springframework.org/schema/tx"
    xsi:schemaLocation="http://www.springframework.org/schema/beans
        http://www.springframework.org/schema/beans/spring-beans-3.2.xsd
        http://www.springframework.org/schema/mvc
        http://www.springframework.org/schema/mvc/spring-mvc-3.2.xsd
        http://www.springframework.org/schema/context
        http://www.springframework.org/schema/context/spring-context-3.2.xsd
        http://www.springframework.org/schema/aop
        http://www.springframework.org/schema/aop/spring-aop-3.2.xsd
        http://www.springframework.org/schema/tx
        http://www.springframework.org/schema/tx/spring-tx-3.2.xsd ">
    <!-- 引用java配置文件 -->
    <context:property-placeholder location="db.properties" />

    <!-- 配置数据源 -->
    <bean id="dataSource" class="org.apache.commons.dbcp.BasicDataSource">
        <property name="driverClassName" value="${db.driver}" />
        <property name="url" value="${db.url}" />
        <property name="username" value="${db.username}" />
        <property name="password" value="${db.password}" />
        <property name="maxActive" value="10" />
        <property name="maxIdle" value="5" />
    </bean>

    <!-- 配置SqlSessionFactory -->
    <bean id="sqlSessionFactory" class="org.mybatis.spring.SqlSessionFactoryBean">
        <!-- 指定mybatis的全局配置文件的路径 -->
        <property name="configLocation" value="SqlMapConfig.xml"></property>
        <!-- 数据源 -->
        <property name="dataSource" ref="dataSource"></property>
    </bean>


</beans>
2.7、db.properties

db.driver=com.mysql.jdbc.Driver
db.url=jdbc:mysql://localhost:3306/test?useUnicode=true&characterEncoding=utf8
db.username=root
db.password=root
2.8、总观,就编写了四个配置文件,和一个javabean

三、开发原始dao
上面是一个通用的配置,我们在使用mybatis时,有两个模式,一种就是原始dao的方式,一种就是使用mapper代理的方式,这里就介绍原始dao是如何集成spring的
StudengDao:接口

StudentDaoImpl:实现类

使用原始dao开发的缺点就是只能通过selectOne或者selectList等操作,而不是直接调用映射配置文件中的方法,不能一目了然。
spring中配置StudentDao

很多人这里会有疑问,觉得在spring中配置了StudengDao这个bean,但是我们根本没用在StudengDaoImpl中用set方法让其自动注入呀?原因就在StudengDaoImpl中继承了sqlSessionDaoSupport这个类,这个类帮我们做了,所以,我们直接通过this.getSqlSession()获取对象即可。
测试:

四、mapper方式开发
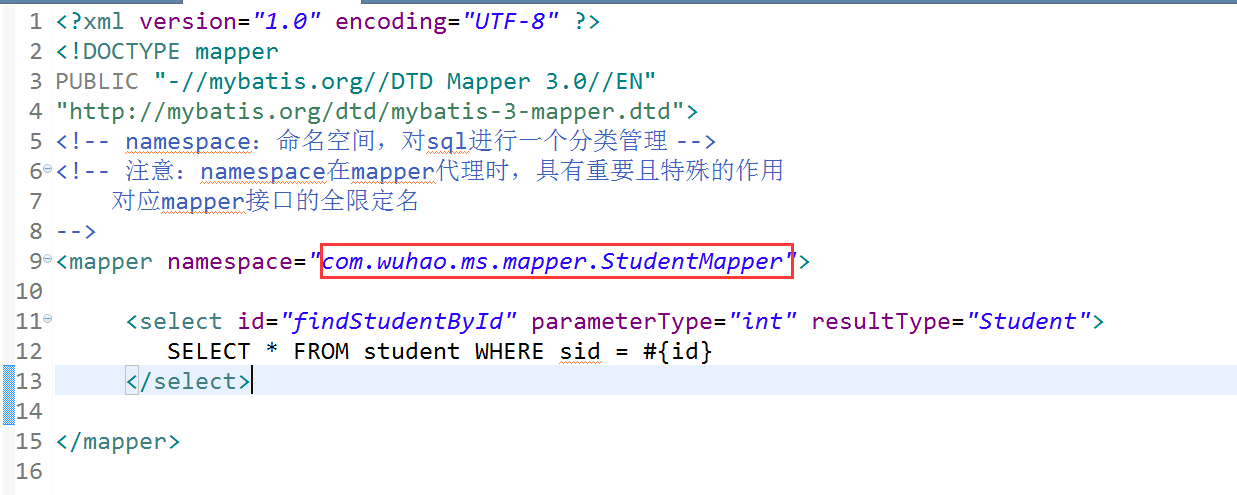
编写mapper接口,StudentMapper.java

编写mapper映射文件 StudengMapper.xml,注意两个要放在一起。名称要相同
spring中生成mapper代理对象
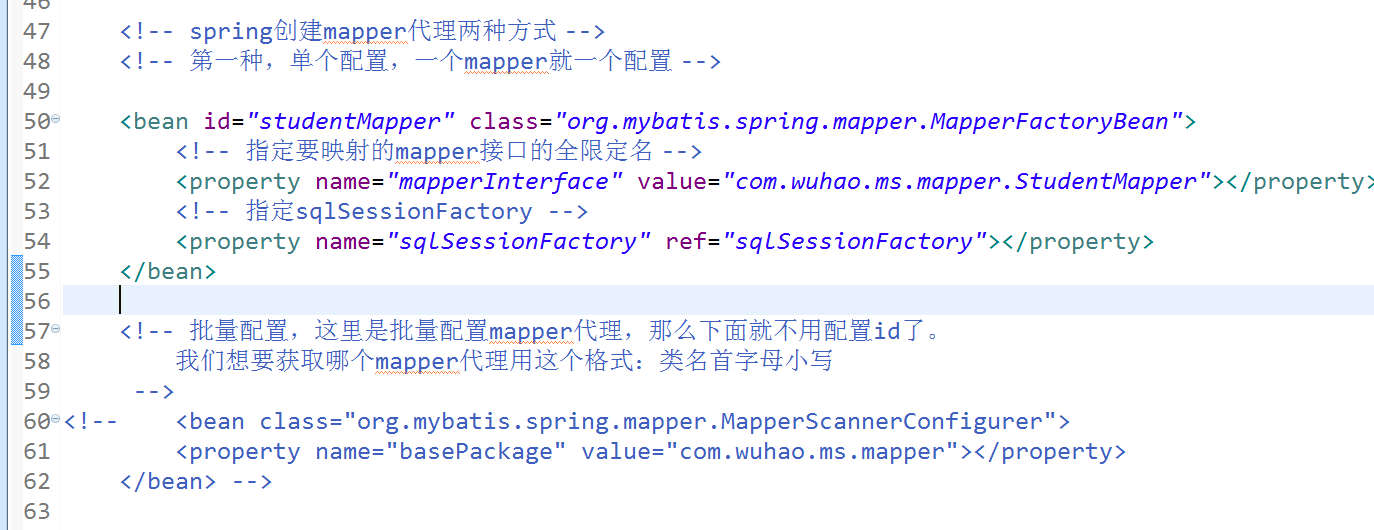
    <!-- spring创建mapper代理两种方式 -->
    <!-- 第一种,单个配置,一个mapper就一个配置 -->

    <bean id="studentMapper" class="org.mybatis.spring.mapper.MapperFactoryBean">
        <!-- 指定要映射的mapper接口的全限定名 -->
        <property name="mapperInterface" value="com.wuhao.ms.mapper.StudentMapper"></property>
        <!-- 指定sqlSessionFactory -->
        <property name="sqlSessionFactory" ref="sqlSessionFactory"></property>
    </bean>

    <!-- 批量配置,这里是批量配置mapper代理,那么下面就不用配置id了。
        我们想要获取哪个mapper代理用这个格式:类名首字母小写
     -->
<!--     <bean class="org.mybatis.spring.mapper.MapperScannerConfigurer">
        <property name="basePackage" value="com.wuhao.ms.mapper"></property>
    </bean> -->
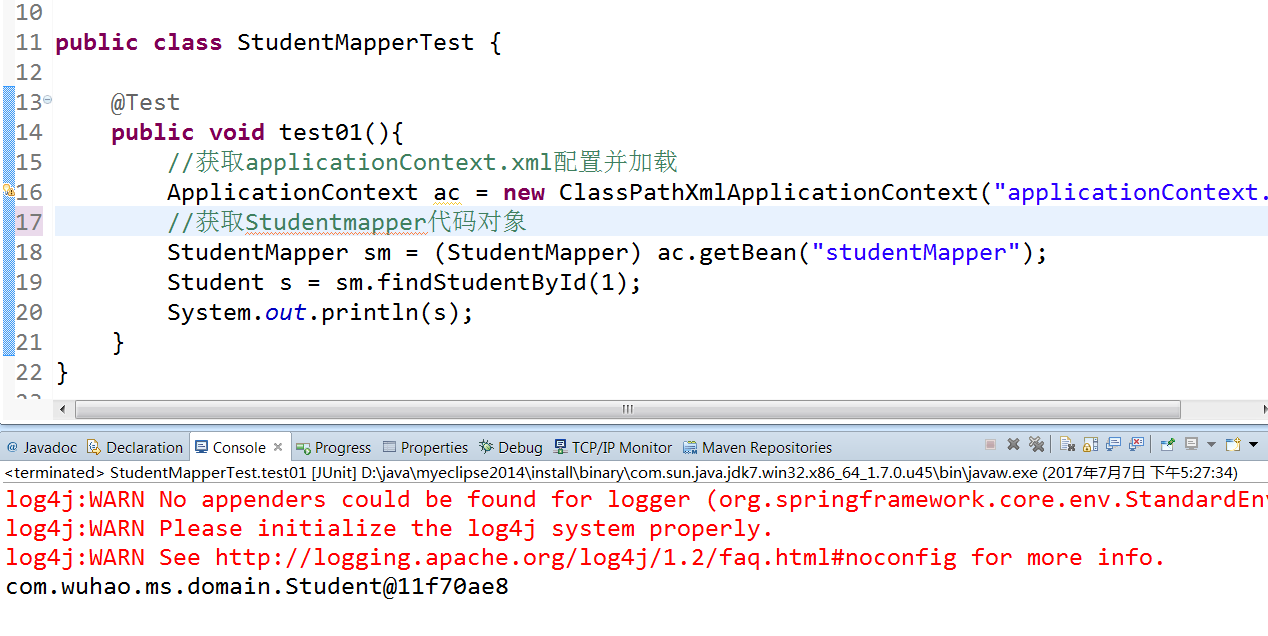
测试:
五、总结
就这样结束了,spring集成Mybatis,很简单,有什么对象都由spring来创建即可。注意原始dao和mapper这两种开发方式的不同。结果都市一样的,方式不同而已。这个在第一节讲Mybatis就已经讲解过了,这里不在陈述,下一章节讲解一下Mybatis的逆向工程


 浙公网安备 33010602011771号