IdentityServer4(7)- 使用客户端认证控制API访问(客户端授权模式)
一.前言
本文已更新到 .NET Core 2.2
本文包括后续的Demo都会放在github:https://github.com/stulzq/IdentityServer4.Samples (QuickStart的几个Demo随着本系列的更新,目前为从官方Demo仓库的拷贝,防止本文和Demo不匹配,因为官方Demo和文档一直在更新,本系列更新速度可能会慢一步)。
这里特别说明一下:快速入门以及Topic系列为了保持到最新,目前几乎都是翻译的官方文档(以往的不适合最新版本就换掉了),需要深入一点的请看实战系列。
二.使用客户端认证保护API
此示例介绍了使用IdentityServer保护API的最基本场景。
在这种情况下,我们将定义一个API和要访问它的客户端。 客户端将在IdentityServer上请求访问令牌,并使用它来访问API。
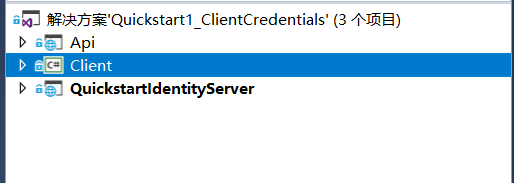
三.准备
创建一个名为QuickstartIdentityServer的ASP.NET Core Web 空项目(asp.net core 2.2),端口5000
创建一个名为Api的ASP.NET Core Web Api 项目(asp.net core 2.2),端口5001
创建一个名为Client的控制台项目(.net core 2.2)
四.定义API、Identity资源
在QuickstartIdentityServer项目中添加一个Config.cs文件:
public static class Config
    {
        public static IEnumerable<IdentityResource> GetIdentityResources()
        {
            return new IdentityResource[]
            {
                new IdentityResources.OpenId()
            };
        }

        public static IEnumerable<ApiResource> GetApis()
        {
            return new List<ApiResource>
            {
                new ApiResource("api1", "My API")
            };
        }

        public static IEnumerable<Client> GetClients()
        {
            return new List<Client>
            {
                new Client
                {
                    ClientId = "client",

                    // no interactive user, use the clientid/secret for authentication
                    AllowedGrantTypes = GrantTypes.ClientCredentials,

                    // secret for authentication
                    ClientSecrets =
                    {
                        new Secret("secret".Sha256())
                    },

                    // scopes that client has access to
                    AllowedScopes = { "api1" }
                }
            };
        }
    }
五.定义客户端
对于这种情况,客户端将不具有交互式(人机交互)用户,并将使用IdentityServer的客户端模式进行身份验证。 将以下代码添加到Config.cs文件中:
public static IEnumerable<Client> GetClients()
{
    return new List<Client>
    {
        new Client
        {
            ClientId = "client",

            // no interactive user, use the clientid/secret for authentication
            AllowedGrantTypes = GrantTypes.ClientCredentials,

            // secret for authentication
            ClientSecrets =
            {
                new Secret("secret".Sha256())
            },

            // scopes that client has access to
            AllowedScopes = { "api1" }
        }
    };
}
六.配置 IdentityServer
要配置IdentityServer以使用Scope和客户端定义,您需要向ConfigureServices方法添加代码。
Startup.cs
public void ConfigureServices(IServiceCollection services)
{
    var builder = services.AddIdentityServer()
        .AddDeveloperSigningCredential()
        .AddInMemoryIdentityResources(Config.GetIdentityResources())
        .AddInMemoryApiResources(Config.GetApis())
        .AddInMemoryClients(Config.GetClients());

    // rest omitted
}

public void Configure(IApplicationBuilder app)
{
        if (Environment.IsDevelopment())
        {
            app.UseDeveloperExceptionPage();
        }

        // uncomment if you want to support static files
        //app.UseStaticFiles();

        app.UseIdentityServer();

        // uncomment, if you wan to add an MVC-based UI
        //app.UseMvcWithDefaultRoute();
}
运行此项目,打开浏览器访问http://localhost:5000/.well-known/openid-configuration你将会看到IdentityServer的各种元数据信息。
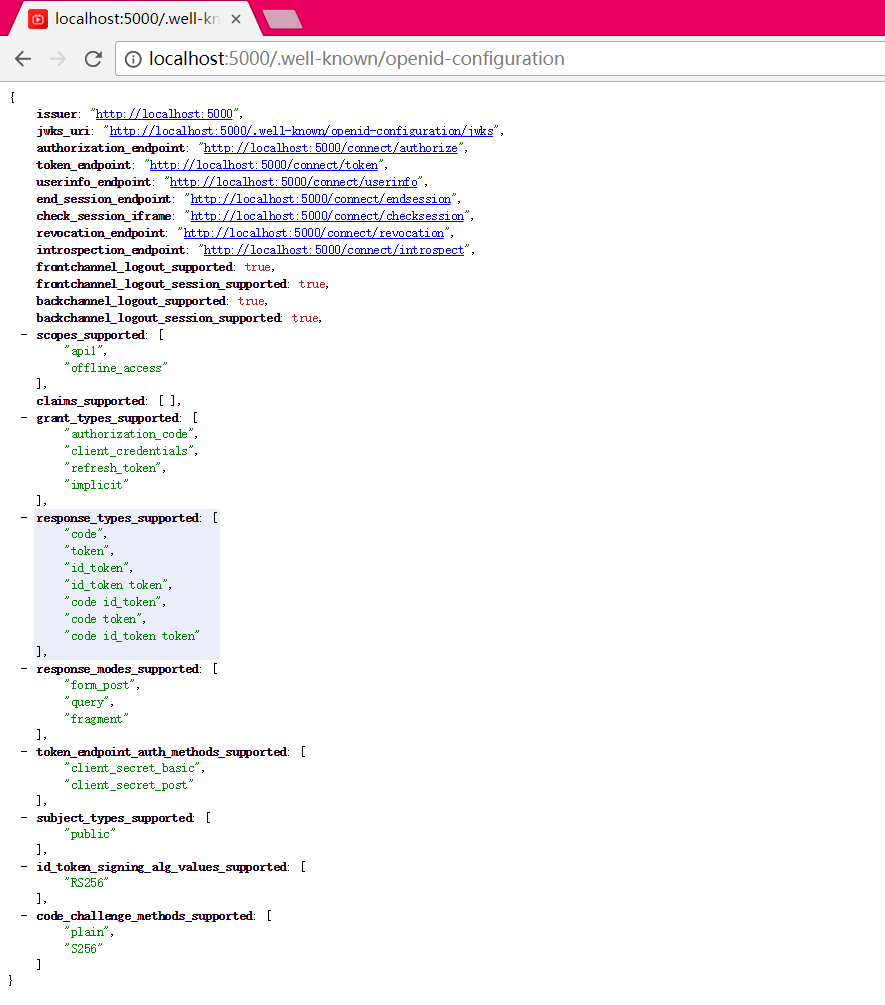
首次启动时,IdentityServer将为您创建一个开发人员签名密钥,它是一个名为tempkey.rsa的文件。 您不必将该文件检入源代码管理中,如果该文件不存在,将重新创建该文件。
七.添加API
在项目Api中添加一个Controller:IdentityController
[Route("identity")]
[Authorize]
public class IdentityController : ControllerBase
{
    [HttpGet]
    public IActionResult Get()
    {
        return new JsonResult(from c in User.Claims select new { c.Type, c.Value });
    }
}
最后一步是将身份验证服务添加到DI和身份验证中间件到管道。 这些将:
- 验证传入令牌以确保它来自受信任的颁发者
- 验证令牌是否有效用于此API(也称为 audience)
将Startup更新为如下所示:
public class Startup
{
    public void ConfigureServices(IServiceCollection services)
    {
        services.AddMvcCore()
            .AddAuthorization()
            .AddJsonFormatters();

        services.AddAuthentication("Bearer")
            .AddJwtBearer("Bearer", options =>
            {
                options.Authority = "http://localhost:5000";
                options.RequireHttpsMetadata = false;

                options.Audience = "api1";
            });
    }

    public void Configure(IApplicationBuilder app)
    {
        app.UseAuthentication();

        app.UseMvc();
    }
}
AddAuthentication 将身份认证服务添加到DI,并将“Bearer”配置为默认方案。 AddJwtBearer 将 JWT 认证处理程序添加到DI中以供身份认证服务使用。 UseAuthentication 将身份认证中间件添加到管道中,因此将在每次调用API时自动执行身份验证。
如果在浏览器访问(http:// localhost:5001/identity),你会得到HTTP 401的结果。 这意味着您的API需要凭据。
就是这样,API现在受 IdentityServer 保护。
八.创建客户端
为 "Client" 项目添加 Nuget 包:IdentityModel
IdentityModel 包括用于发现 IdentityServer 各个终结点(EndPoint)的客户端库。这样您只需要知道 IdentityServer 的地址 - 可以从元数据中读取实际的各个终结点地址:
// discover endpoints from metadata
var client = new HttpClient();
var disco = await client.GetDiscoveryDocumentAsync("http://localhost:5000");
if (disco.IsError)
{
    Console.WriteLine(disco.Error);
    return;
}
DiscoveryClient 已在最新版移除
接下来,您可以使用从 IdentityServer 元数据获取到的Token终结点请求令牌:
// request token
var tokenResponse = await client.RequestClientCredentialsTokenAsync(new ClientCredentialsTokenRequest
{
    Address = disco.TokenEndpoint,

    ClientId = "client",
    ClientSecret = "secret",
    Scope = "api1"
});

if (tokenResponse.IsError)
{
    Console.WriteLine(tokenResponse.Error);
    return;
}

Console.WriteLine(tokenResponse.Json);
九.调用API
要将Token发送到API,通常使用HTTP Authorization标头。 这是使用SetBearerToken扩展方法完成的:
// call api
var client = new HttpClient();
client.SetBearerToken(tokenResponse.AccessToken);

var response = await client.GetAsync("http://localhost:5001/identity");
if (!response.IsSuccessStatusCode)
{
    Console.WriteLine(response.StatusCode);
}
else
{
    var content = await response.Content.ReadAsStringAsync();
    Console.WriteLine(JArray.Parse(content));
}
输出应如下所示:
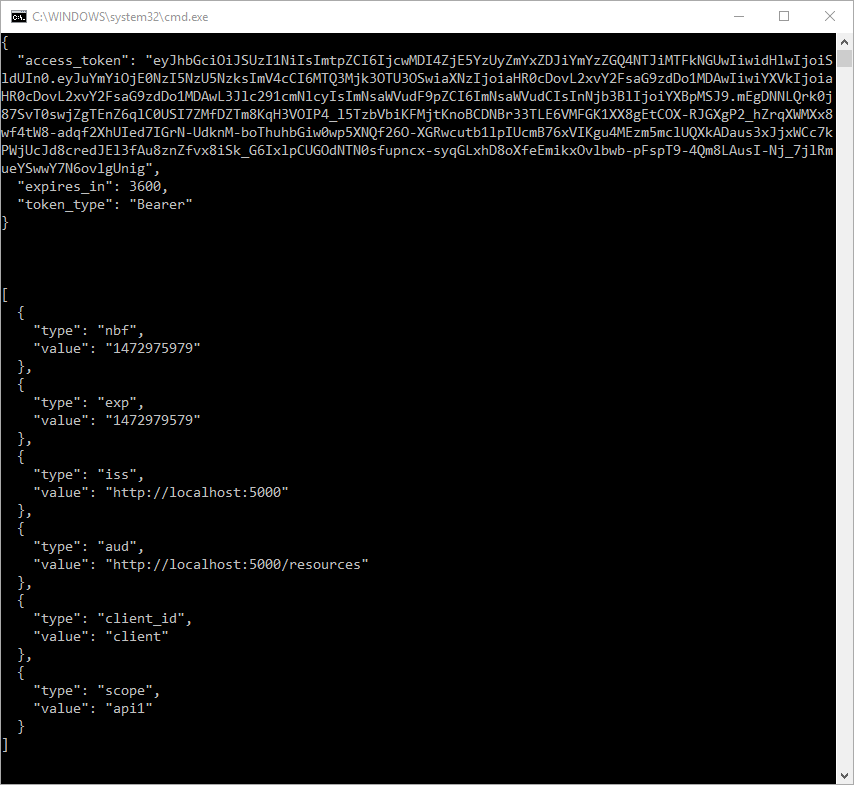
默认情况下,Token将包含有关 Scope,生命周期(nbf和exp),客户端ID(client_id)和颁发者名称(iss)的身份信息单元(Claim)。
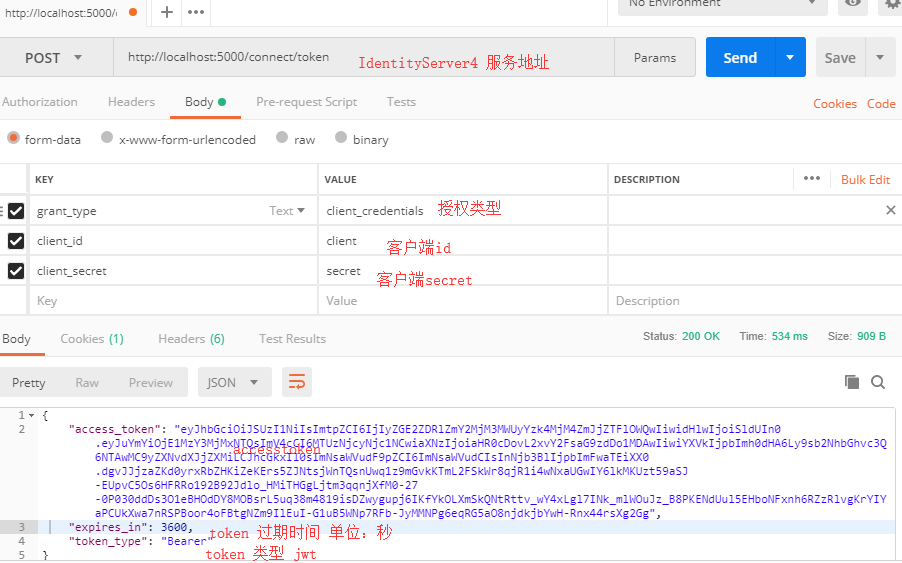
十.使用Postman调试
十一.项目所用代码
github地址: https://github.com/stulzq/IdentityServer4.Samples/tree/master/Quickstarts/1_ClientCredentials
目前学习.NET Core 最好的教程 .NET Core 官方教程 ASP.NET Core 官方教程

