IntelliJ IDEA常用设置及快捷键
1. IntelliJ IDEA常用设置
1.1 Maven配置
选择菜单:Configure -> Settings -> Build,Execution,Deployment -> Build Tools -> Maven
设置:【Maven home directory】
【User settings file】

1.2 代码提示与补充:不区分大小写
选择菜单:Configure -> Settings -> Editor -> General -> Code Completion
设置:
【Case sensitive completion】:None (不区分大小写)

1.3 取消never used提示
选择菜单:Configure -> Settings -> Editor -> Inspections -> Declaration redundancy
设置:
【Unused declaration】取消勾选

1.4 取消拼写检查
选择菜单:Configure -> Settings -> Editor -> Inspections -> Spelling
设置:
【Spelling】取消勾选

1.5 修改自动提示快捷键
IntelliJ IDEA默认自动提示快捷键为:Ctrl + Space,与中文输入法切换快捷键冲突,修改IntelliJ IDEA自动提示快捷键步骤:
选择菜单:Configure -> Settings -> Keymap -> Main menu –> Code –> Completion
设置:
【Cycle Expand Word】移除快捷键
【Basic】 设置快捷键 Alt + /

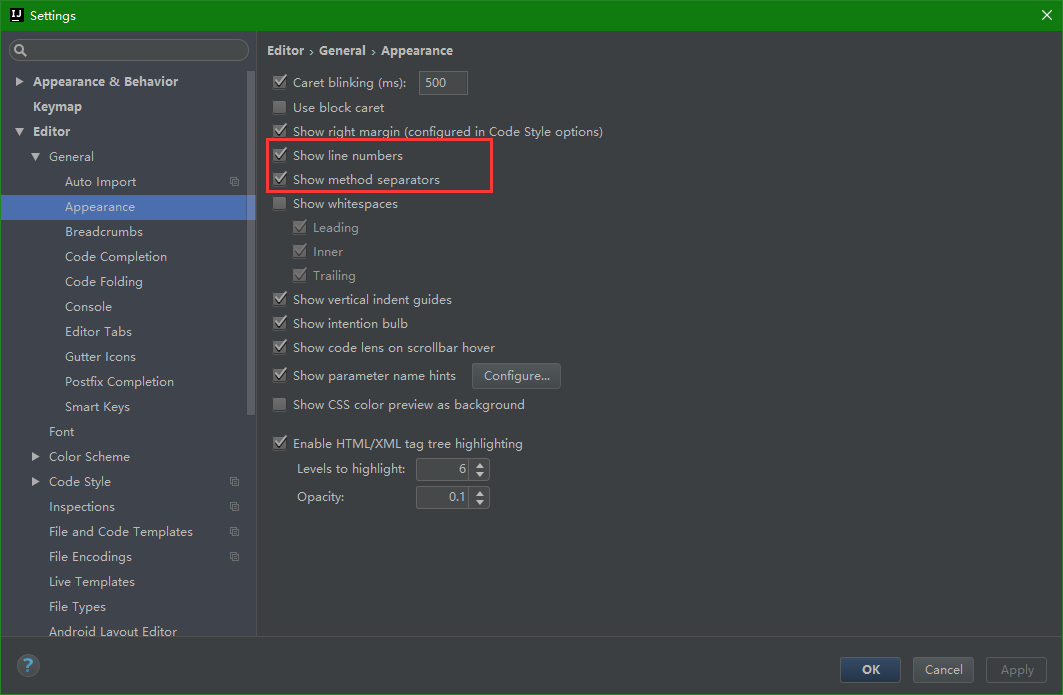
1.6 显示行号及方法分隔线
选择菜单:Configure -> Settings -> Editor -> General -> Appearence
设置:
【Show line numbers】 勾选
【Show method seperators】 勾选
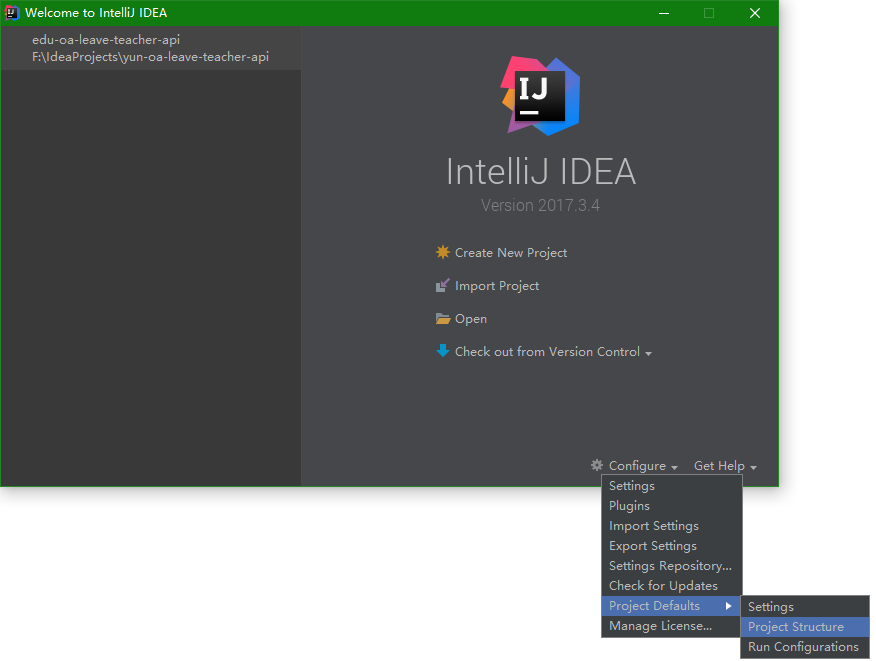
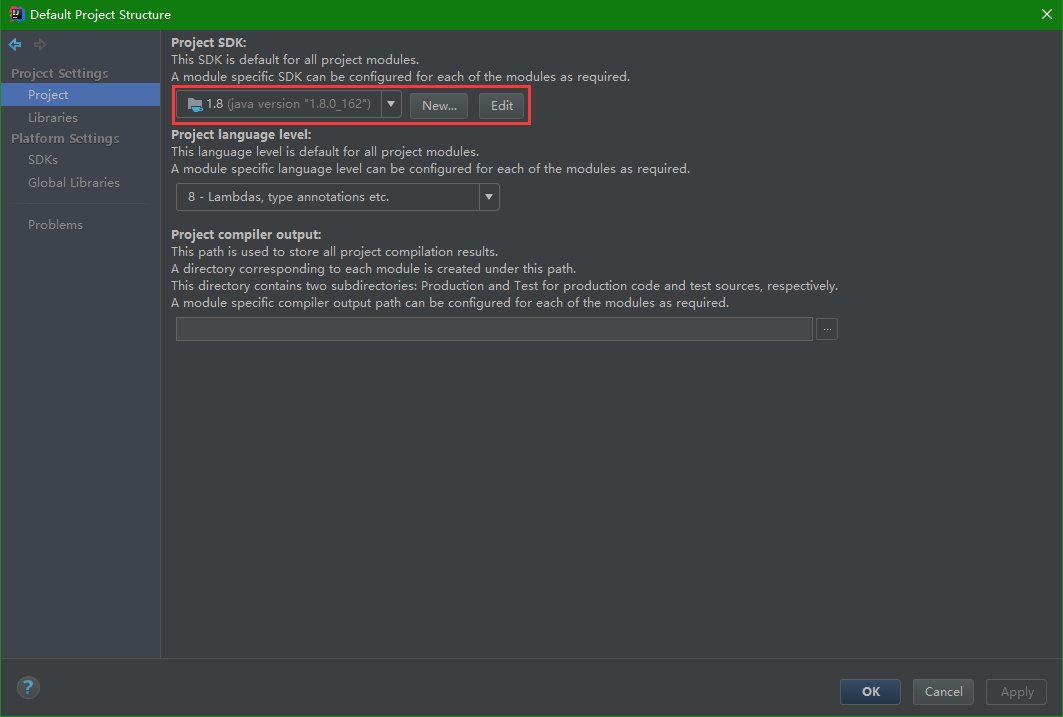
1.7 设置项目默认sdk
选择菜单:Configure -> Project Defaults -> Project Structure
设置:【Project SDK】
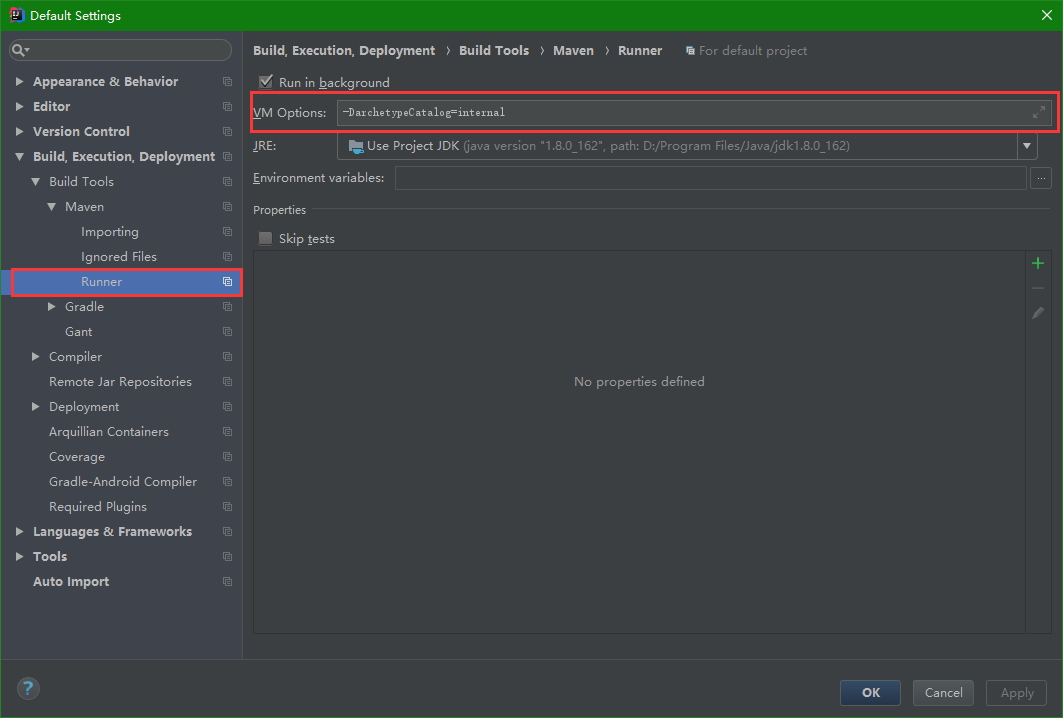
1.8 运行时配置(Runner)
选择菜单:Configure -> Project Defaults -> Settings
设置:
【VM Options】:-DarchetypeCatalog=internal
注:archetypeCatalog的3种值
internal:maven-archetype-plugin内置
local:本地,位置为~/.m2/archetype-catalog.xml
remote:指向Maven中央仓库的Catalog
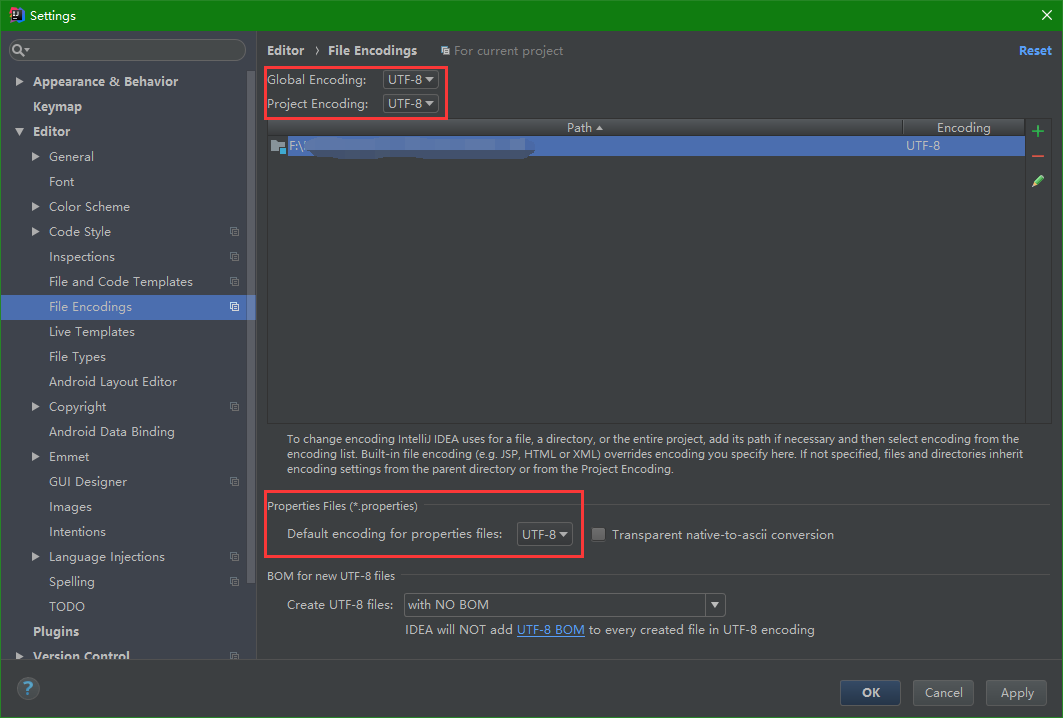
1.9 文件编码格式
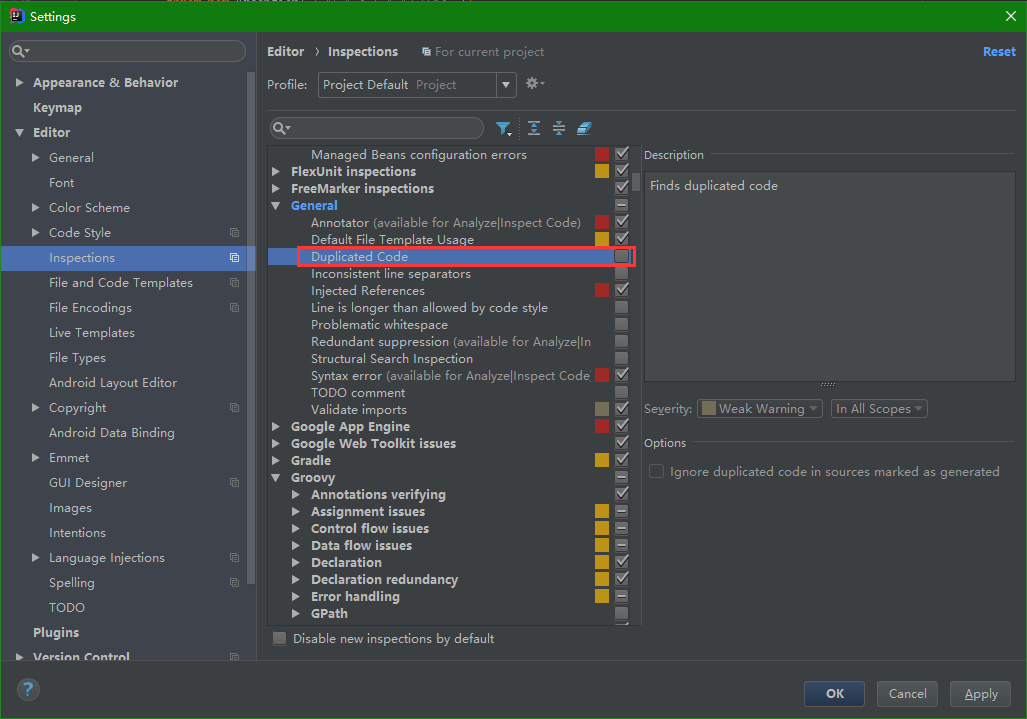
1.10 关闭提示Found Duplicate Code
选择菜单:Configure -> Settings -> Editor -> Inspections
设置:
【Duplicated Code】:取消勾选
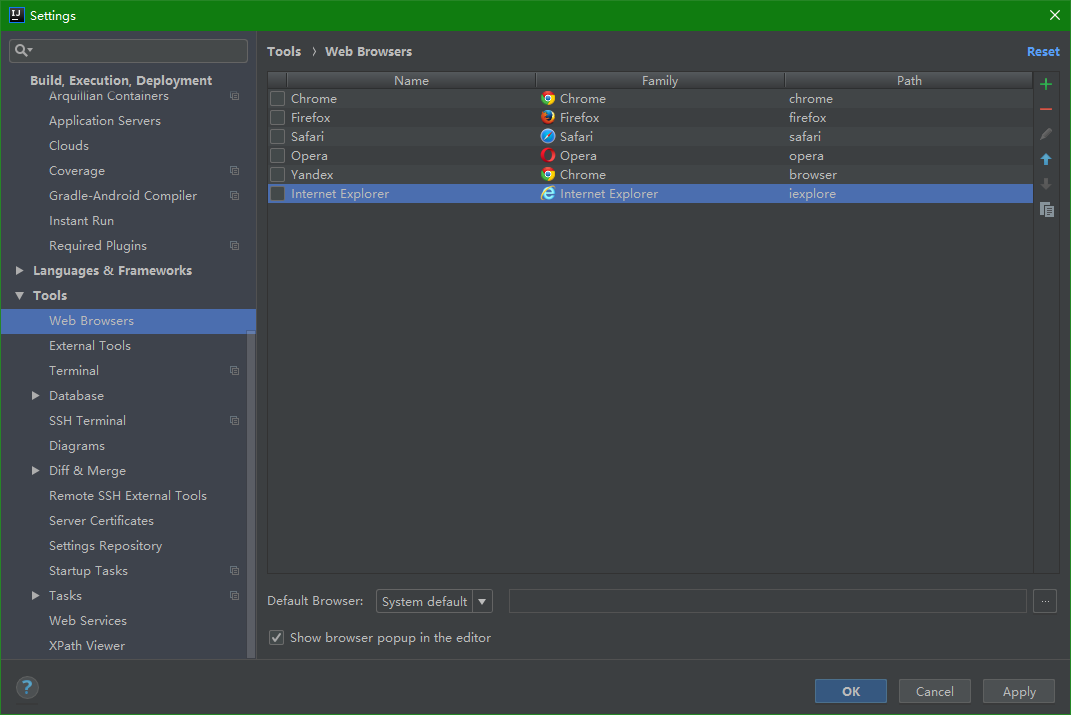
1.11 配置自定义浏览器预览
选择菜单:File -> Settings -> Tools -> Web Browsers

1.12 spring-boot-devtools热部署
(1)pom.xml配置
<dependency>
    <groupId>org.springframework.boot</groupId>
    <artifactId>spring-boot-devtools</artifactId>
    <optional>true</optional>
</dependency>
<build>
    <plugins>
        <plugin>
            <groupId>org.springframework.boot</groupId>
            <artifactId>spring-boot-maven-plugin</artifactId>
            <configuration>
                <fork>true</fork>
            </configuration>
        </plugin>
    </plugins>
</build>
(2)IDEA设置
◊ 选择菜单:Configure -> Settings -> Build,Execution,Deplyment -> Compiler
设置:
【Build project automatically】:勾选

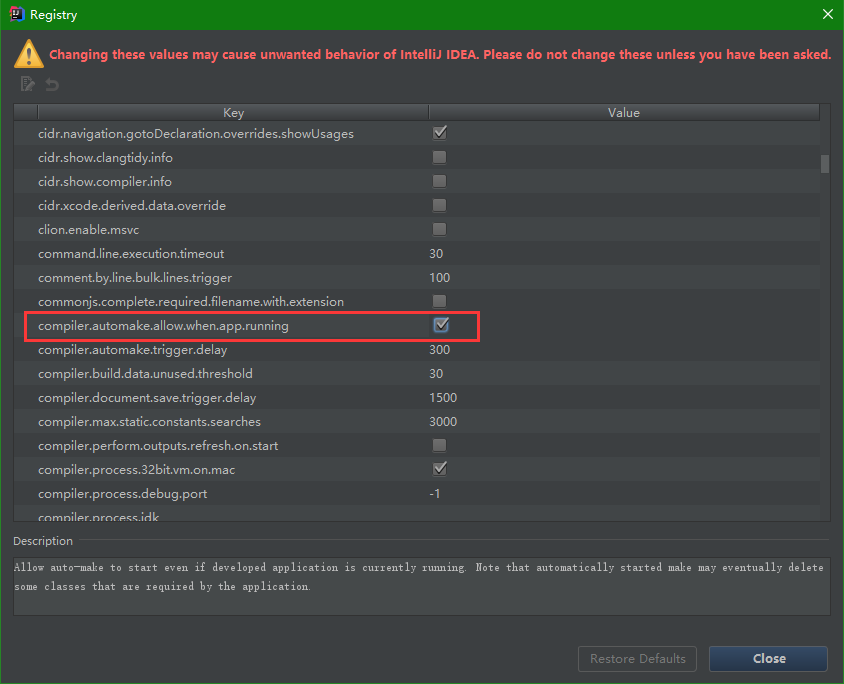
◊ 组合键 Ctrl + Shift + Alt + / ,选择【Registry...】,勾选【compiler.automake.allow.when.app.running】

2. 项目设置
2.1 配置项目文件夹
选择菜单:File -> Project Structure... (Ctrl + Shift + Alt + S) -> Modules

3. IntelliJ IDEA常用快捷键
3.1 基础功能
| 快捷键 | 功能 |
|---|---|
| Ctrl + Space | 基本代码提示 |
| Ctrl + Shift + Space | 按类型信息提示 |
| Alt + Enter | 快速自动修复错误代码 |
| Ctrl + Shift + Enter | 自动补全末尾的字符,包括行尾的反括号和分号 |
| Ctrl + Y | 删除当前行 |
| Ctrl + D | 复制当前行并插入在下面一行 |
| Ctrl + / | 注释 // |
| Ctrl + Shift + / | 注释 /*...*/ |
| Ctrl + Shift + U | 大小写转化 |
| Ctrl + Alt + L | 格式化代码 |
| Ctrl + Alt + O | 优化import列表 |
3.2 查找替换
| 快捷键 | 功能 |
|---|---|
| Ctrl + F | 当前窗口中进行文本查找 |
| Ctrl + Shift + F | 全工程中进行文本查找 |
| Ctrl + R | 当前窗口中进行文本替换 |
| Ctrl + Shift + R | 全工程中进行文本替换 |
3.3 代码生成
| 快捷键 | 功能 |
|---|---|
| Alt + Insert | 自动生成构造函数、toString()、getter/setter、重写父类方法等 |
| fori + Tab | for循环 |
| sout + Tab | System.out.println语句 |
| psvm + Tab | main方法 |
4. IntelliJ IDEA的Git操作
4.1 Git设置
选择菜单:Configure -> Settings -> Version Control -> Git
设置:
【Path to Git executable】:设置Git的安装路径

4.2 发布新项目到Git
步骤:
(1)选择菜单:VCS -> Import into Version Control -> Create Git Repository...

(2)选择创建Git仓储路径,选择之后将在该路径下创建.git隐藏文件夹。

(3)选择菜单:VCS -> Git -> Commit Directory...
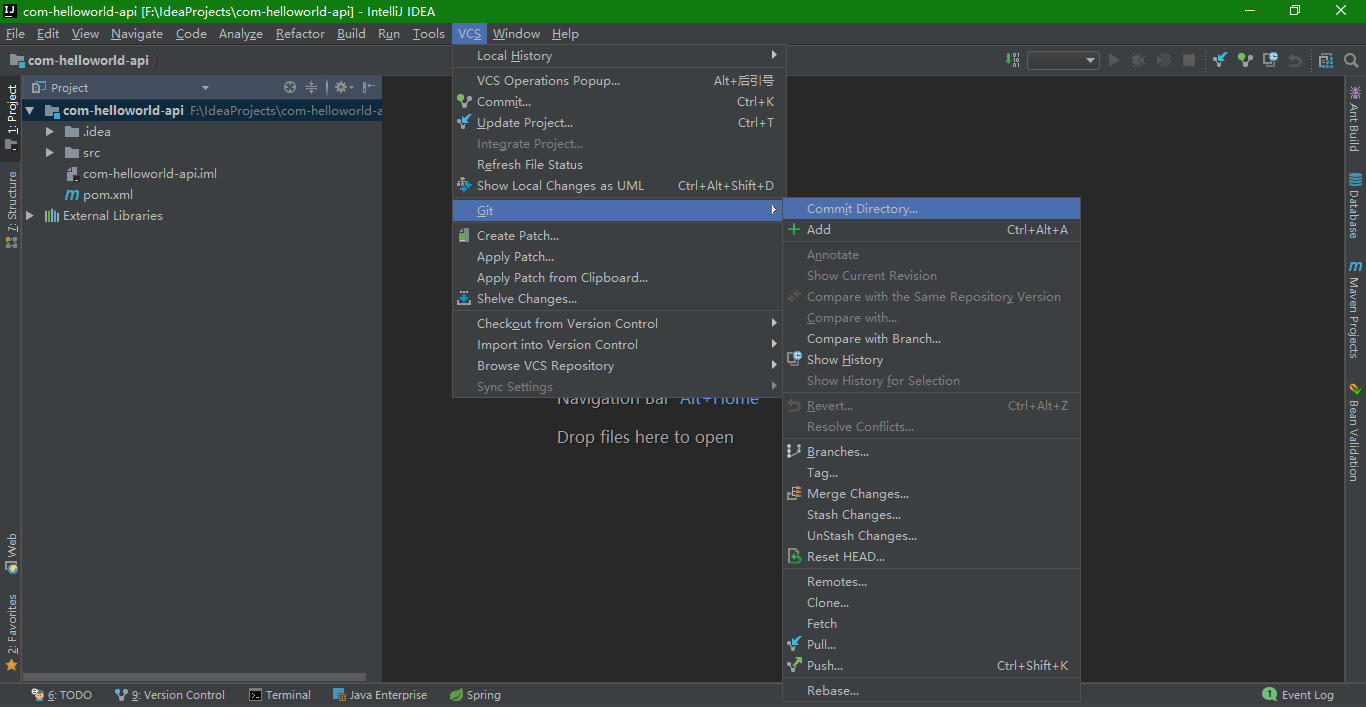

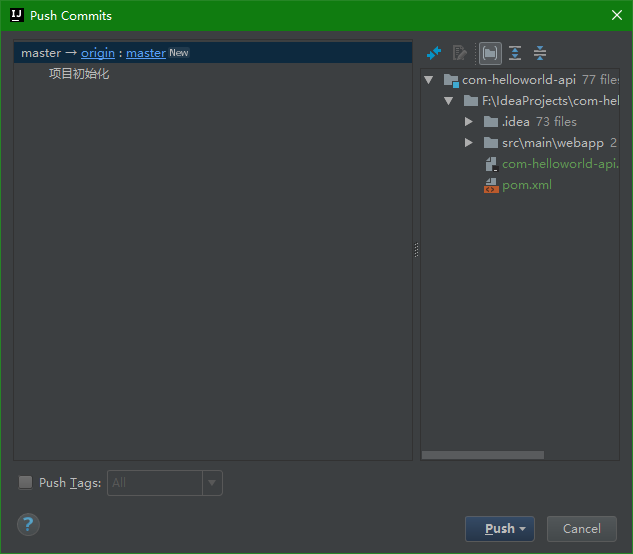
(4)选择菜单:VCS -> Git -> Push