FreeMarker开发-入门
1. 下载freemarker.jar
可到官网下载:http://freemarker.org/。
下载的freemarker-2.3.23.tar.gz 3.2 MB 包含了freemarker.jar、源码和API文档。
2. 创建Java Project
1) 在项目中新建lib目录,将freemarker.jar放入lib目录,并“Add to build path”。
2) 在src下新建templates目录,用于存放模板文件。在templates目录下新建example.flt文件,内容如下:
${example}
3) 在src下新建测试类FreeMarkerTest。内容如下:
 1 public class FreeMarkerTest {
 2     public static void main(String[] args) throws IOException,
 3             TemplateException {
 4         Configuration conf = new Configuration();
 5         // 设置加载模板文件的目录
 6         conf.setDirectoryForTemplateLoading(new File("src/templates"));
 7         // 设置模板检索数据模型的方式
 8         conf.setObjectWrapper(new DefaultObjectWrapper());
 9         // 创建、解析模板并缓存
10         Template template = conf.getTemplate("example.flt");
11         // 准备数据
12         Map<String, Object> root = new HashMap<String, Object>();
13         root.put("example", "Hello World!");
14         // 将数据与模板合并
15         template.process(root, new OutputStreamWriter(System.out));
16     }
17 }
4) 运行FreeMarkerTest,输出如下:
Hello World!
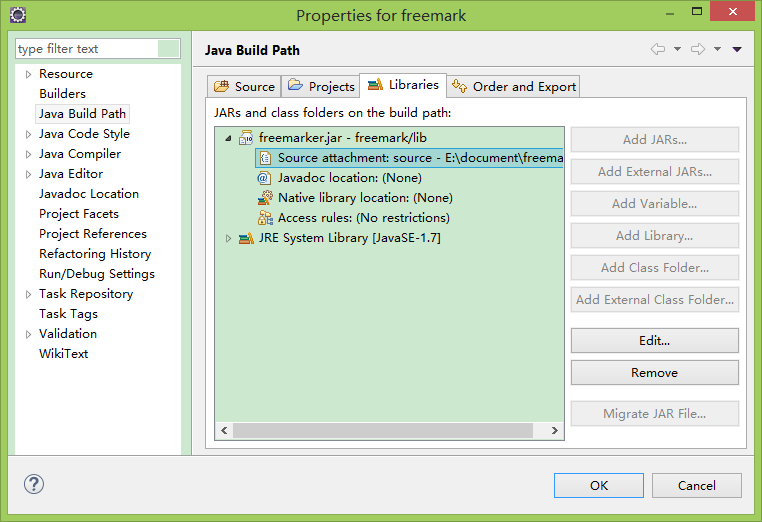
3. 关联FreeMarker源码到eclipse
从freemarker-2.3.23.tar.gz中解压出source目录,关联到eclipse,方便在开发中查看源码。