
菜菜从零学习WCF四(承载服务)
有图有真相,如果你也是菜鸟那就也来看看我这个菜鸟一步一步的实现吧。
我们都知道WCF在运行的时候必须自己提供宿主来承载服务。WCF 本身没有附带宿主,就需要我们自己来依附于宿主而承载WCF服务。
那么现在主要有几种方式来为我们提供WCF的承载呢?
1.在IIS中承载
2.在Windows 进程激活服务(WAS)中承载
3.在托管应用程序中承载(自承载)
第一种在IIS中承载
WCF可以方便的通过IIS承载。此承载模型与ASP.NET和ASP.NET Web Service使用的模型类似。
可在以下操作系统上的IIS承载WCF
--Windows XP SP2上的IIS 5.1
--Windows Server 2003 上的IIS6.0
--Windows Vista(Windows 7) 和Windows Server 上的IIS 7.0
--IIS 7.0
-- 用Windows 进程激活服务(WAS)来允许通过HTTP之外的协议进行激活或网络通信。此环境适合开发可通过WCF支持的任何网络协议(HTTP 、net.tcp、net.pipe和net.msmq)进行通信的WCF服务
--IIS承载的好处
-可像处理任何其他任何类型的IIS应用程序(包括ASP.NET应用程序和ASMX)一样,部署和管理IIS中承载的WCF服务。
-IIS提供进程激活、运行状况管理和回收功能以提高承载的应用程序的可靠性。
-像ASP.NET一样,ASP.NET中承载的WCF服务可以利用ASP.NET共享宿主模型。在次模型中,多个应用程序驻留在一个公共辅助进程中以提高服务器密度和可伸缩性。
-IIS中承载的WCF服务与ASP.NET2.0使用相同的动态编译模型,该模型简化了承载的服务的开发和部署。
-当决定在IIS中承载WCF服务时,一定要记住IIS5.1和IIS6.0仅限于HTTP通信。
--部署IIS承载的WCF服务
-1.要确保正确安装IIS和WCF以及WCF激活组建。
 可在控制面板--程序---程序功能--打开或关闭Windows功能中开启
环境都准备好了,下面我们进行一下实例首先我们打开VS,我这里使用的是VS2010,暂时就使用VS2010来进行
首先打开VS2010新建项目,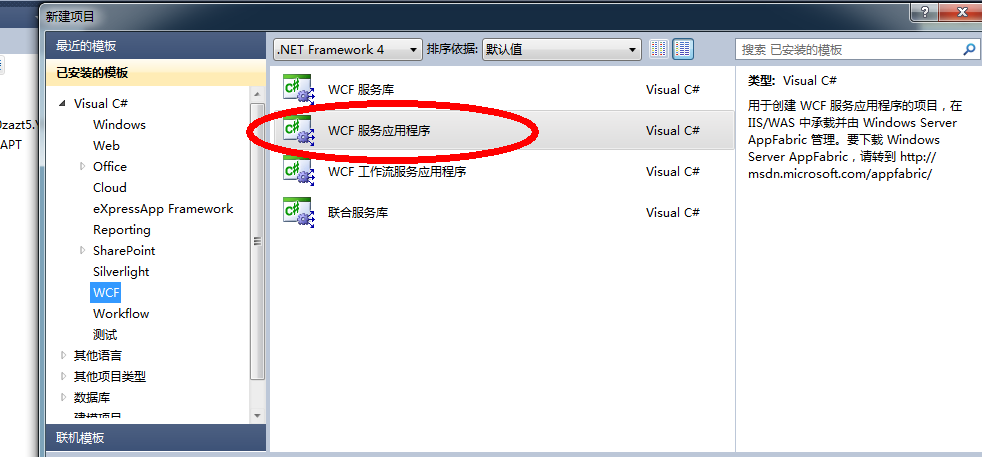
选择WCF服务应用程序,添加项目名称后,就会自动生成相应文件
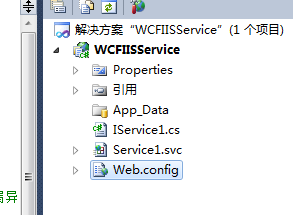
将Iservice1.cs和Service1.svc 以及Service1.cs三个文件中的代码合并为一个文件中Service.svc
<%@ ServiceHost Language="C#" Debug="true" Service="WCFIISService.Service" %>
using System;
using System.Runtime.Serialization;
using System.ServiceModel;
using System.ServiceModel.Web;
using System.Text;

namespace WCFIISService
{
    // 注意: 使用“重构”菜单上的“重命名”命令,可以同时更改代码、svc 和配置文件中的类名“Service1”。
    public class Service: IService
    {
        public string GetData(int value)
        {
            return string.Format("You entered: {0}", value);
        }
    }

    [ServiceContract]
    public interface IService
    {
        [OperationContract]
        string GetData(int value);
        // TODO: 在此添加您的服务操作
    }
}
再打开Web.config文件找到节点system.serviceModel可以发现应该是没有services节点,也就是我们需要对服务进行相应的配置。
    <services>
      <service name="WCFIISService.Service" behaviorConfiguration="WCFBehavior">
        <endpoint address="" binding="wsHttpBinding" contract="WCFIISService.IService"></endpoint>
        <endpoint address="mex" binding="mexHttpBinding" contract="IMetadataExchange"></endpoint>
      </service>
    </services>
整个配置文件的代码如下
<?xml version="1.0" encoding="utf-8"?>
<configuration>

  <system.web>
    <compilation debug="true" targetFramework="4.0" />
  </system.web>
  <system.serviceModel>
    <services>
      <service name="WCFIISService.Service" behaviorConfiguration="WCFBehavior">
        <endpoint address="" binding="wsHttpBinding" contract="WCFIISService.IService"></endpoint>
        <endpoint address="mex" binding="mexHttpBinding" contract="IMetadataExchange"></endpoint>
      </service>
    </services>
    <behaviors>
      <serviceBehaviors>
        <behavior name="WCFBehavior">
          <!-- 为避免泄漏元数据信息,请在部署前将以下值设置为 false 并删除上面的元数据终结点 -->
          <serviceMetadata httpGetEnabled="true"/>
          <!-- 要接收故障异常详细信息以进行调试,请将以下值设置为 true。在部署前设置为 false 以避免泄漏异常信息 -->
          <serviceDebug includeExceptionDetailInFaults="false"/>
        </behavior>
      </serviceBehaviors>
    </behaviors>
    <serviceHostingEnvironment multipleSiteBindingsEnabled="true" />
  </system.serviceModel>
 <system.webServer>
    <modules runAllManagedModulesForAllRequests="true"/>
  </system.webServer>

</configuration>
进行相应配置之后,下面进行编译项目,查看项目所在文件夹,找到Web.Config文件和Service1.svc文件。
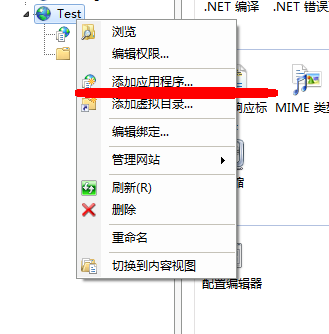
打开IIS并进行添加应用程序
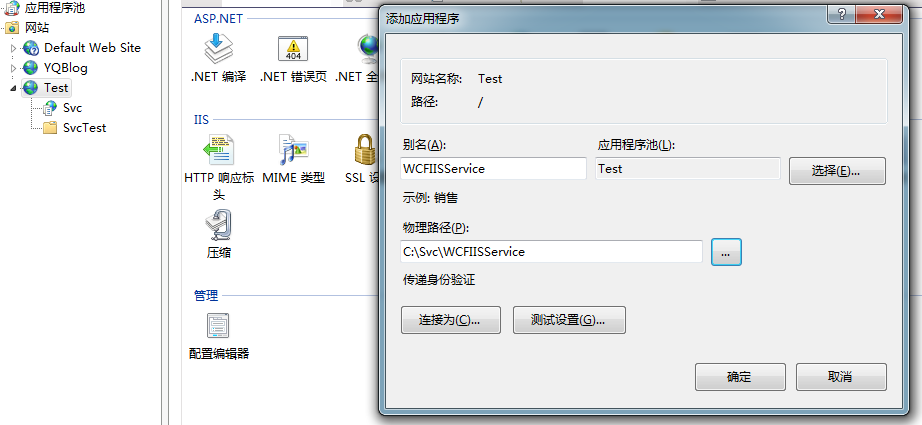
添加好之后,将刚刚的两个文件web.confg和service.svc复制到下面


打开目录浏览,然后右击启用,现在就可以浏览服务了。
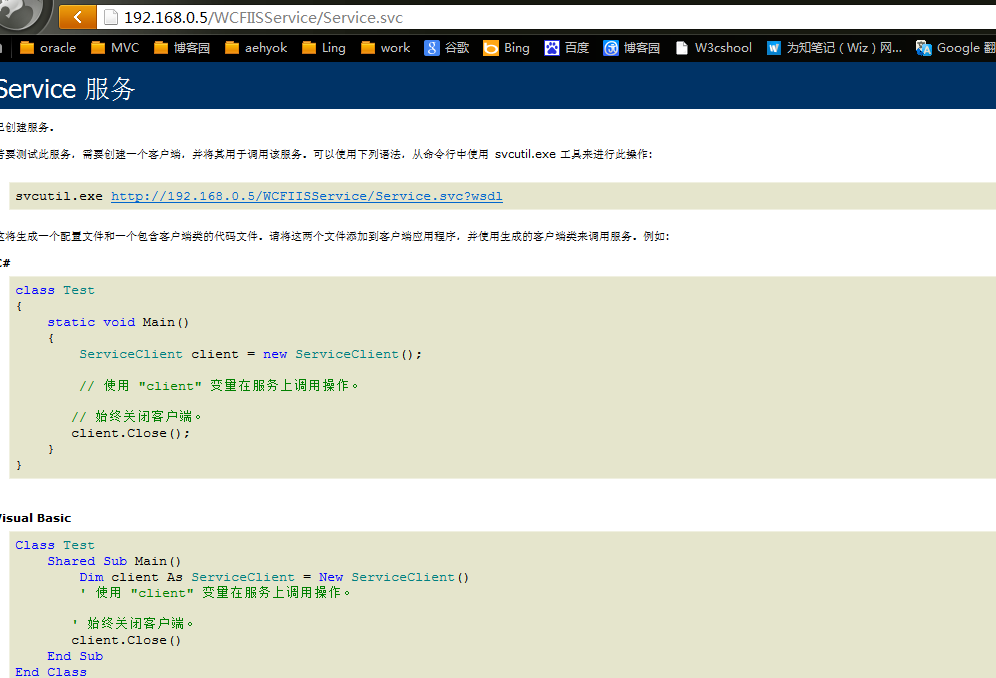
现在就可以证明服务发布成功了。
这是关于IIS承载WCF服务示例代码
关于
在Windows 进程激活服务(WAS)中承载后面再补上

 浙公网安备 33010602011771号