
SpringBoot初体验之整合SpringMVC
作为开发人员,大家都知道,SpringBoot是基于Spring4.0设计的,不仅继承了Spring框架原有的优秀特性,而且还通过简化配置来进一步简化了Spring应用的整个搭建和开发过程。另外SpringBoot通过集成大量的框架使得依赖包的版本冲突,以及引用的不稳定性等问题得到了很好的解决。
SpringBoot的特点:
为基于Spring的开发提供更快的入门体验
开箱即用,没有代码生成,也无需XML配置。同时也可以修改默认值来满足特定的需求
提供了一些大型项目中常见的非功能性特性,如嵌入式服务器、安全、指标,健康检测、外部配置等
SpringBoot不是对Spring功能上的增强,而是提供了一种快速使用Spring的方式
下面给大家介绍一下,SpringBoot整合SpringMVC的过程:
一、创建项目
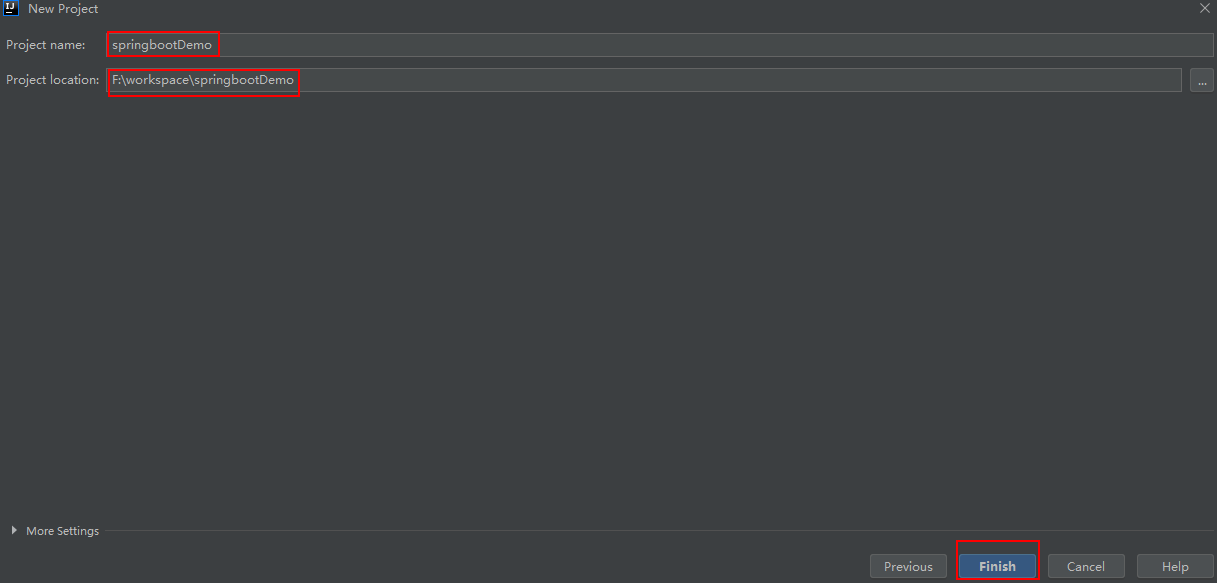
1、使用IDEA创建一个Maven工程

2、项目的相关信息填写一下;

3、点击Finish,等待项目创建完成;
二、项目依赖配置
1、SpringBoot要求,项目要继承SpringBoot的起步依赖spring-boot-starter-parent;
 <!--SpringBoot的起步依赖spring-boot-starter-parent-->
    <parent>
        <groupId>org.springframework.boot</groupId>
        <artifactId>spring-boot-starter-parent</artifactId>
        <version>2.0.1.RELEASE</version>
    </parent>
2、同时整合SpringMVC,要导入web的启动依赖;
 <dependencies>
        <!--web的启动依赖-->
        <dependency>
            <groupId>org.springframework.boot</groupId>
            <artifactId>spring-boot-starter-web</artifactId>
        </dependency>
    </dependencies>
3、导入坐标后pom.xml文件为:
<?xml version="1.0" encoding="UTF-8"?>
<project xmlns="http://maven.apache.org/POM/4.0.0"
         xmlns:xsi="http://www.w3.org/2001/XMLSchema-instance"
         xsi:schemaLocation="http://maven.apache.org/POM/4.0.0 http://maven.apache.org/xsd/maven-4.0.0.xsd">
    <modelVersion>4.0.0</modelVersion>
    <!--SpringBoot的起步依赖spring-boot-starter-parent-->
    <parent>
        <groupId>org.springframework.boot</groupId>
        <artifactId>spring-boot-starter-parent</artifactId>
        <version>2.0.1.RELEASE</version>
    </parent>

    <groupId>com.xyfer</groupId>
    <artifactId>springbootDemo</artifactId>
    <version>1.0-SNAPSHOT</version>

    <dependencies>
        <!--web的启动依赖-->
        <dependency>
            <groupId>org.springframework.boot</groupId>
            <artifactId>spring-boot-starter-web</artifactId>
        </dependency>
    </dependencies>

</project>
三、编写java代码
1、编写SpringBoot的引导类,以便启动SpringBoot项目;
package com.xyfer;

import org.springframework.boot.SpringApplication;
import org.springframework.boot.autoconfigure.SpringBootApplication;

@SpringBootApplication
public class MySpringBootApplication {

    public static void main(String[] args) {
        SpringApplication.run(MySpringBootApplication.class);
    }

}
2、编写Controller层的代码;
package com.xyfer.controller;

import org.springframework.stereotype.Controller;
import org.springframework.web.bind.annotation.RequestMapping;
import org.springframework.web.bind.annotation.ResponseBody;

@Controller
public class DemoController {
    @RequestMapping("/test")
    @ResponseBody
    public String test(){
        return "Hello SpringBoot!";
    };
}
3、至此,SpriingBoot的简单项目搭建完成,项目目录结构如下;
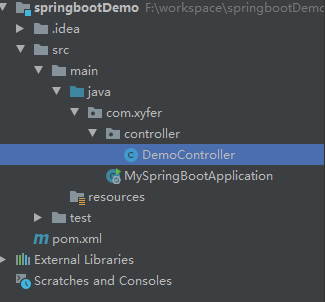
SpringBoot默认扫描引导类MySpringBootApplication.java同级包及其子包,所以controller层能被扫描到;
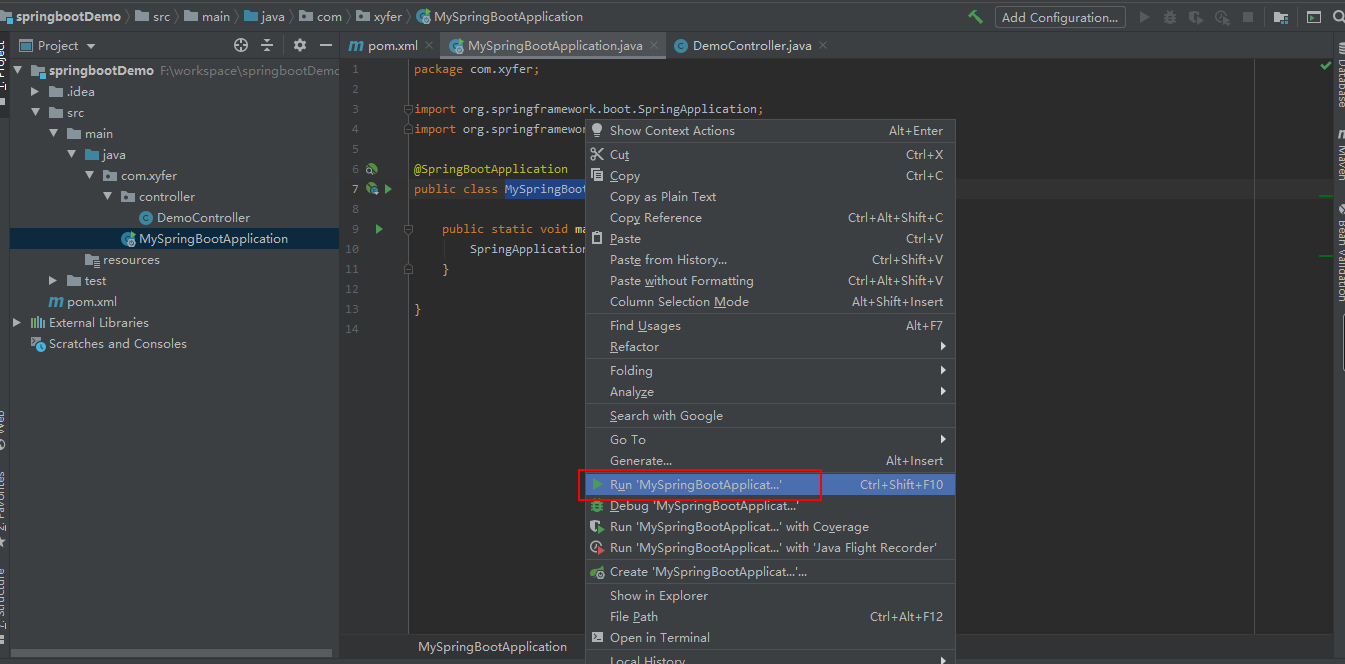
四、启动项目,进行测试
1、启动引导类,进行测试;
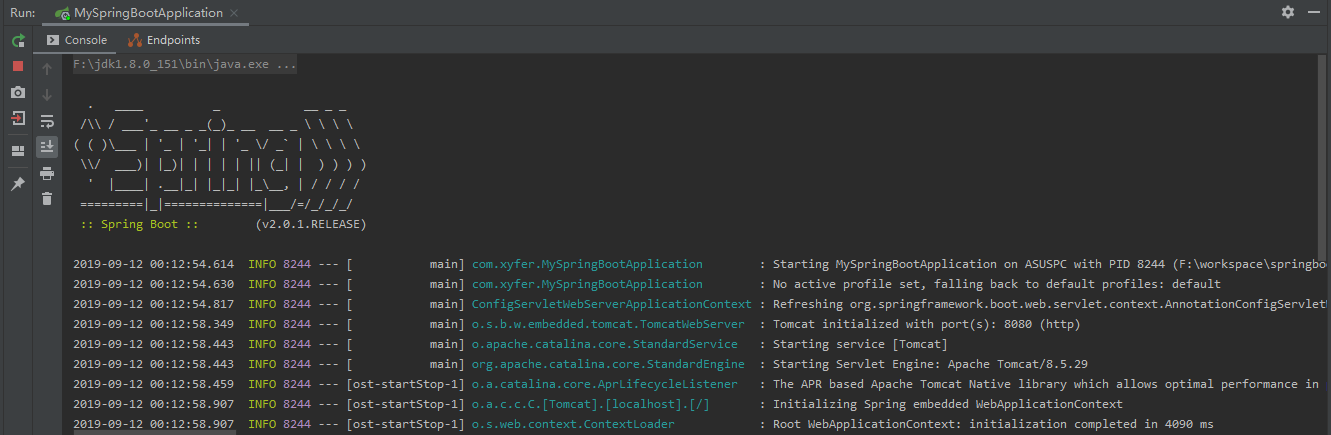
2、当控制台打印出如下信息时,证明SpringBoot项目启动成功;
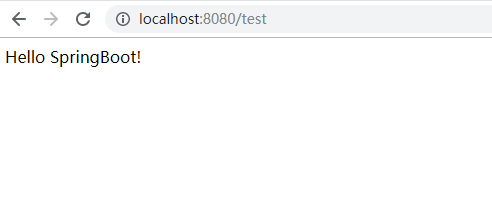
3、在浏览器输入地址:http://localhost:8080/test,访问成功!
至此,一个简单的SpringBoot项目搭建完成!

