【一】插件
【1】描述
- 1 功能:用于增强Vue
- 2 本质:包含install方法的一个对象,install的第一个参数是Vue,第二个以后的参数是插件使用者传递的数据
- 3 使用了vue-router插件,vuex插件,elementui
- 4 使用别人写好的第三方插件
Vue.use(ElementUI);
【2】使用
【1】自定义插件步骤
# 1 写plugins/index.js
import Vue from "vue";
import axios from "axios";
import hunru from "@/mixin";
export default {
    install(a,name) {
        console.log('----------',name)

        // 1 定义全局变量,放到原型中
        // prototype 原型链,一般定义在原型中的变量,都用 $ 开头,防止污染---》对象中可以定义同名属性,冲突
        Vue.prototype.$axios = axios
        // Vue.prototype.$BASE_URL='http://127.0.0.1:8000/'


        // 2  定义指令  自定义指令
        //定义全局指令:跟v-bind一样,获取焦点
        Vue.directive("fbind", {
            //指令与元素成功绑定时(一上来)
            bind(element, binding) {
                element.value = binding.value;
            },
            //指令所在元素被插入页面时
            inserted(element, binding) {
                element.focus();
            },
            //指令所在的模板被重新解析时
            update(element, binding) {
                element.value = binding.value;
            },
        });

        // 3 使用混入
        Vue.mixin(hunru)
        // 4 定义全局组件--》elementui
    }
}

# 3 在main.js中使用,可以传参数
# 1 使用自定义插件
import my from '@/plugins'
Vue.use(my,'lqz') // 内部本质会执行install


# 咱们需要掌握的;
	-有些第三方插件,用了以后,增强了vue功能
    -this.$router
    -全局组件 :el-button
    -this.$message--->
    -this.$http.get
【二】插槽
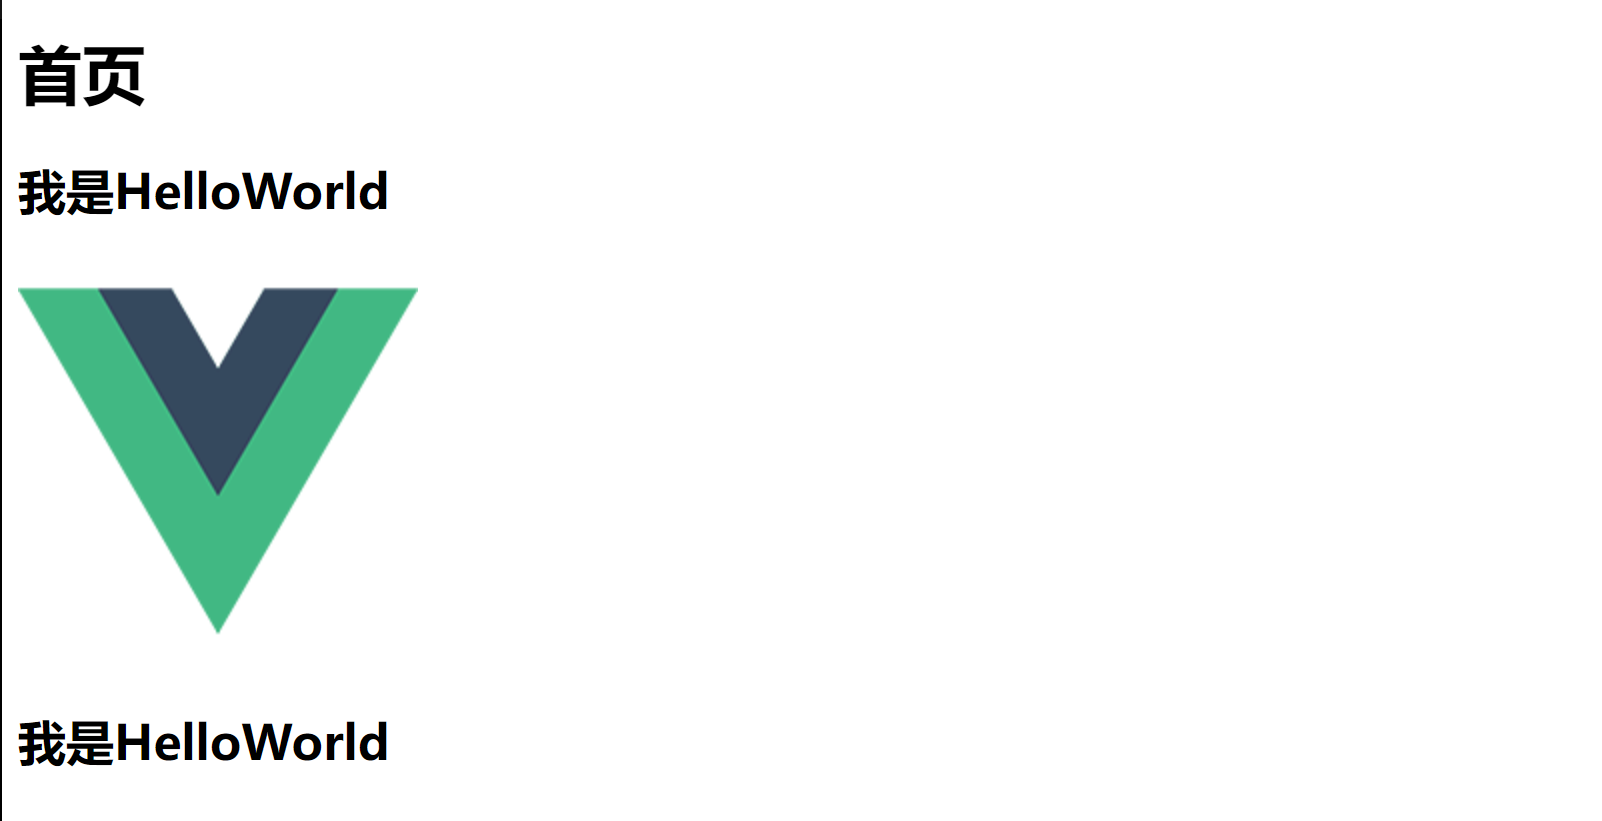
【1】匿名插槽

<template>
  <div class="Helloworld">
    <h2>我是HelloWorld</h2>
    <slot></slot>
    <h2>我是HelloWorld</h2>
  </div>
</template>

<script>
export default {

  name: 'Helloworld'
}
</script>
<style>
</style>
<template>
  <div class="home">
    <h1>首页</h1>
    <hello-world>
      <img src="@/assets/logo.png" alt="">
    </hello-world>
  </div>
</template>

<script>
import HelloWorld from '@/components/HelloWorld.vue'

export default {
  name: 'HomeView',
  components: { HelloWorld },

  data () {
    return {}
  },
  methods: {}

}
</script>
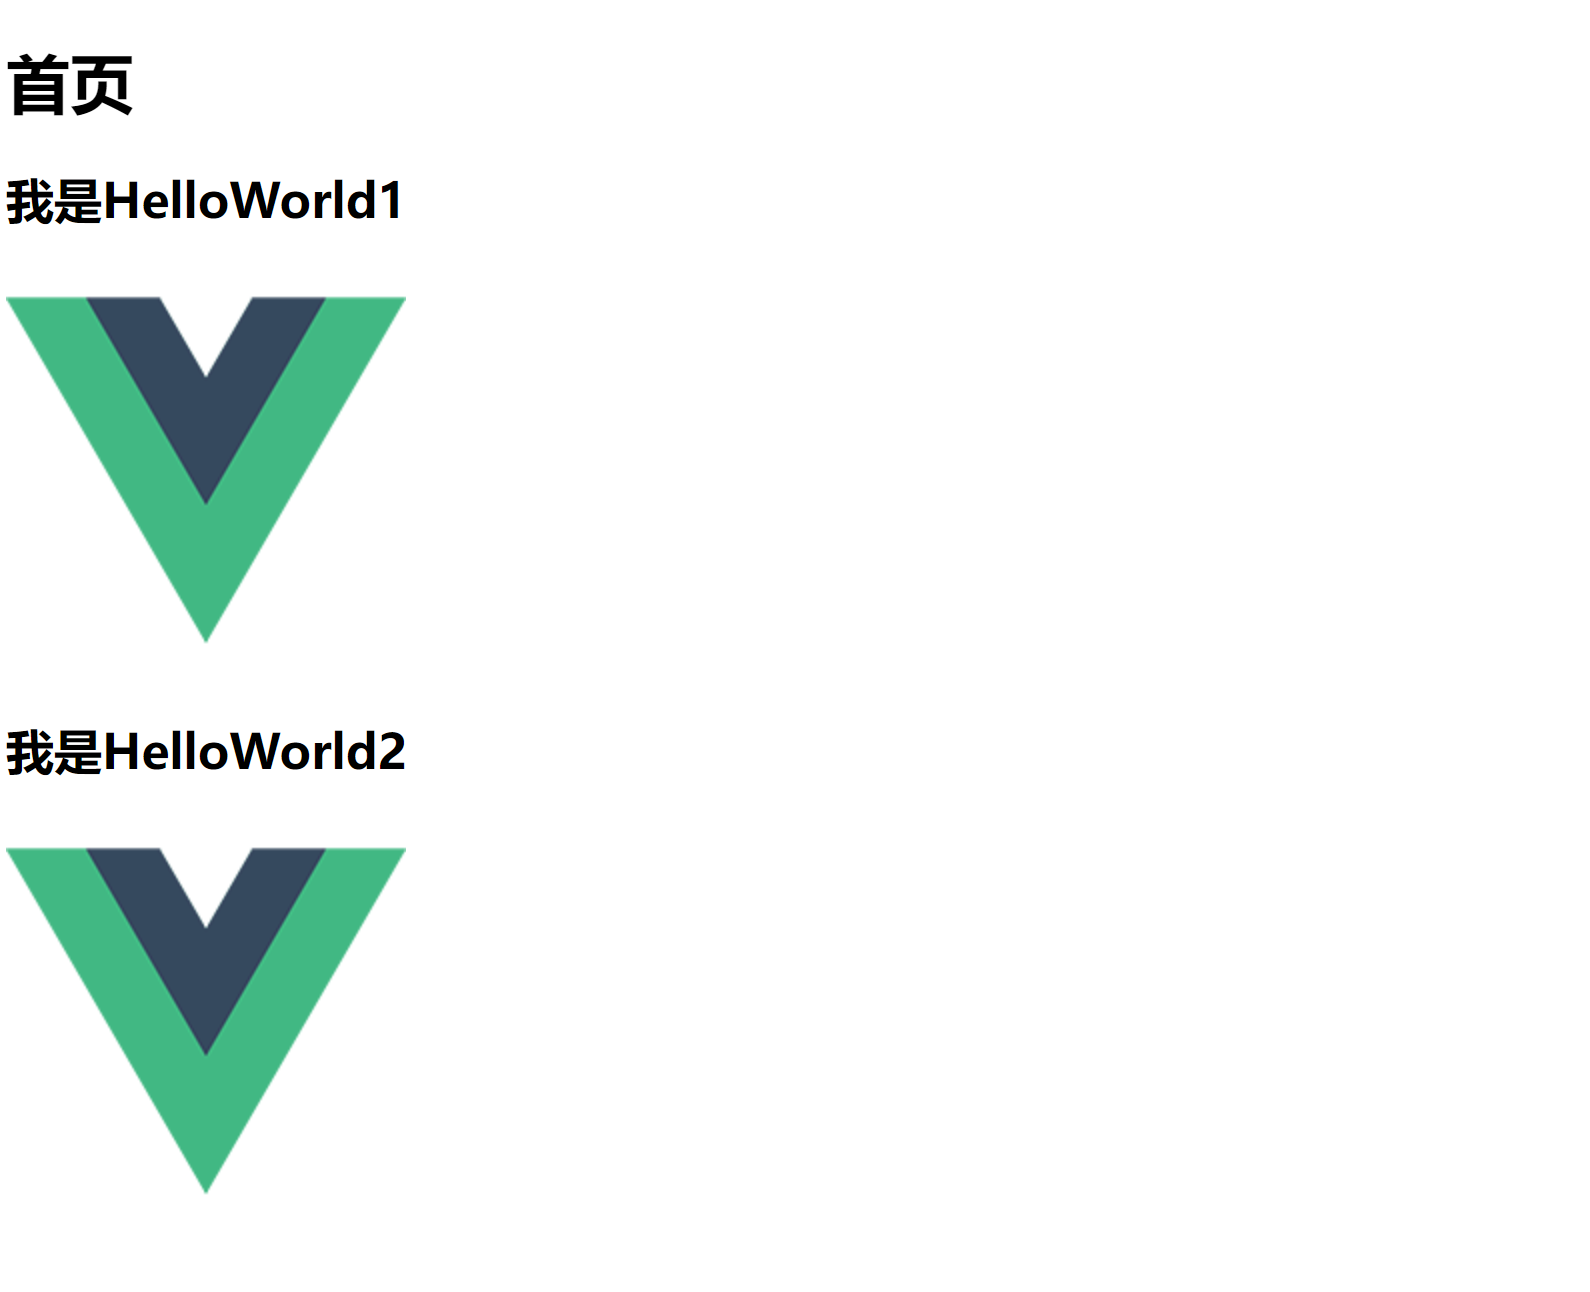
【2】命名插槽

<template>
  <div class="Helloworld">
    <h2>我是HelloWorld1</h2>
    <slot name="a"></slot>
    <h2>我是HelloWorld2</h2>
    <slot name="b"></slot>
  </div>
</template>
<hello-world>
    <template v-slot:a>
        <img src="@/assets/logo.png" alt="">
    </template>
    <template v-slot:b>
        <img src="@/assets/logo.png" alt="">
    </template>
</hello-world>


 浙公网安备 33010602011771号