
IOS开发学习笔记027-UITableView 使用模型对象
1、模型对象
2、单组数据的显示
1、模型对象
继续优化上一个程序
上一次用到字典,但是坏处多多。这里将这些数据封装到类中。
这就是MVC中得模型,模型就是数据的显示结构
新建一个类,添加几个属性和一个类方法用于快速返回对象
 1 #import <Foundation/Foundation.h>
 2
 3 @interface Province : NSObject
 4 // UI控件用weak
 5 // nsstring 用copy
 6
 7
 8 @property (nonatomic,copy) NSString *header;
 9 @property (nonatomic,copy) NSString *footer;
10 @property (nonatomic,strong) NSArray *cities;
11 //
12 + (id)provinceWithHeader:(NSString *)header andFooter:(NSString *)footer andCities:(NSArray *)cities;
13 @end
 1 #import "Province.h"
 2
 3 @implementation Province
 4
 5
 6 + (id)provinceWithHeader:(NSString *)header andFooter:(NSString *)footer andCities:(NSArray *)cities
 7 {
 8     Province *pp = [[Province alloc] init];
 9     pp.footer = footer;
10     pp.header = header;
11     pp.cities = cities;
12     return pp;
13 }
14 @end
初始化对象时使用类方法
1     Province *gd = [Province provinceWithHeader:@"广东" andFooter:@"广东怒啊啊" andCities:@[@"广州",@"深圳"]];
2     Province *hn = [Province provinceWithHeader:@"湖南" andFooter:@"湖南哈哈哈啊啊" andCities:@[@"长沙",@"岳阳"]];
修改一下 方法 numberOfRowsInSection
1 // 2 设置每组多少行 row
2 - (NSInteger)tableView:(UITableView *)tableView numberOfRowsInSection:(NSInteger)section
3 {
4     // 取出对象中得数据
5     return [_allProvince[section] cities].count;
6 }
修改一下方法 cellForRowAtIndexPath
 1 // 3 返回每一行显示的内容
 2 // indexPath 标识唯一的一行,第几组第几行
 3 - (UITableViewCell *)tableView:(UITableView *)tableView cellForRowAtIndexPath:(NSIndexPath *)indexPath
 4 {
 5     UITableViewCell *tableCell = [[UITableViewCell alloc] initWithStyle:UITableViewCellStyleDefault reuseIdentifier:nil];
 6     // 设置cell显示的文字
 7     NSString *text =  [_allProvince[indexPath.section] cities][indexPath.row];
 8     tableCell.textLabel.text = text;
 9     return tableCell;
10 }
修改一下方法 titleForHeaderInSection
1 #pragma mark 第section组的头部标题
2 - (NSString *)tableView:(UITableView *)tableView titleForHeaderInSection:(NSInteger)section
3 {
4     return  [_allProvince[section] header];
5 }
在修改一下 titleForFooterInSection
1 #pragma mark 第section组的尾部显示
2 - (NSString *)tableView:(UITableView *)tableView titleForFooterInSection:(NSInteger)section
3 {
4     return [_allProvince[section] footer];
5 }
效果是一样的,但是代码的可扩展性更好了。
显示表格右侧的索引

需要用法一个方法
- (NSArray *)sectionIndexTitlesForTableView:(UITableView *)tableView
返回的数组就是要现实的索引数组,单击索引文字会跳转到对应的组
 1 #pragma mark 返回表格右边显示的索引条
 2 - (NSArray *)sectionIndexTitlesForTableView:(UITableView *)tableView
 3 {
 4     NSMutableArray *title = [NSMutableArray array];
 5     for (Province *p in _allProvince)
 6     {
 7         [title addObject:p.header]; // 获取标题显示在索引中
 8     }
 9     return title;
10 }
2、单组数据的显示
以上说到的都是多组数据的显示,下面说单组数据的显示。
主要是在创建view时指定style参数为Plain
设置组和行
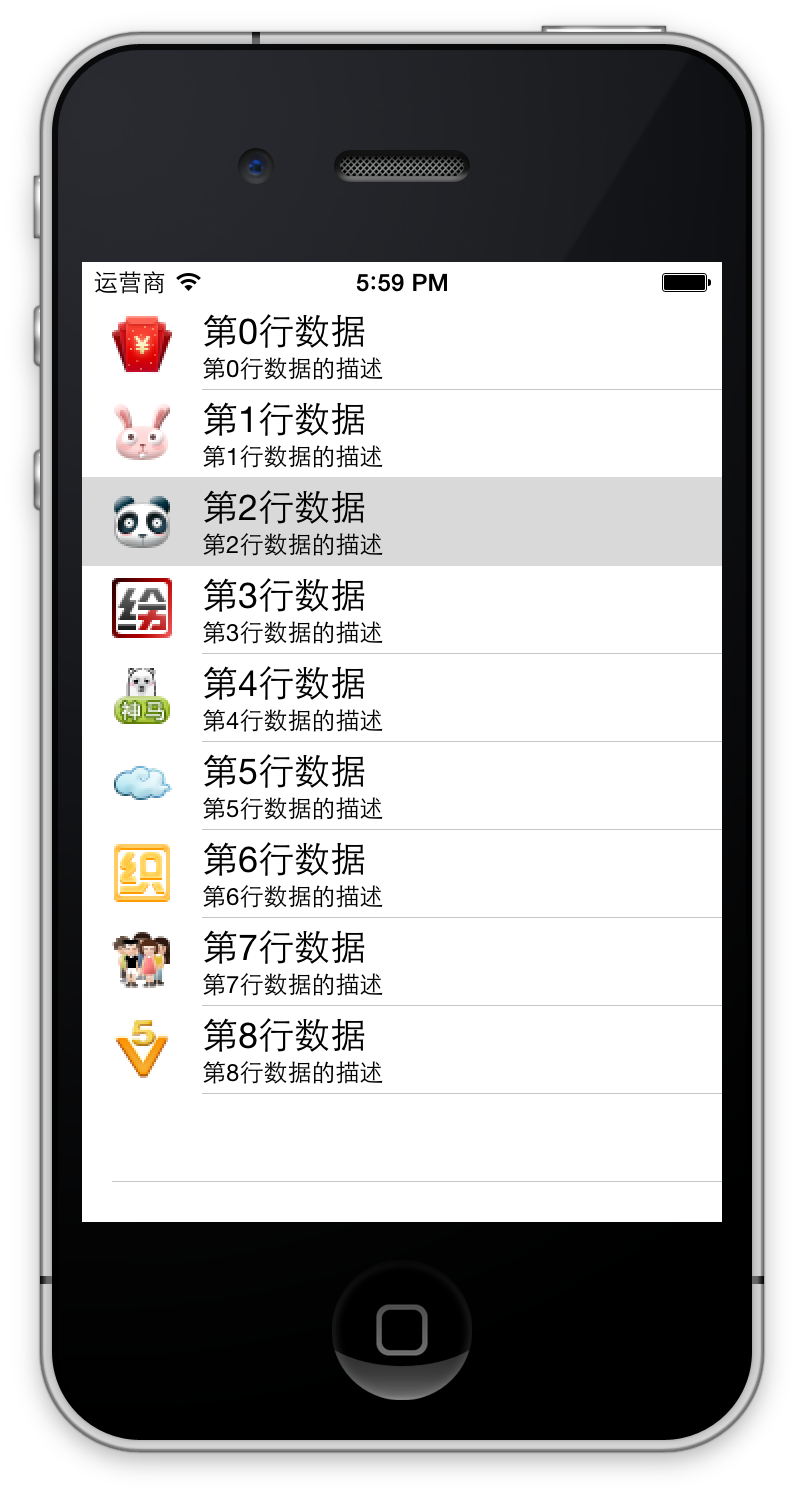
 1 // 设置行,既然是单组,那就只有一行
 2 - (NSInteger)numberOfSectionsInTableView:(UITableView *)tableView
 3 {
 4     return 1;
 5 }
 6 // 设置行
 7 - (NSInteger)tableView:(UITableView *)tableView numberOfRowsInSection:(NSInteger)section
 8 {
 9     return 9;
10 }
11 // 设置行内容
12 - (UITableViewCell *)tableView:(UITableView *)tableView cellForRowAtIndexPath:(NSIndexPath *)indexPath
13 {
14     UITableViewCell *cell = [[UITableViewCell alloc] initWithStyle:UITableViewCellStyleDefault reuseIdentifier:nil];
15     cell.textLabel.text = [NSString stringWithFormat:@"第%d行数据",indexPath.row]; // 中间文字
16     cell.imageView.image = [UIImage imageNamed:[NSString stringWithFormat:@"00%d.png",indexPath.row + 1]]; // 左侧图像
17     cell.detailTextLabel.text = [NSString stringWithFormat:@"第%d行数据的描述",indexPath.row]; //描述文字,对textLable的描述
18     return cell;
19 }
其中UITableViewCell的几种显示方式:
UITableViewCellStyleDefault:不显示子标题

UITableViewCellStyleValue1:detial标签显示在右边
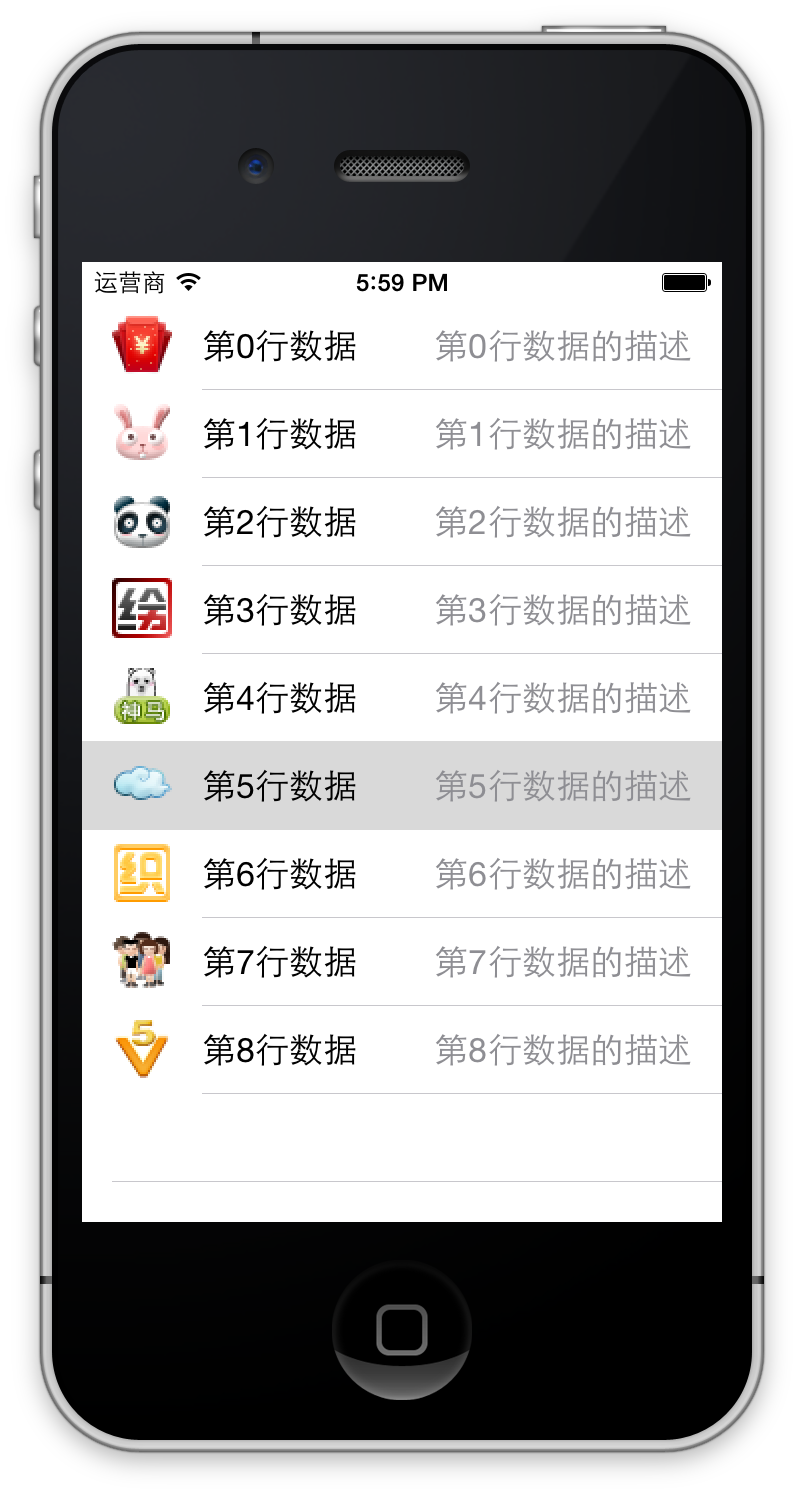
UITableViewCellStyleValue2:不显示图片

UITableViewCellStyleSubTitle:显示子标题
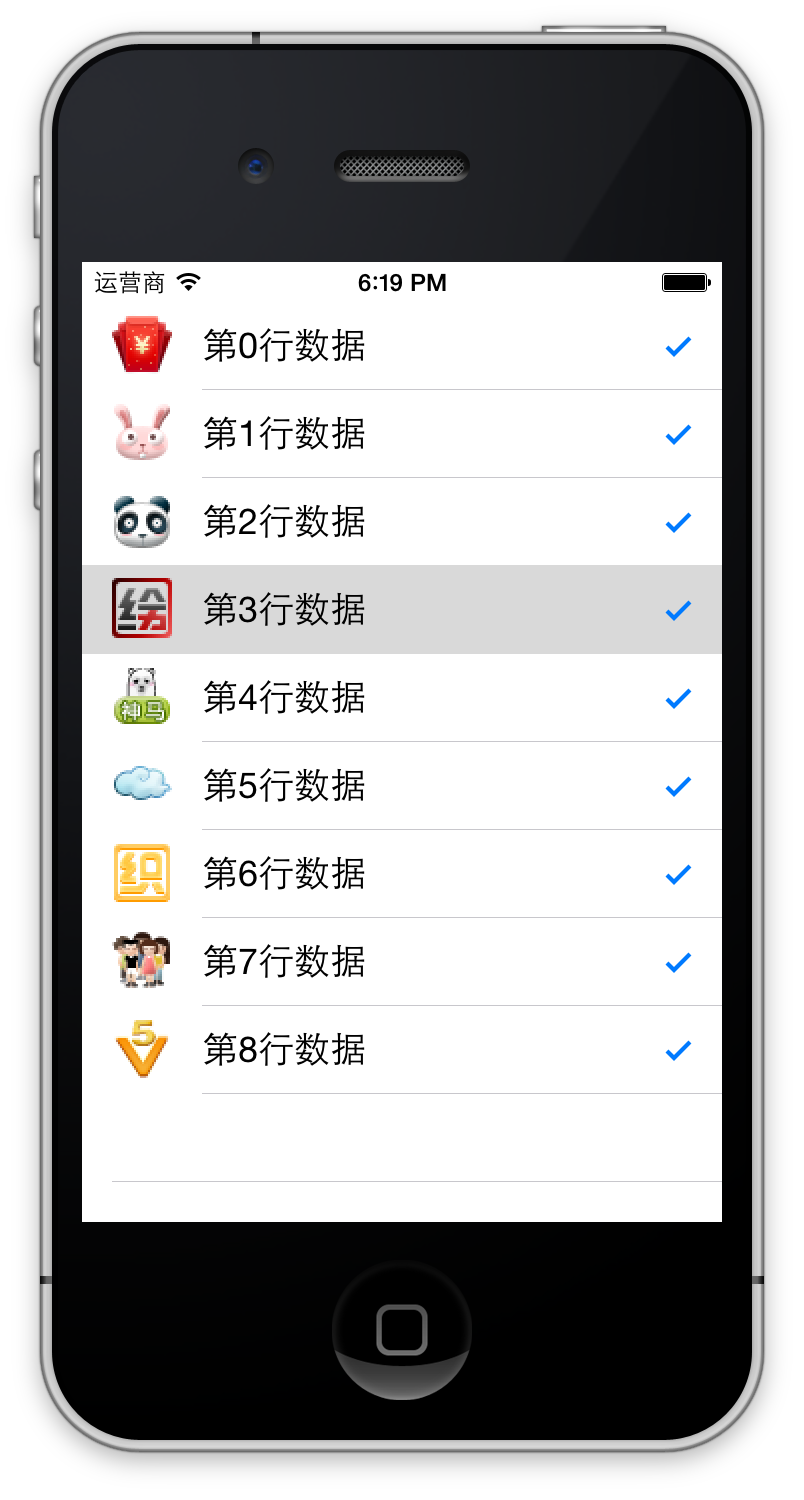
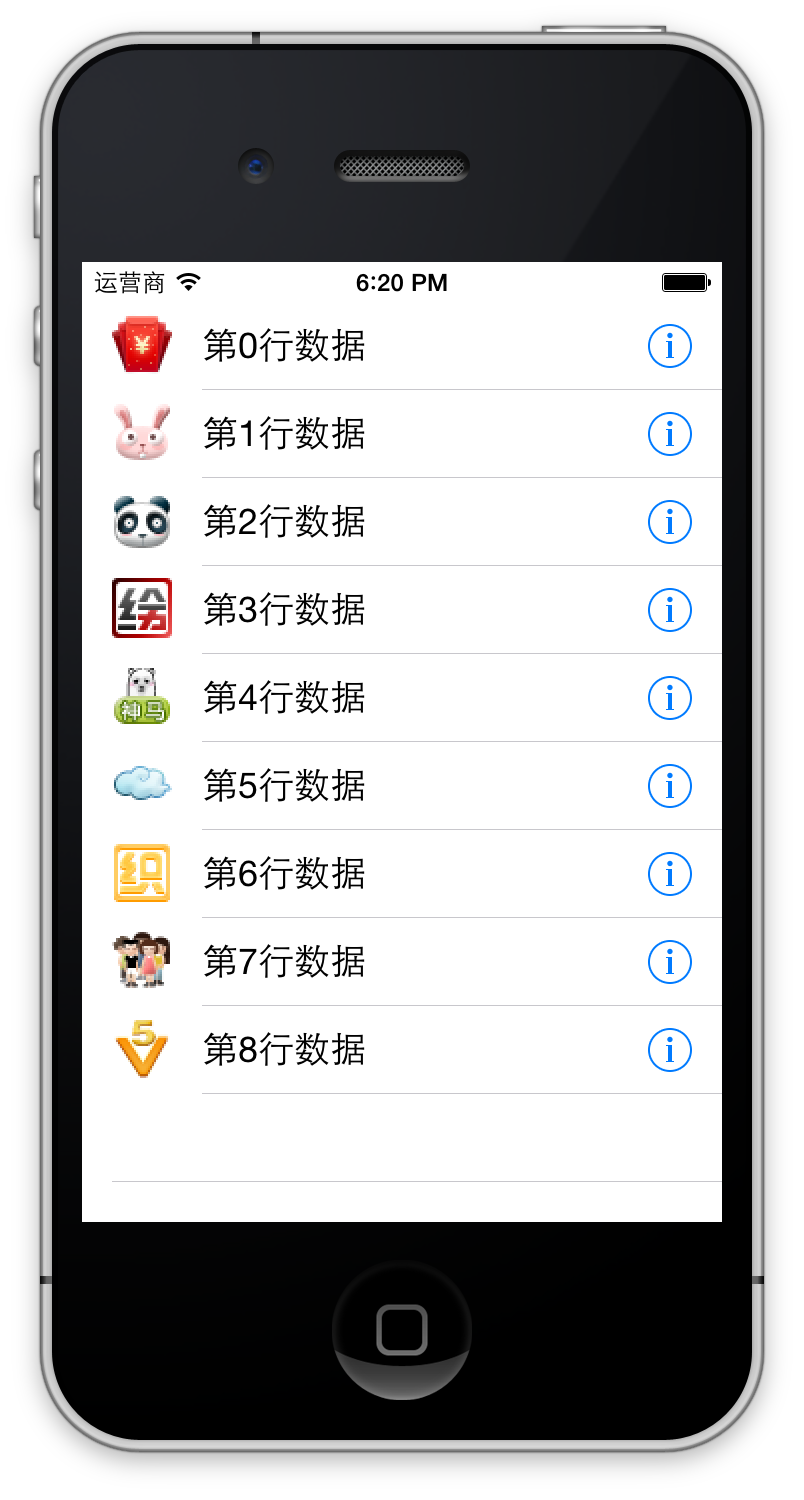
设置显示在最右侧的按钮或者图标
cell.accessoryType = UITableViewCellAccessoryDisclosureIndicator; // 最右侧指示信息
UITableViewCellAccessoryCheckmark 最右侧显示一个对号
UITableViewCellAccessoryDetailButton 最右侧显示一个i按钮
UITableViewCellAccessoryDetailDisclosureButton 显示一个I按钮和一个尖括号>

UITableViewCellAccessoryDisclosureIndicator 显示一个尖括号 >
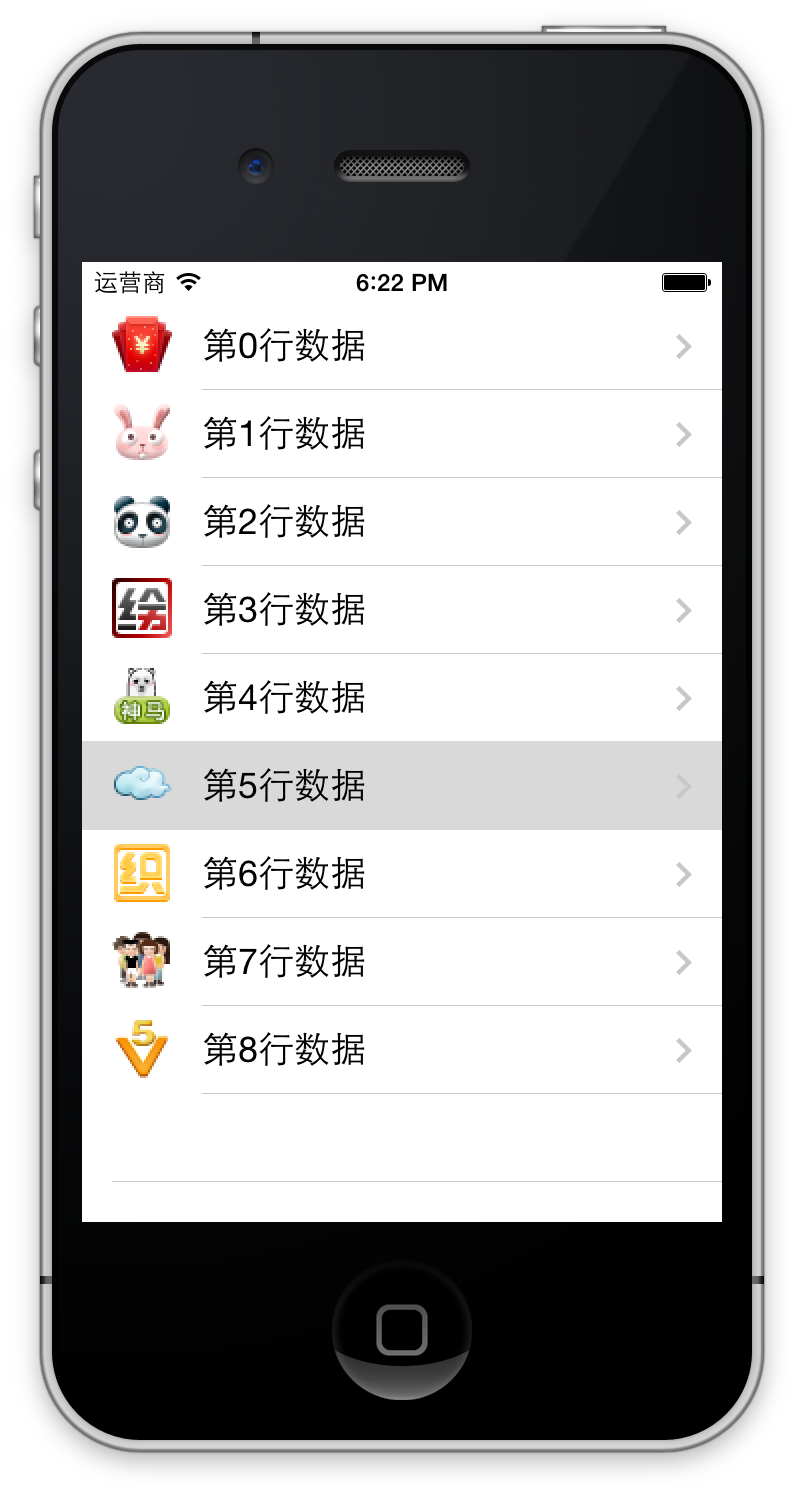
最终效果是这样

代码如下
 1 //
 2 //  SLQViewController.m
 3 //  UITableView-单组数据显示
 4 //
 5 //  Created by Christian on 15/5/16.
 6 //  Copyright (c) 2015年 slq. All rights reserved.
 7 //
 8
 9 #import "SLQViewController.h"
10
11 @interface SLQViewController () <UITableViewDataSource, UITableViewDelegate>
12
13 @end
14
15 @implementation SLQViewController
16
17 - (void)viewDidLoad
18 {
19     [super viewDidLoad];
20     // Do any additional setup after loading the view, typically from a nib.
21
22 }
23
24
25 // 设置行,既然是单组,那就只有一行
26 - (NSInteger)numberOfSectionsInTableView:(UITableView *)tableView
27 {
28     return 1;
29 }
30 // 设置行
31 - (NSInteger)tableView:(UITableView *)tableView numberOfRowsInSection:(NSInteger)section
32 {
33     return 9;
34 }
35 // 设置行内容
36 - (UITableViewCell *)tableView:(UITableView *)tableView cellForRowAtIndexPath:(NSIndexPath *)indexPath
37 {
38     UITableViewCell *cell = [[UITableViewCell alloc] initWithStyle:UITableViewCellStyleSubtitle reuseIdentifier:nil];
39     cell.textLabel.text = [NSString stringWithFormat:@"第%ld行数据",indexPath.row]; // 中间文字
40     cell.imageView.image = [UIImage imageNamed:[NSString stringWithFormat:@"00%ld.png",indexPath.row + 1]]; // 左侧图像
41     cell.detailTextLabel.text = [NSString stringWithFormat:@"第%ld行数据的描述",indexPath.row]; // 描述信息
42     cell.accessoryType = UITableViewCellAccessoryDisclosureIndicator; // 最右侧指示信息
43     return cell;
44 }
45
46
47 @end
3、选中行后弹出对话框
弹出对话框使用UIAlertView,遵守代理UIAlertViewDelegate的对象都可弹出UIAlertView对话框
获取选中行的方法是 didSelectRowAtIndexPath
 1 // 选中了某一行的cell就会调用
 2 - (void)tableView:(UITableView *)tableView didSelectRowAtIndexPath:(NSIndexPath *)indexPath
 3 {
 4     // 1、取出点击的行对象
 5     Shop *shop = _shops[indexPath.row] ;
 6     // 2、创建UIAlertView提示窗口,指定代理
 7     UIAlertView *alert = [[UIAlertView alloc] initWithTitle:@"提示信息" message:shop.name delegate:self cancelButtonTitle:@"取消" otherButtonTitles:@"确定", nil];
 8     // 3、设置窗口显示样式,以明文显示还是以密文显示
 9     alert.alertViewStyle = UIAlertViewStylePlainTextInput;
10     // 4、设置输入文本框默认显示的文字
11     [alert textFieldAtIndex:0].text = shop.name;
12     // 5、显示
13     [alert show];
14     // 6、绑定显示的行号,在代理方法中更新数据
15     alert.tag = indexPath.row;
16 }
然后弹出对话框后对数据进行修改,最后将修改后的数据更新到表格中,单击确定按钮保存结果
 1 // alertview的代理方法,在创建alertView时传递代理
 2 - (void)alertView:(UIAlertView *)alertView clickedButtonAtIndex:(NSInteger)buttonIndex
 3 {
 4     // 1、取消按钮直接返回
 5     if(buttonIndex == 0) return ;
 6     // 2、点击的时确定按钮
 7     //   2.1获取字符串
 8     NSString *text = [alertView textFieldAtIndex:0].text;
 9     //   2.2修改模型数据
10     int row = alertView.tag;
11     Shop *shop = _shops[row];
12     shop.name = text;
13     //   2.3更新行,tableView给UITableView绑定的变量
14     [_tableView reloadData]; // 重新刷新所有行
15
16 }
reloadData方法刷新所有行,如果只修改一行,显然没必要刷新所有行。
刷新某一行使用方法 reloadRowsAtIndexPaths
1     // 刷新某一行,自带动画效果
2     NSIndexPath *path = [NSIndexPath indexPathForRow:row inSection:0];
3     [_tableView reloadRowsAtIndexPaths:@[path] withRowAnimation:UITableViewRowAnimationLeft];
本文来自博客园,作者:struggle_time,转载请注明原文链接:https://www.cnblogs.com/songliquan/p/4507556.html

