


Eclipse下搭建Hadoop2.4.0开发环境
一、安装Eclipse
下载Eclipse,解压安装,例如安装到/usr/local,即/usr/local/eclipse
4.3.1版本下载地址:http://pan.baidu.com/s/1eQkpRgu
二、在eclipse上安装hadoop插件
1、下载hadoop插件
下载地址:http://pan.baidu.com/s/1mgiHFok
此zip文件包含了源码,我们使用使用编译好的jar即可,解压后,release文件夹中的hadoop.eclipse-kepler-plugin-2.2.0.jar就是编译好的插件。
2、把插件放到eclipse/plugins目录下
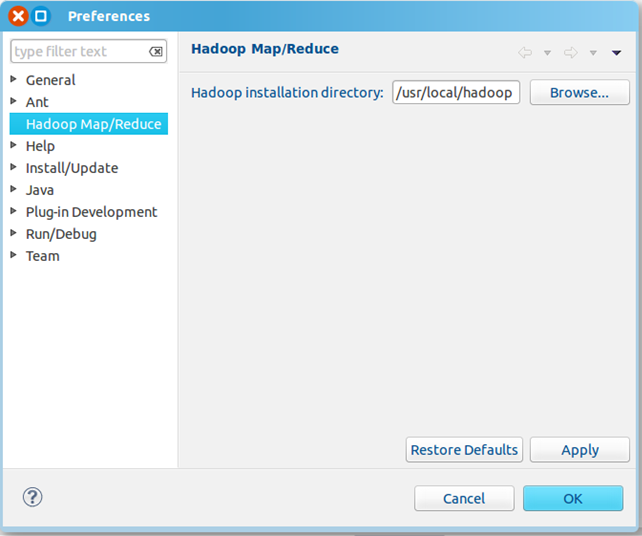
3、重启eclipse,配置Hadoop installation directory
如果插件安装成功,打开Windows—Preferences后,在窗口左侧会有Hadoop Map/Reduce选项,点击此选项,在窗口右侧设置Hadoop安装路径。
4、配置Map/Reduce Locations
打开Windows—Open Perspective—Other
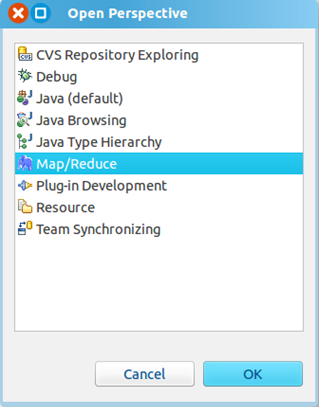
选择Map/Reduce,点击OK
在右下方看到如下图所示

点击Map/Reduce Location选项卡,点击右边小象图标,打开Hadoop Location配置窗口:
输入Location Name,任意名称即可.配置Map/Reduce Master和DFS Mastrer,Host和Port配置成与core-site.xml的设置一致即可。
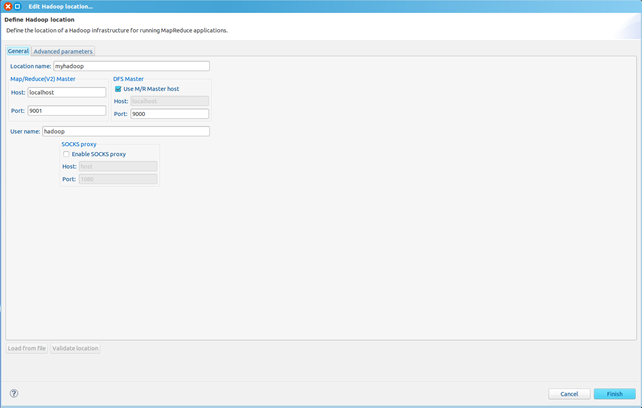

点击"Finish"按钮,关闭窗口。
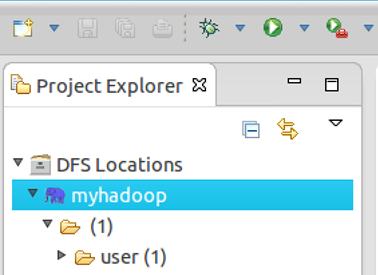
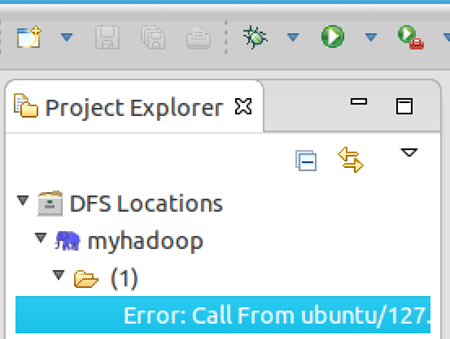
点击左侧的DFSLocations—>myhadoop(上一步配置的location name),如能看到user,表示安装成功
如果如下图所示表示安装失败,请检查Hadoop是否启动,以及eclipse配置是否正确。
三、新建WordCount项目
File—>Project,选择Map/Reduce Project,输入项目名称WordCount等。
在WordCount项目里新建class,名称为WordCount,代码如下:
import java.io.IOException;

import java.util.StringTokenizer;


import org.apache.hadoop.conf.Configuration;

import org.apache.hadoop.fs.Path;

import org.apache.hadoop.io.IntWritable;

import org.apache.hadoop.io.Text;

import org.apache.hadoop.mapreduce.Job;

import org.apache.hadoop.mapreduce.Mapper;

import org.apache.hadoop.mapreduce.Reducer;

import org.apache.hadoop.mapreduce.lib.input.FileInputFormat;

import org.apache.hadoop.mapreduce.lib.output.FileOutputFormat;

import org.apache.hadoop.util.GenericOptionsParser;


public class WordCount {


public static class TokenizerMapper extends Mapper<Object, Text, Text, IntWritable>{

  private final static IntWritable one = new IntWritable(1);

  private Text word = new Text();


  public void map(Object key, Text value, Context context) throws IOException, InterruptedException {

    StringTokenizer itr = new StringTokenizer(value.toString());

      while (itr.hasMoreTokens()) {

        word.set(itr.nextToken());

        context.write(word, one);

      }

  }

}


public static class IntSumReducer extends Reducer<Text,IntWritable,Text,IntWritable> {

  private IntWritable result = new IntWritable();

  public void reduce(Text key, Iterable<IntWritable> values,Context context) throws IOException, InterruptedException {

    int sum = 0;

    for (IntWritable val : values) {

      sum += val.get();

    }

    result.set(sum);

    context.write(key, result);

  }

}


public static void main(String[] args) throws Exception {

  Configuration conf = new Configuration();

  String[] otherArgs = new GenericOptionsParser(conf, args).getRemainingArgs();

  if (otherArgs.length != 2) {

    System.err.println("Usage: wordcount <in> <out>");

    System.exit(2);

  }

  Job job = new Job(conf, "word count");

  job.setJarByClass(WordCount.class);

  job.setMapperClass(TokenizerMapper.class);

  job.setCombinerClass(IntSumReducer.class);

  job.setReducerClass(IntSumReducer.class);

  job.setOutputKeyClass(Text.class);

  job.setOutputValueClass(IntWritable.class);

  FileInputFormat.addInputPath(job, new Path(otherArgs[0]));

  FileOutputFormat.setOutputPath(job, new Path(otherArgs[1]));

  System.exit(job.waitForCompletion(true) ? 0 : 1);

}

}
四、运行
1、在HDFS上创建目录input
hadoop fs -mkdir input
2、拷贝本地README.txt到HDFS的input里
hadoop fs -copyFromLocal /usr/local/hadoop/README.txt input
3、点击WordCount.java,右键,点击Run As—>Run Configurations,配置运行参数,即输入和输出文件夹
hdfs://localhost:9000/user/hadoop/input hdfs://localhost:9000/user/hadoop/output
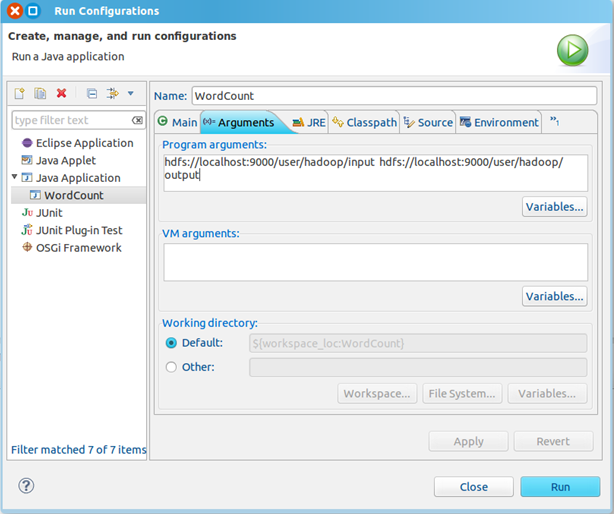
点击Run按钮,运行程序。
4、运行完成后,查看运行结果
方法1:
hadoop fs -ls output
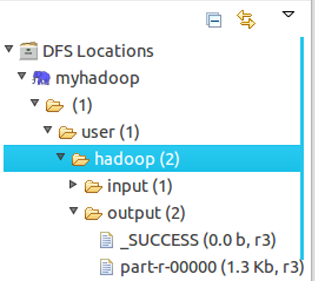
可以看到有两个输出结果,_SUCCESS和part-r-00000
执行hadoop fs -cat output/*
方法2:
展开DFS Locations,如下图所示,双击打开part-r00000查看结果

 浙公网安备 33010602011771号