
CentOS 7 安装 LEMP
介绍
Nginx 是一个成长型的开源 web 服务器软件,PHP 7 是最新发布的 PHP 引擎版本。在这个教程,我们会部署一个 LEMP(Linux,ENginx,MySQL,PHP)栈服务。使用 Nginx 代替了在 LAMP 技术栈里面最受欢迎的 Apache。
你需要准备的
在你开始这个教程之前,你需要有一个登陆 VPS 的 root 账号
Step 1 -- 在 CentOS 7 上安装 Nginx
因为 Nginx 不在 CentOS repositories 里面,所以我们会使用下面的命令来安装 EPEL repository:
yum install epel-release -y
然后,我们安装 Nginx:
yum install nginx -y
安装完成之后,启动并运行 Nginx 服务:
systemctl start nginx
systemctl enable nginx
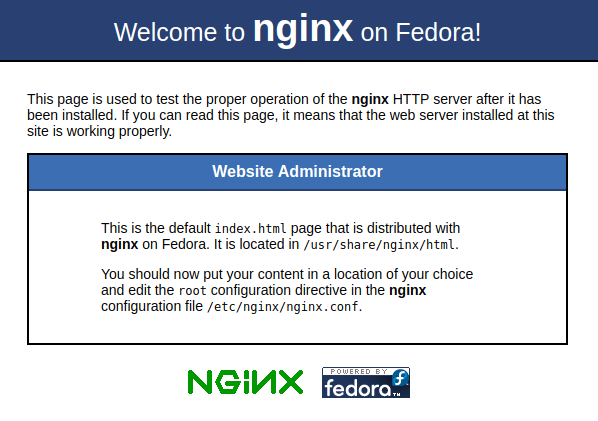
为了检查 Nginx 是否正在运行,可以通过在浏览器访问你的 IP 地址。首先,找到你的 IP:
ig +short myip.opendns.com @resolver1.opendns.com
然后,复制粘贴到浏览器,应该看到类似的页面
Step 2 -- 安装 MySQL(MariaDB)
一旦 web 服务器安装完成,我们可以进行下一步,安装 MySQL。众所周知,MariaDB 社区版是的 MySQL 老版本的一个分支。
因为 MariaDB 默认在 CentOS repositories 里面,所以我们可以使用 yum 来安装它:
yum install mariadb-server mariadb -y
安装完成之后,启动并运行该服务:
systemctl start mariadb
systemctl enable mariadb
最后,运行初始化设置脚本,这会删除一些默认设置:
mysql_secure_installation
MariaDB 会询问你的 root 密码,但是,由于这是初始安装,你没有,所以只要按回车键即可。
接下来,提示会问如果你想设置一个 root 密码,输入 Y 和遵循指令
Enter current password for root (enter for none):
OK, successfully used password, moving on...

Setting the root password ensures that nobody can log into the MariaDB
root user without the proper authorization.

New password: password
Re-enter new password: password
Password updated successfully!
Reloading privilege tables..
... Success!
你可以安全地点击回车键,对所有其他问题都默认设置。
完成设置后,进行安装 PHP。
Step 3 -- 安装 PHP 7.1.0
我们要做的第一件事就是安装额外的包含有 PHP v7.1 所需要的包的 CentOS repo:
wget http://rpms.remirepo.net/enterprise/remi-release-7.rpm
rpm -Uvh remi-release-7.rpm
启用 php71 库,默认情况下是禁用的:
yum install yum-utils -y
yum-config-manager --enable remi-php71
接着,安装 PHP 包:
yum --enablerepo=remi,remi-php71 install php-fpm php-common
安装常见的模块:
yum --enablerepo=remi,remi-php71 install php-opcache php-pecl-apcu php-cli php-pear php-pdo php-mysqlnd php-pgsql php-pecl-mongodb php-pecl-redis php-pecl-memcache php-pecl-memcached php-gd php-mbstring php-mcrypt php-xml
Step 4 -- 配置 Nginx 使用 PHP 7
vim /etc/nginx/conf.d/default.conf
里面有如下代码:
server {
    listen   80;
    server_name  your_server_ip;

    # note that these lines are originally from the "location /" block
    root   /usr/share/nginx/html;
    index index.php index.html index.htm;

    location / {
        try_files $uri $uri/ =404;
    }
    error_page 404 /404.html;
    error_page 500 502 503 504 /50x.html;
    location = /50x.html {
        root /usr/share/nginx/html;
    }

    location ~ \.php$ {
        try_files $uri =404;
        fastcgi_pass unix:/var/run/php-fpm/php-fpm.sock;
        fastcgi_index index.php;
        fastcgi_param SCRIPT_FILENAME $document_root$fastcgi_script_name;
        include fastcgi_params;
    }
重要:用实际的服务器 IP 代替上面的 your_server_ip。
保存并重启 Nginx 服务,使配置生效:
systemctl restart nginx
现在,打开 php-fpm 配置文件:
vim /etc/php-fpm.d/www.conf
找到并替换下面的行:
user = apache 替换成 user = nginx

group = apache 替换成 group = nginx

listen.owner = nobody 替换成 listen.owner = nginx

listen.group = nobody 替换成 listen.group = nginx
最后,在 ;listen = 127.0.0.1:9000 下面添加:
listen = /var/run/php-fpm/php-fpm.sock
保存并重启 php-fpm:
systemctl start php-fpm.service
systemctl enable php-fpm.service

