

js实现轮播图动画(更新"旋转木马")
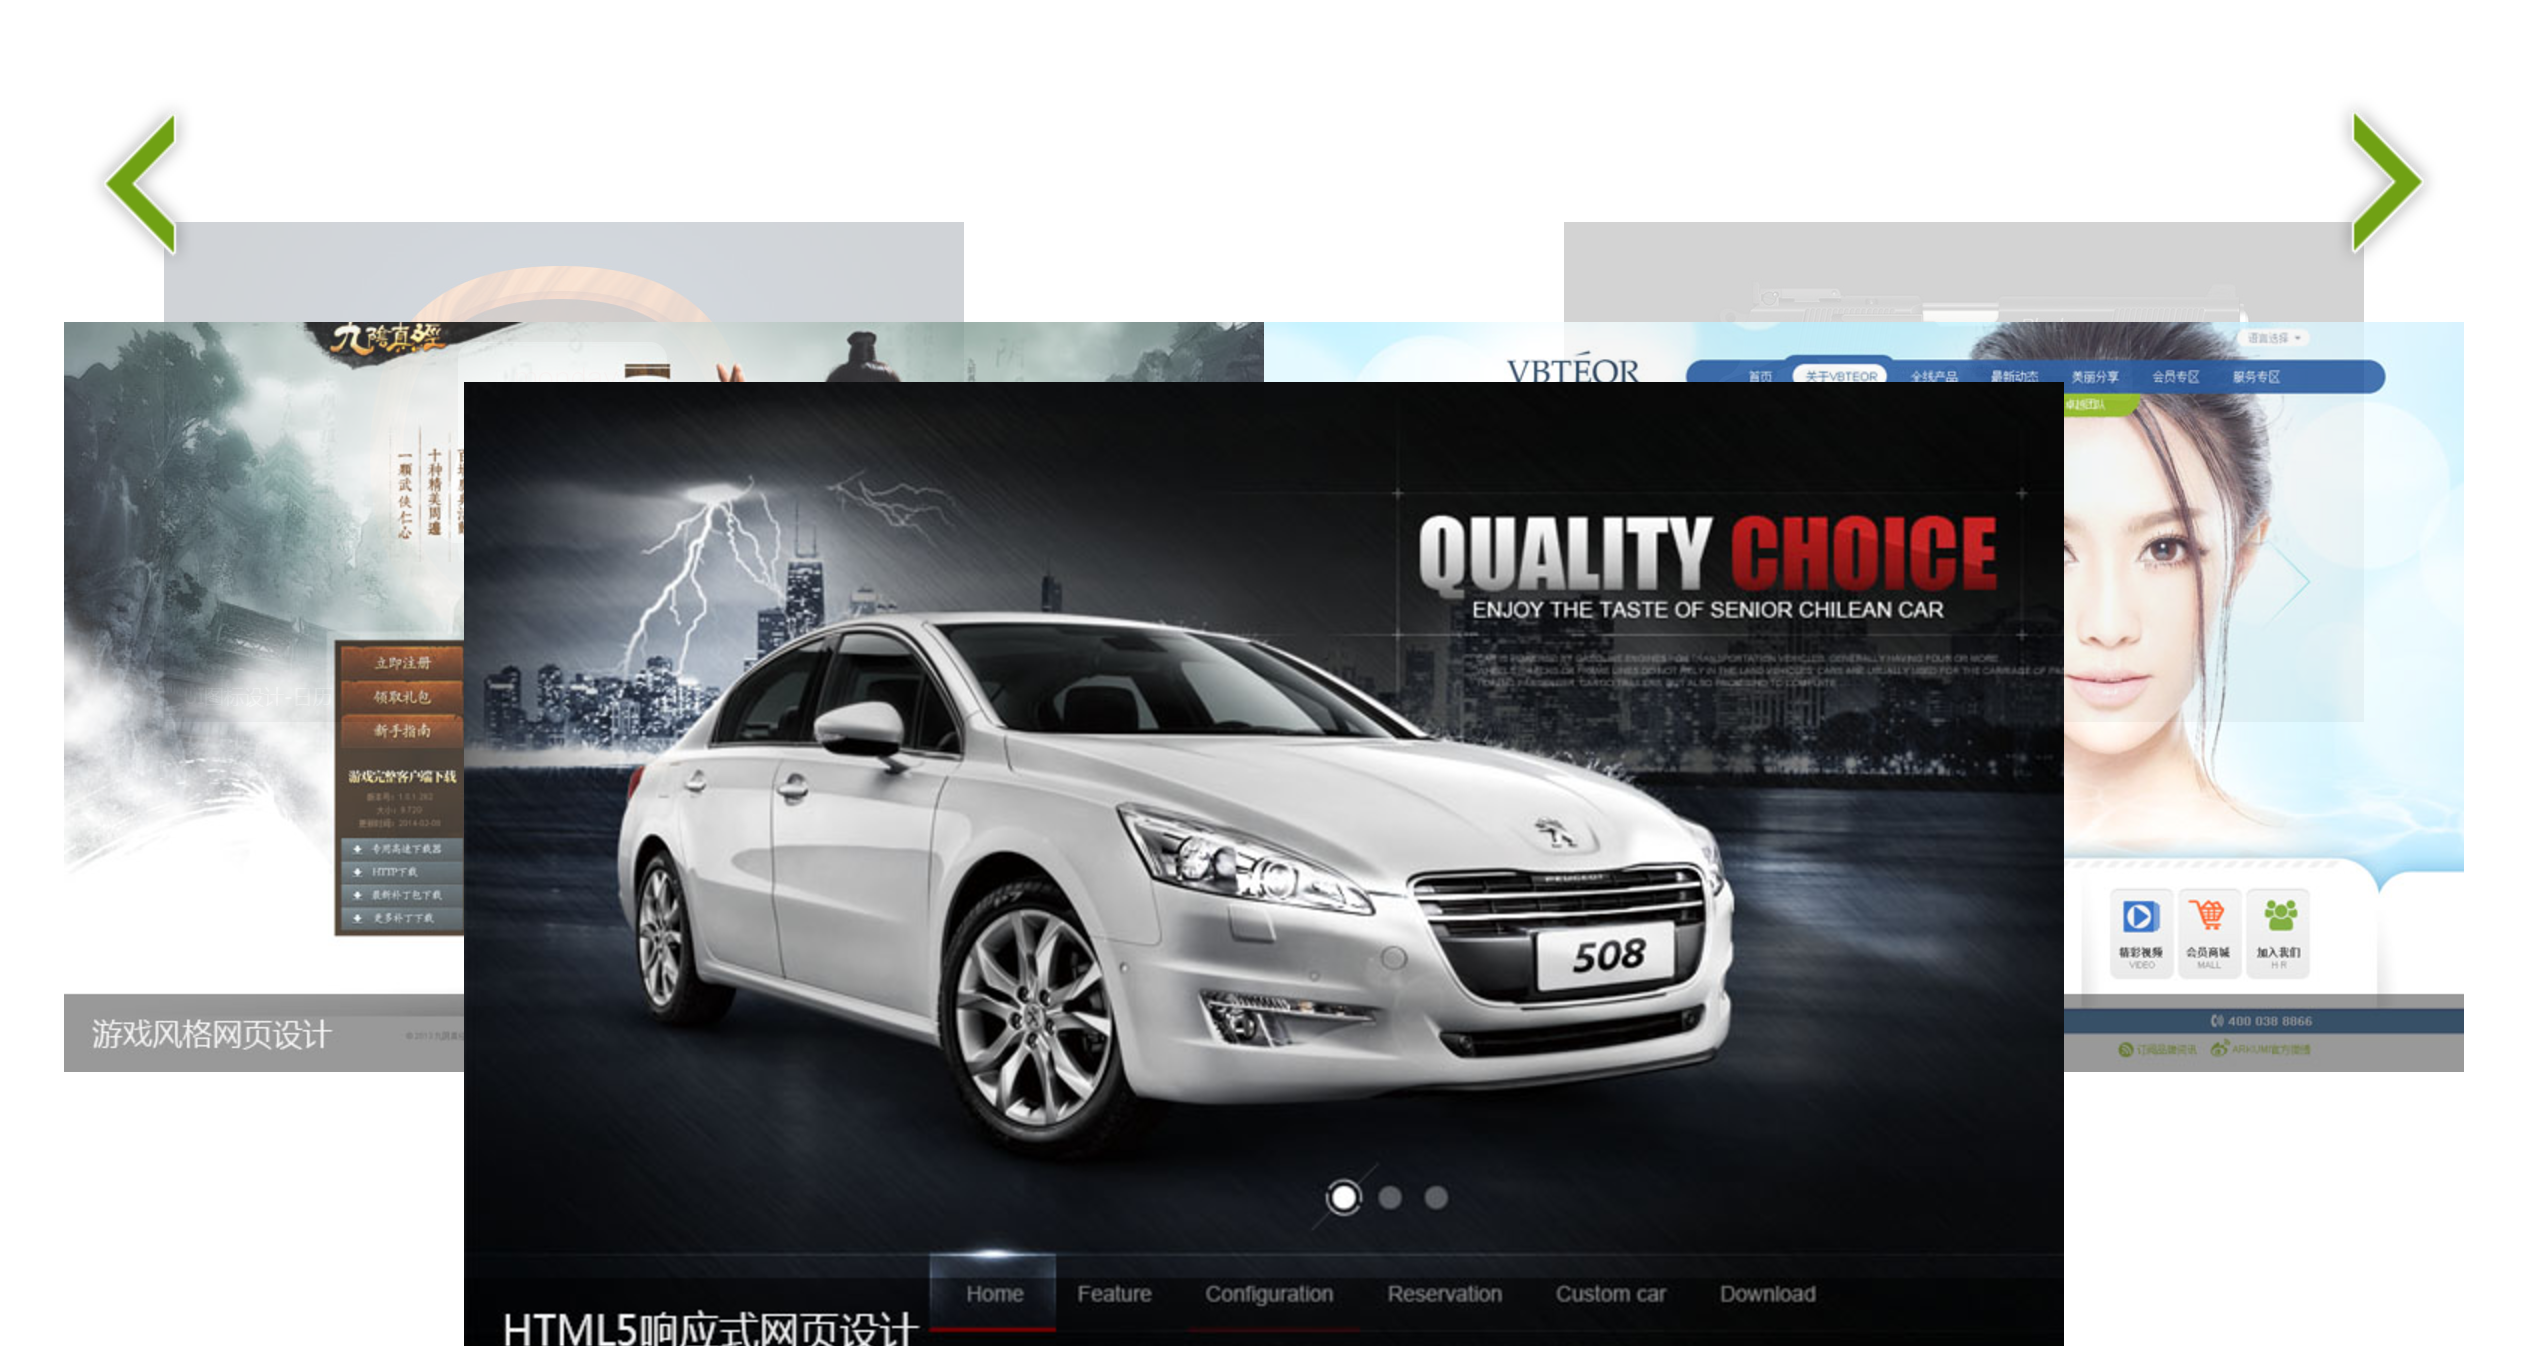
在网页浏览中,可以看到轮播图是无处不在的,这是一个前端工程最基本的技巧。首先看看几个网页的呈现的效果。
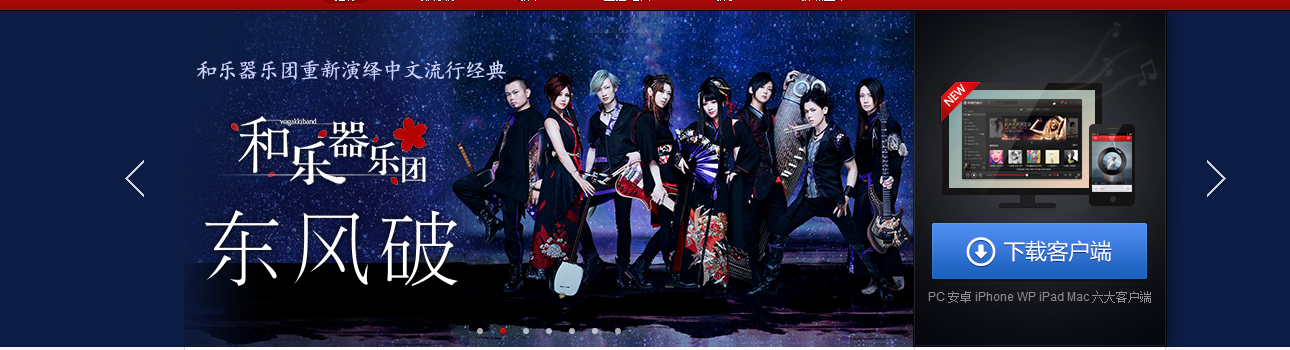
QQ音乐:

网易云音乐:
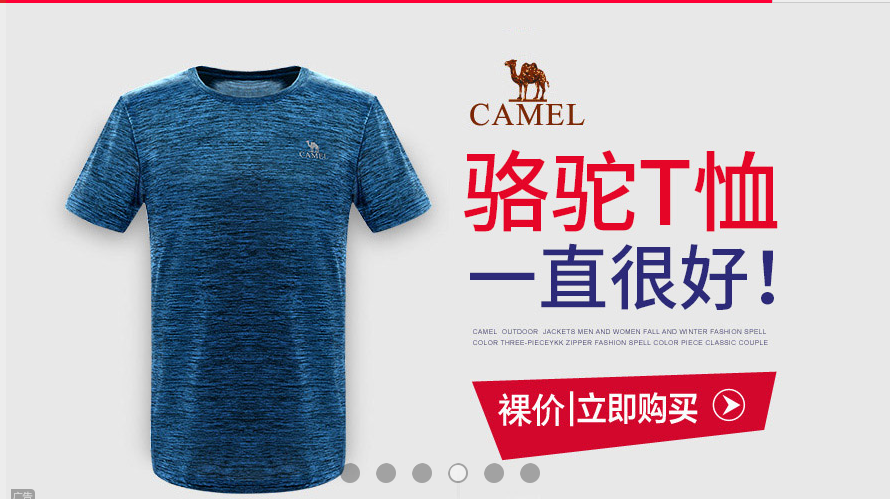
天猫:
接下来将从简到难总结几种实现轮播图的方法。
1、样式一:鼠标滑入滑出实现图片切换
当鼠标滑入到小圆点上时,显示当前对应的图片,鼠标移出时回到默认的图片。如果点击了小圆点,显示当前的图片,移出时仍不改变显示。
html+css设置
 1 <!-- 轮播图片 -->
 2 <div class="slider">
 3     <!-- 小圆点 -->
 4     <div class="control">
 5         <!-- 根据图片数量添加小圆点 -->
 6         <ul>
 7
 8         </ul>
 9     </div>
10     <!-- 图片显示 -->
11     <div class="content">
12         <img src="./22.jpg" alt="" class="active" />
13         <img src="./66.jpg" alt="" />
14         <img src="./33.jpg" alt="" />
15         <img src="./44.jpg" alt="" />
16         <img src="./55.jpg" alt="" />
17     </div>
18 </div>
 1 /*css样式*/
 2 *{margin: 0;padding: 0;}
 3
 4 .slider{
 5     margin: 100px auto;
 6     width: 640px;
 7     height: 400px;
 8     position: relative;
 9 }
10 .slider .control{
11     position: absolute;
12     width: 640px;
13     height: 20px;
14     left: 0;
15     bottom: 30px;
16 }.slider .control ul{
17     list-style: none;
18     width: 150px;
19     margin: 0 auto;
20 }.slider .control li{
21     width: 20px;
22     height: 20px;
23     margin: 0 5px;
24     float: left;
25     border-radius: 50%;
26     background-color: #fff;
27     cursor: pointer;
28 }
29 .slider .control li.active{
30     background-color: red;
31 }/*默认设置不显示其他图片*/
32 .slider .content img{
33     width: 640px;
34     height: 400px;
35     display: none;
36 }
37 /*只显示第一张图片*/
38 .slider .content img.active{
39     display: block;
40 }
样式展示效果:

javascript设置
 1 //定义一个改变图片函数
 2 function changImage(i) {
 3     var index = i;
 4     var ul = document.getElementsByTagName("ul")[0];
 5     //获取所有的images
 6     var images = document.getElementsByTagName("img"); //数组
 7     //获取所有的li
 8     var lis = ul.getElementsByTagName("li");
 9     for(var j = 0; j < lis.length; j++){
10         var li = lis[j];
11          var img = images[j];
12          //清除li 和 img 默认的active (img的active表示显示这个图片)
13          li.className = '';
14          img.className = '';
15     }
16     //设置当前的active属性
17
18     lis[index].className = 'active';
19     images[index].className = 'active';
20 }
21
22 window.onload = function () {
23     //根据图片数改变小圆点数
24     //1获得图片数
25     var content = document.getElementsByClassName("content")[0];
26     var images = content.getElementsByTagName("img"); //数组  所有图片
27     //图片数
28     var imageCount = images.length;
29     //根据图片数创建小圆点数,添加到ul中
30     //遍历图片数
31     for(var i = 0; i < imageCount; i++){
32         //1创建小白点
33         var li = document.createElement("li")
34         li.index = i;
35         //3默认的第一个选中
36         if (i == 0) {
37             li.className += 'active';
38         }
39         //2添加到ul中
40         var control = document.getElementsByClassName("control")[0];
41         var ul = control.getElementsByTagName("ul")[0];
42         ul.appendChild(li)
43         var select = 0;
44         li.onclick = function(){
45             select = this.index;
46             changImage(this.index);
47
48         li.onmousemove = function () {
49             changImage(this.index);
50
51         li.onmouseout =function () {
52             changImage(select);
53
54
55         //4设置ul宽度 保证居中
56         ul.style.width = (imageCount*30)+ 'px';
57     }
2、样式二:实现图片自动切换
展示时,图片在页面中自动切换。鼠标点击小圆点,直接切换显示当前图片。
html+css设置(基本和上面一样)
 1 <body>
 2 <div class="slider">
 3     <div class="control">
 4         <span class="current">1</span>
 5         <span>2</span>
 6         <span>3</span>
 7         <span>4</span>
 8         <span>5</span>
 9     </div>
10     <div class="content" id="imag-list">
11         <ul >
12             <li><img src="images/1.jpg" alt="" /></li>
13             <li><img src="images/5.jpg" alt="" /></li>
14             <li><img src="images/4.jpg" alt="" /></li>
15             <li><img src="images/3.jpg" alt="" /></li>
16             <li><img src="images/2.jpg" alt="" /></li>
17         </ul>
18     </div>
19 </div>
20 </body>
*{padding: 0;margin: 0;}
.slider{
    width: 800px;
    height: 500px;
    position: relative;
    overflow: hidden;
    margin: 30px auto;
}
.slider img{
    width: 800px;
    height: 500px;
}

.slider .content{
}
.slider .content ul{
    width: 10000px;
    list-style: none;
    position: absolute;
    left:0px;
}
.slider .content li{
    float: left;

.slider .control{
    position: absolute;
    width: 100%;
    z-index: 10;
    bottom: 50px;
    left: 0;
    text-align: center;
}
.slider .control span{
    display: inline-block;
    width: 20px;
    height: 20px;
    line-height: 20px;
    text-align: center;
    font-size: 14px;
    background-color: #fff;
    border-radius: 50%;
    cursor: pointer;
}
.slider .control span.current{
    background-color: red;
}
JavaScript设置
 1 //封装移动函数
 2     function animate(element,target){
 3         clearInterval(element.animateTimer);
 4         var left = element.offsetLeft;
 5         var step = (target - left) / 10;
 6         element.animateTimer = setInterval(function(){
 7             left += step;
 8             element.style.left = left + 'px';
 9             if(Math.abs(target - left) <= Math.abs(step)){
10                 clearInterval(element.animateTimer);
11                 element.style.left = target + 'px';
12             }
13         },100);
14     }

15     window.onload =function(){
16         var ul = document.getElementsByTagName('ul')[0];
17         var spanArr = document.getElementsByTagName('span');
18         //4.最后一张显示后,克隆第一张图片继续显示第一张
19         ul.appendChild(ul.children[0].cloneNode(true));
20         var ulLeft = ul.offsetLeft;
21         console.log(ulLeft);
22         var ulIndex = 0;  //默认第一张图片下标
23         // console.log(ulLeft);
24         //开启
25         var autoPlayTimer = setInterval(function(){
26             //4.2 从最后一张滚回到第一张(ulIndex == 5)之后  需重置回第一张状态
27             if(ulIndex == 5){
28                 ulIndex = 0;
29                 ul.style.left = '0';
30                 ulLeft = 0;
31             }
32             ulLeft -= 800;
33             // console.log(ulLeft);
34             animate(ul, ulLeft);
35             ulIndex++;
36             for(var i = 0; i< spanArr.length; i++){
37                 spanArr[i].className = '';
38             }
39             //4.3改变页面  第五张图片结束后ulIndex是4
40             //第六张图片即第一张图片的ulIndex是5  所以求ulIndex % 5恢复ulIndex为0
41             spanArr[ulIndex % 5].className = 'current';
42         },3000);
43         //第二大步  给小圆点span添加点击事件
44         for(var i = 0; i< spanArr.length; i++){
45             var span = spanArr[i];
46             span.index = i;
47             span.onclick = function(){
48                 //实现点击span后图片移动
49                 var targetLeft = -800 * this.index; //0 - 4
50                 //点击后自动滚动到 当前圆点对应的图片的位置  即左移800*下标
51                 animate(ul, targetLeft);
52                 //记录此时的ulLeft ulIndex 为了继续从当前点击图片向下一张图片移动
53                 ulLeft = targetLeft;
54                 ulIndex = this.index;
55                 //切换当前span选中样式
56                 for(var j = 0; j<spanArr.length; j++){
57                     spanArr[j].className = '';
58                 }
59                 this.className = 'current';
60             }
61         }
62     }
3、样式三:实现带有箭头的录播图
展示时,图片在页面中自动切换,横条随之选中。点击左箭头,图片向左滑动;点击右箭头,图片向右滑动。 鼠标点击小圆点,直接切换显示当前图片。鼠标放入图片中,停止图片滑动,移开时继续滑动。
html+css设置
 1 <body>
 2     <div class="box">
 3         <div class="content">
 4             <div><img src="img/1.jpg" alt="" /></div>
 5             <div><img src="img/2.jpg" alt="" /></div>
 6             <div><img src="img/3.jpg" alt="" /></div>
 7             <div><img src="img/4.jpg" alt="" /></div>
 8             <div><img src="img/5.jpg" alt="" /></div>
 9             <div><img src="img/6.jpg" alt="" /></div>
10             <div><img src="img/7.jpg" alt="" /></div>
11         </div>
12         <div class="control">
13             <!-- <span class="control-bar current"></span> -->
14             <!-- <span class="control-bar"></span>
15             <span class="control-bar"></span>
16             <span class="control-bar"></span>
17             <span class="control-bar"></span>
18             <span class="control-bar"></span>
19             <span class="control-bar"></span> -->
20         </div>
21
22         <span id="pre"></span>
23         <span id="next"></span>
24     </div>
25 </body>
 1 *{margin: 0;padding: 0;}
 2
 3 .box{
 4     width: 310px;
 5     height: 250px;
 6     margin: 100px auto;
 7     overflow: hidden;
 8     position: relative;
 9 }
10 .content{
11     width: 310px;
12     height: 220px;
13     overflow: hidden;
14     position: relative;
15 }
16 .content div{
17     position: absolute;
18     top: 0;
19     left: 0;
20 }
21 .content div img{
22     width: 310px;
23     height: 220px;
24 }
25
26
27 .control{
28     width: 310px;
29     height: 30px;
30     background-color: #333;
31     text-align: center;
32 }
33 .control-bar{
34     display: inline-block;
35     width: 24px;
36     height: 5px;
37     background: url(img/icon.png) no-repeat -24px -790px ;
38     margin: 12px 2px 0 2px;
39     cursor: pointer;
40 }
41 .control .control-bar:hover{
42     background: url('img/icon.png') no-repeat -24px -770px;
43 }
44
45 .control .control-bar.current{
46     background: url('img/icon.png') no-repeat 0 -770px;
47 }
48 #pre, #next{
49     position: absolute;
50     top: 50%;
51     margin-top: -35px;
52     width: 20px;
53     height: 34px;
54     background-color: pink;
55     cursor: pointer;
56 }
57 #pre{
58     left: 3px;
59     background:url(img/icon.png) no-repeat 0 0;
60 }
61 #next{
62     right: 3px;
63     background:url(img/icon.png) no-repeat -9px -45px;
64 }
样式效果如图:

javascript设置
思路:box设置overflow:hidden属性,第一张图片显示在box中,其余图片均隐藏放置在第一张图的右边。当开启动画时,第一张图片向左移动隐藏,下一张图片向左移动显示,依次类推,当显示完最后一张时,继续回到显示第一张图片。
  1 // 前面内容已讲过
  2 // 封装好的获取属性函数
  3 function getStyle(element, styleName){
  4     if(element.currentStyle){
  5         return element.currentStyle[styleName];
  6     }else{
  7         var computedStyle = window.getComputedStyle(element, null);
  8         return computedStyle[styleName];
  9     }
 10 }
 11 //封装好的动画函数
 12 function animate(element,json){
 13     clearInterval(element.timer);
 14     var isStop = false;
 15     element.timer = setInterval(function(){
 16         isStop = true;
 17         for(var key in json){
 18             var current = parseInt(getStyle(element, key));
 19             var target = json[key];
 20             var step = (target - current) / 10;
 21             step = step > 0 ? Math.ceil(step) : Math.floor(step);
 22             current += step;
 23             if(Math.abs(target -current) > Math.abs(step)){
 24                 isStop = false;
 25             }else{
 26                 current = target;
 27             }
 28             element.style[key] = current + 'px';
 29         }
 30         if(isStop){
 31             clearInterval(element.timer);
 32         }
 33     },30);
 34 }
 35
 36 //实现轮播图
 37 window.onload = function(){
 38     var box = document.getElementsByClassName('box')[0];
 39     var contentBox = document.getElementsByClassName('content')[0];
 40     var controlBox = document.getElementsByClassName('control')[0];
 41     var imageDivArr = contentBox.getElementsByTagName('div');
 42
 43     var currentIndex = 0;
 44     var boxWidth = box.offsetWidth;
 45     //1.动态创建横条
 46     for(var i= 0; i < imageDivArr.length; i++){
 47         var span = document.createElement('span');
 48         if(i == 0){
 49             span.className = 'control-bar current';
 50         }else{
 51             span.className = 'control-bar';
 52         }
 53         span.index = i;
 54         controlBox.appendChild(span);
 55
 56         //6.设置span点击事件
 57         span.onclick = function(){
 58             //如果当前点击的按钮,就是当前的按钮则不作操作
 59             if(currentIndex != this.index){
 60
 61                 //点击的图片,在当前图片的右边
 62                 if(this.index > currentIndex){
 63                     //当前的图片向左移  移除当前位置
 64                     animate(imageDivArr[currentIndex],{left:-boxWidth});
 65
 66                     //此时被点击对应的图片放在显示框右边 再进行向左移
 67                     currentIndex = this.index;
 68                     imageDivArr[currentIndex].style.left = boxWidth;
 69
 70                 }else{ //点击的图片,在当前图片的右边
 71                     animate(imageDivArr[currentIndex],{left:boxWidth});
 72
 73                     currentIndex = this.index;
 74                     imageDivArr[currentIndex].style.left = boxWidth;
 75                 }
 76
 77                 //
 78                 animate(imageDivArr[currentIndex], {left : 0})
 79                 //刷新控制条
 80                 refresh();
 81             }
 82         }
 83     }
 84
 85     //2.放置图片位置
 86     // var boxWidth = box.offsetWidth;
 87     for(var i= 0; i < imageDivArr.length; i++){
 88         var imgDiv = imageDivArr[i];
 89         imgDiv.style.left = boxWidth + 'px';
 90     }
 91     imageDivArr[0].style.left = '0';
 92
 93
 94     //3.从左边划入
 95     // var currentIndex = 0;
 96     function nextImage(){
 97         animate(imageDivArr[currentIndex],{left:-boxWidth});
 98
 99         currentIndex++;
100
101         if(currentIndex >= imageDivArr.length){
102             currentIndex = 0;
103         }
104         imageDivArr[currentIndex].style.left = boxWidth + 'px';
105
106         animate(imageDivArr[currentIndex],{left:0});
107         refresh();
108     }
109
110     //3.1从右边划入
111     function prevImage(){
112         animate(imageDivArr[currentIndex],{left:boxWidth}); //最后一张currentIndex = 6
113
114         currentIndex--;
115
116         if(currentIndex < 0){
117             currentIndex = imageDivArr.length - 1;  //返回到最后一张
118         }
119         imageDivArr[currentIndex].style.left = (-boxWidth) + 'px';
120
121         animate(imageDivArr[currentIndex],{left:0});
122         refresh();
123     }
124
125     //4.刷新横条显示
126     function refresh(){
127         for(var i = 0; i < controlBox.children.length; i++ ){
128             // console.log(controlBox.children[i]);
129             var bar = controlBox.children[i];
130             bar.className = 'control-bar'
131             // console.log(bar);
132         }
133         controlBox.children[currentIndex].className = 'control-bar current';
134     }
135
136     //点击箭头切换
137     document.getElementById('next').onclick = nextImage;
138     document.getElementById('pre').onclick = prevImage;
139
140     //自动播放
141     var timer = setInterval(nextImage,2000);
142
143     box.onmouseover = function (){
144         clearInterval(timer);
145     }
146     //移出时,重新开始定时器
147     box.onmouseout = function (){
148         timer = setInterval(nextImage ,2000);
149     }
150 }
4、“旋转木马”轮播图
html+css样式设置
1 <body> 2 <div class="box"> 3 4 <!-- 图片设置 --> 5 <div class="content"> 6 <ul> 7 <li></li> 8 <li></li> 9 <li></li> 10 <li></li> 11 <li></li> 12 </ul> 13 </div> 14 15 <!-- 左右箭头设置 --> 16 <div class="control"> 17 <a href="javascript:;" id="prev"></a> 18 <a href="javascript:;" id="next"></a> 19 </div> 20 </div> 21 </body>
 1 *{margin: 0;padding: 0;}
 2 ul{list-style: none;}
 3 /*大盒子*/
 4 .box{
 5     width: 1000px;
 6     margin: 5px auto;
 7     position: relative;
 8     background-color: pink;
 9 }
10
11 /*左右箭头*/
12 #next, #prev{
13     position: absolute;
14     width: 76px;
15     height: 112px;
16     top: 0;
17     background: url(../images/next_1.png) no-repeat 0 0;
18     z-index: 5;
19 }
20 #next{
21     right: 10px;
22 }
23 #prev{
24     left: 10px;
25     background: url(../images/prev_1.png) no-repeat 0 0;
26 }
27
28
29 .box .content li{
30     position: absolute;
31
32 }
33 .box .content li img{
34     width: 100%;
35 }
36
37 /*可以通过css设置定位
38 .box .content li.li1{
39     width: 300px;
40     opacity: 0.4;
41     top: 30px;
42     left: 50px;
43     z-index: 1;
44 }
45 .box .content li.li2{
46     width: 400px;
47     opacity: 0.7;
48     top: 100px;
49     left: 0;
50     z-index: 2;
51 }
52 .box .content .li3{
53     width: 600px;
54     opacity: 1;
55     top: 200px;
56     left: 200px;
57     z-index: 3;
58 }
59 .box .content .li4{
60     width: 400px;
61     opacity: 0.7;
62     right: 0;
63     top: 100px;
64     z-index: 2;
65 }
66 .box .content .li5{
67     width: 300px;
68     opacity: 0.4;
69     top: 30px;
70     right: 50px;
71     z-index: 1;
72 }
73 */
javascript设置
window.onload =function () {
        //定位置 五个位置对应五个json对象,放入数组中,可以灵活的获取这些json对象
        var json = [{
            width: 300,
            opacity: 0.4,
            top: 30,
            left: 50,
            zIndex: 1
        },{
            width: 400,
            opacity: 0.7,
            top: 100,
            left: 20,
            zIndex: 2
        },{
            width: 700,
            opacity: 1,
            top: 200,
            left: 150,
            zIndex: 3
        },{
            width: 400,
            opacity: 0.7,
            top: 100,
            left: 580,
            zIndex: 2
        },{
            width: 300,
            opacity: 0.4,
            top: 30,
            left: 650,
            zIndex: 1
        }];

        refreshImageLocation(0);
        function refreshImageLocation(index){
            //默认情况下 第i个对应i-index个位置
            var liArr = $('li');
            console.log(liArr);
            for(var i = 0; i < liArr.length; i++){
                var li = liArr[i];
                var locationIndex = i - index;

                if(locationIndex < 0){
                    locationIndex += 5;
                }

                var locationDate = json[locationIndex];
                console.log(locationDate);

                animate(li, locationDate, null);
            }
        }

        var index = 0;
        //设置点击箭头事件
        $('#next').onclick = function(){
            // console.log('#next');
            index++;
            if(index == 5){
                index = 0;
            }
            refreshImageLocation(index);
        }

        $('#prev').onclick = function(){
            index--;
            if(index < 0){
                index = 4;
            }
            refreshImageLocation(index);
        }

    }

